OUR PROJECTS

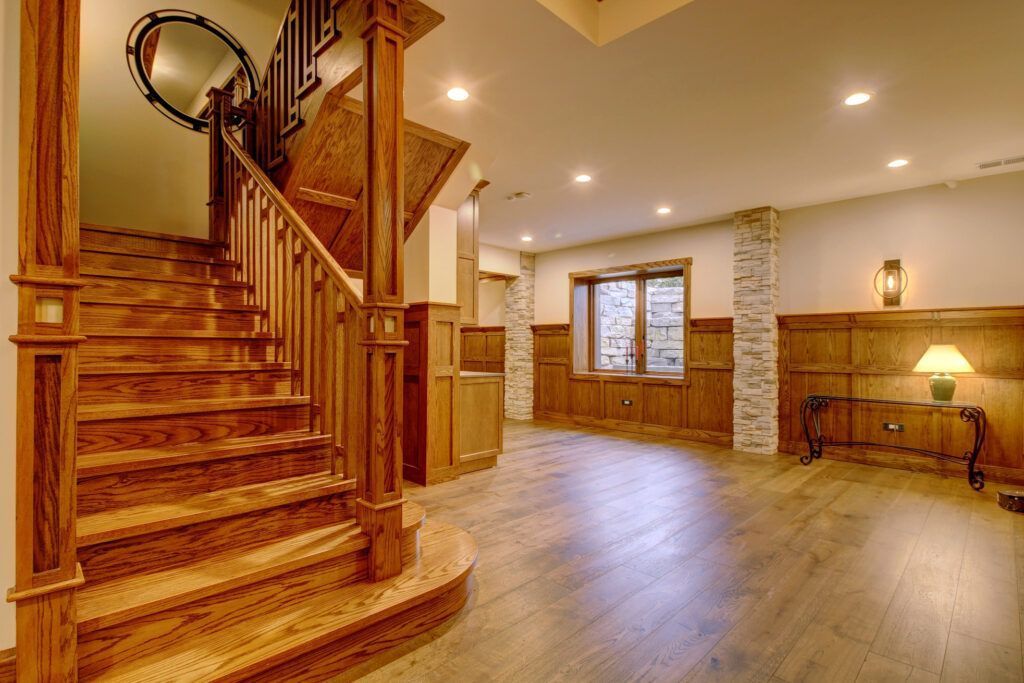

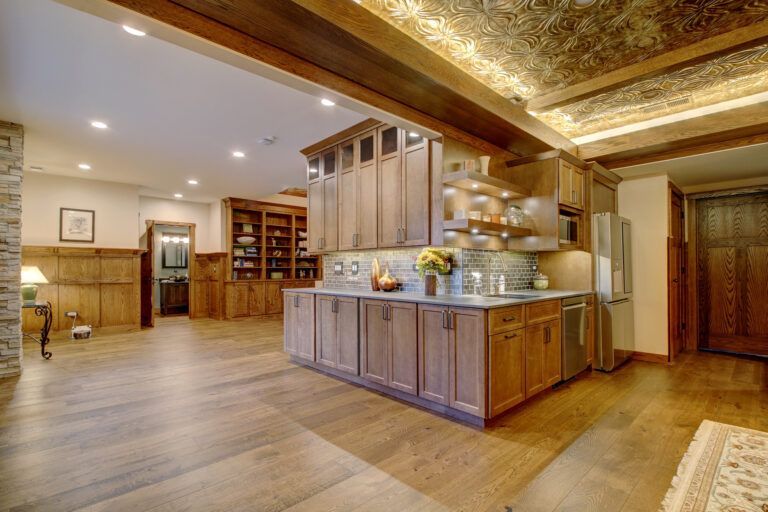
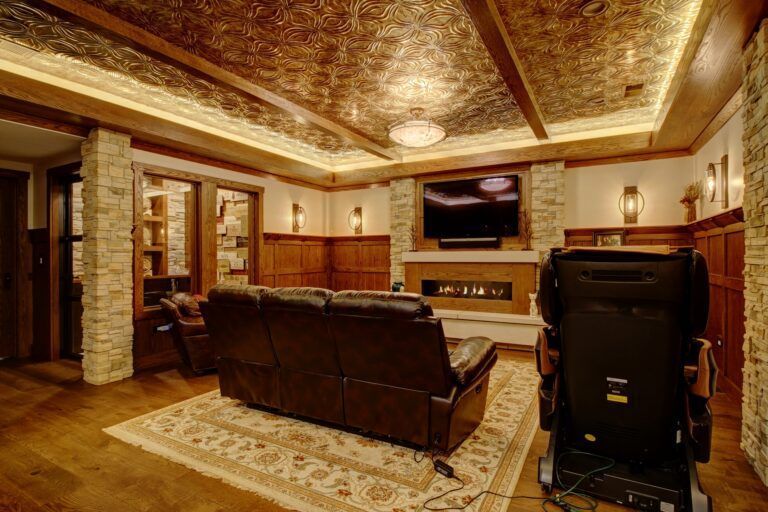


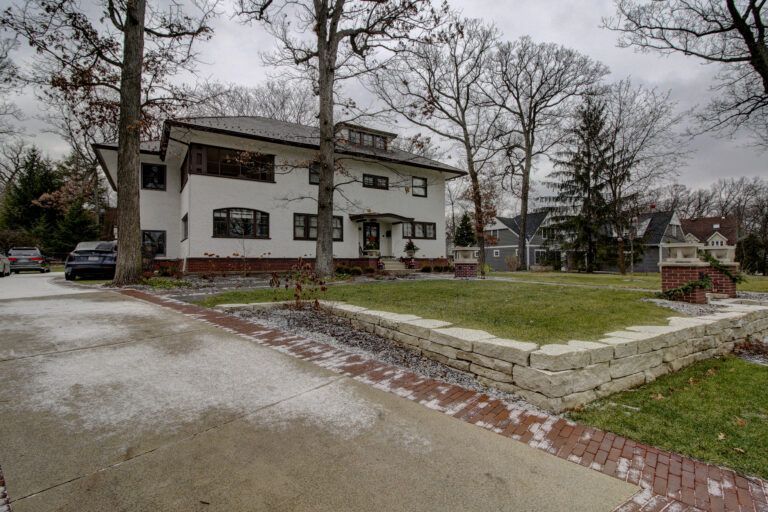
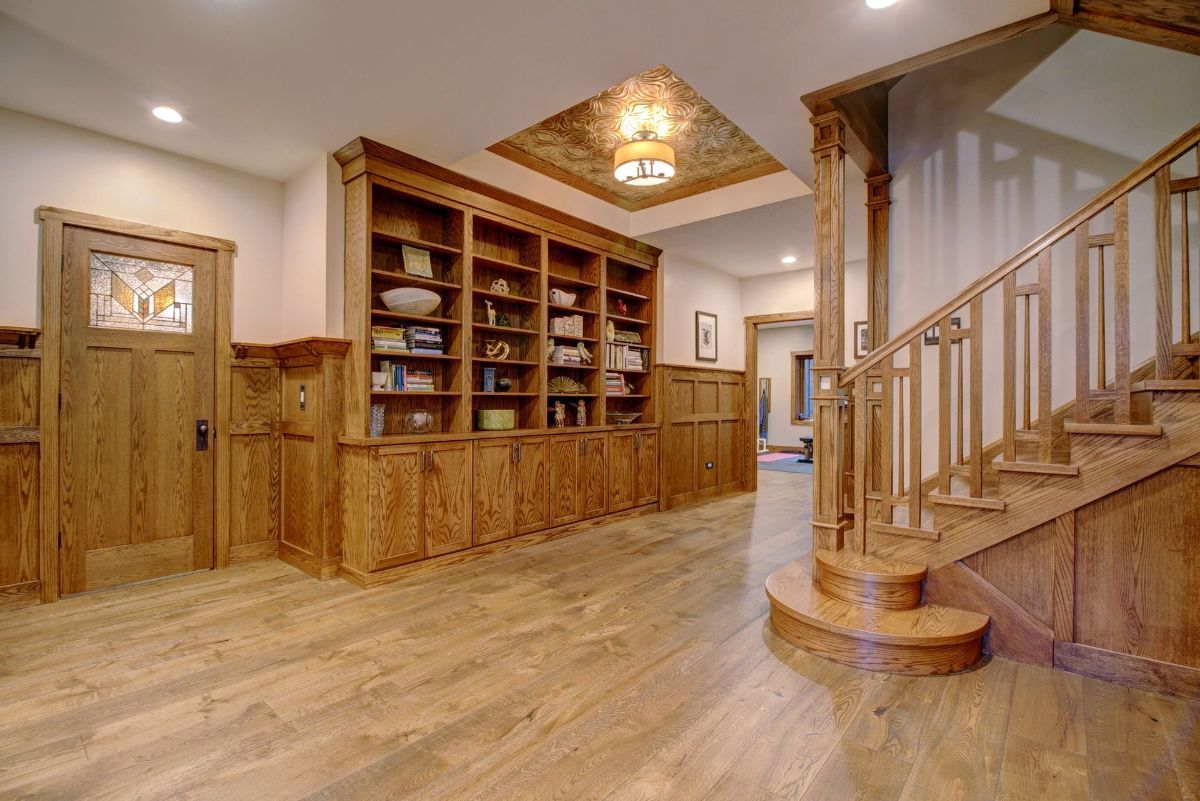
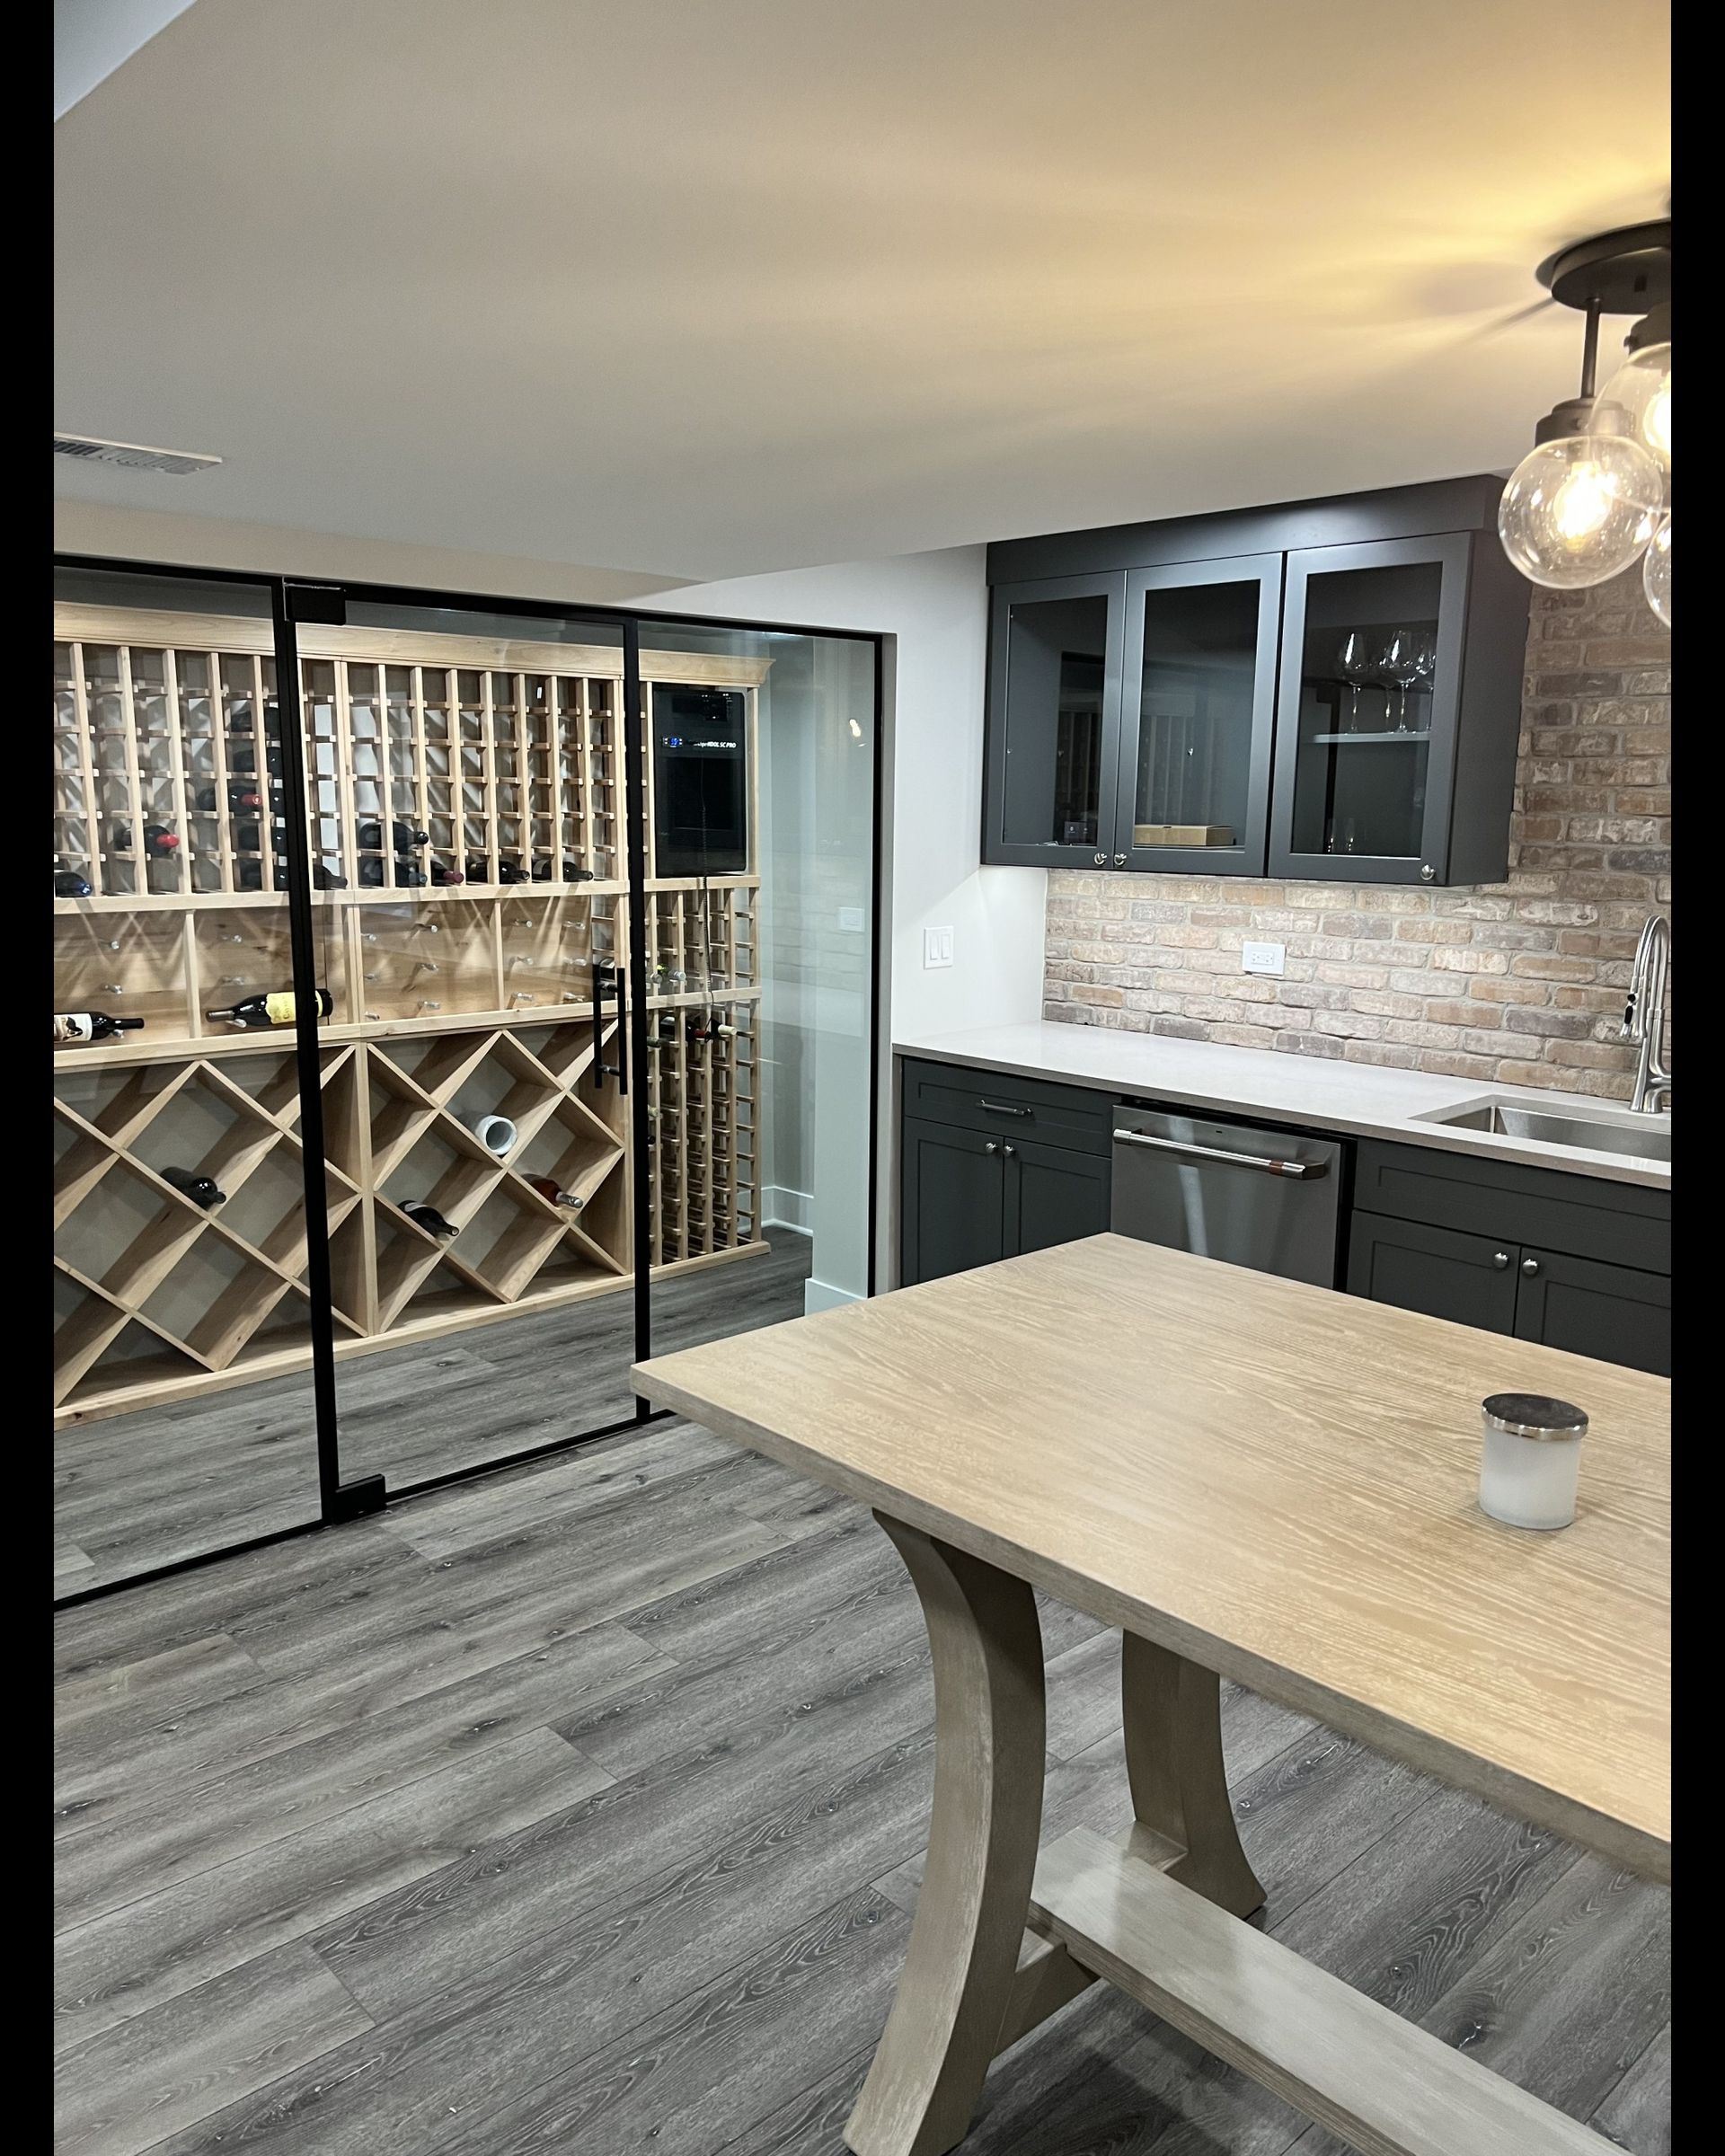
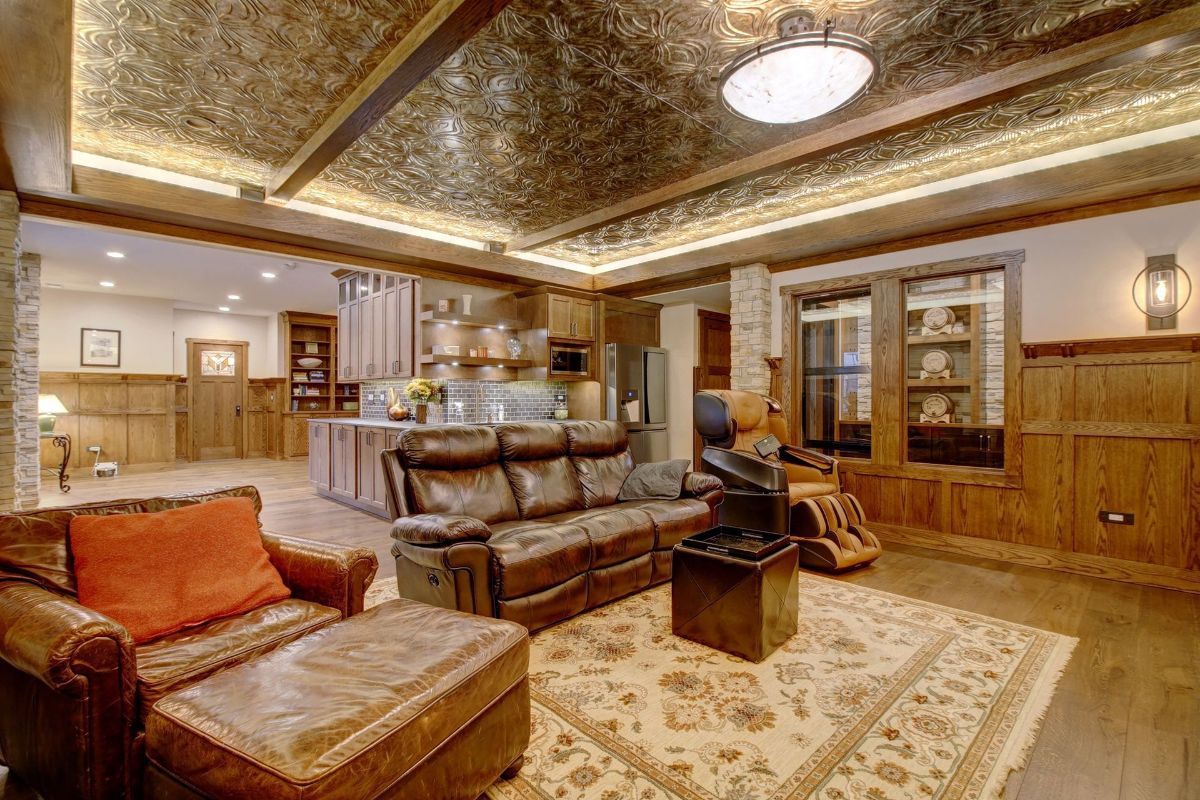
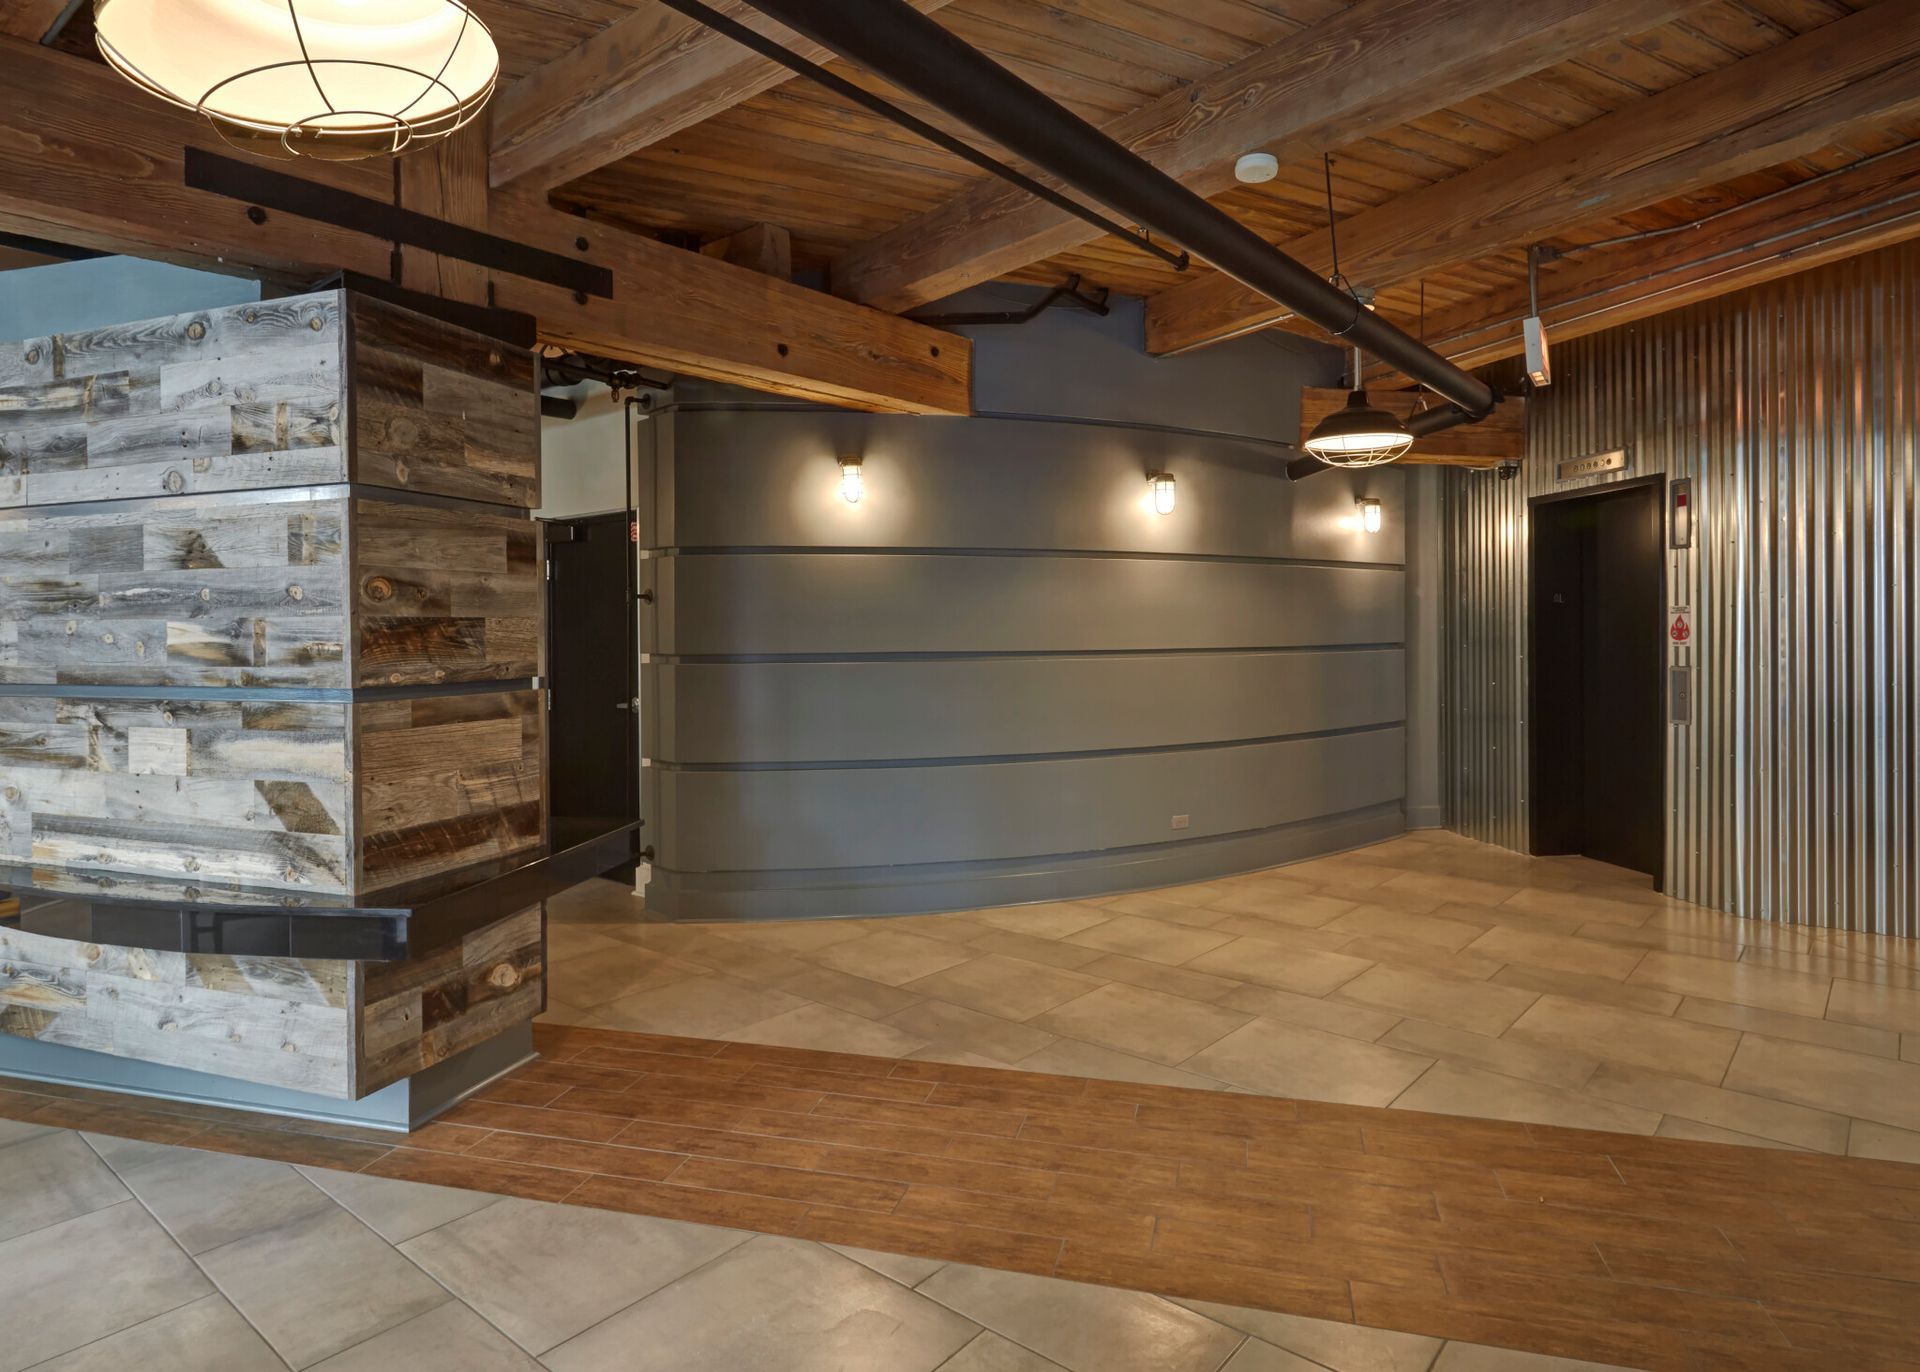
Prairie Style Basement
Location: Glen Ellyn, IL
Project Type: Basement remodel
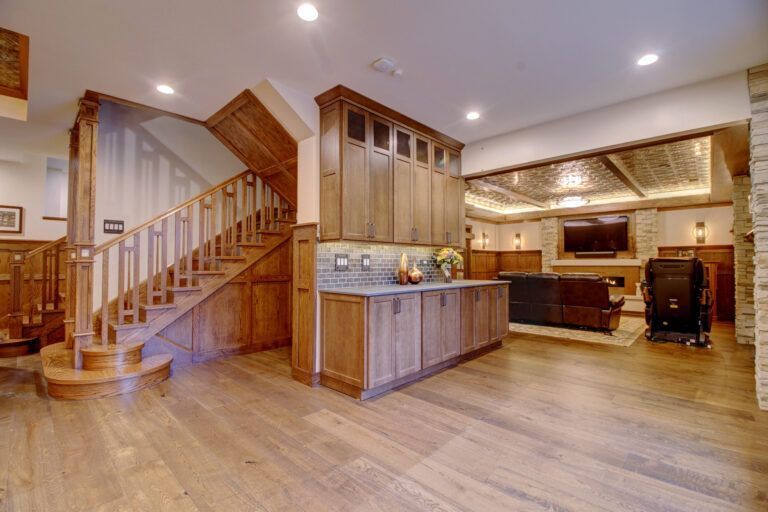
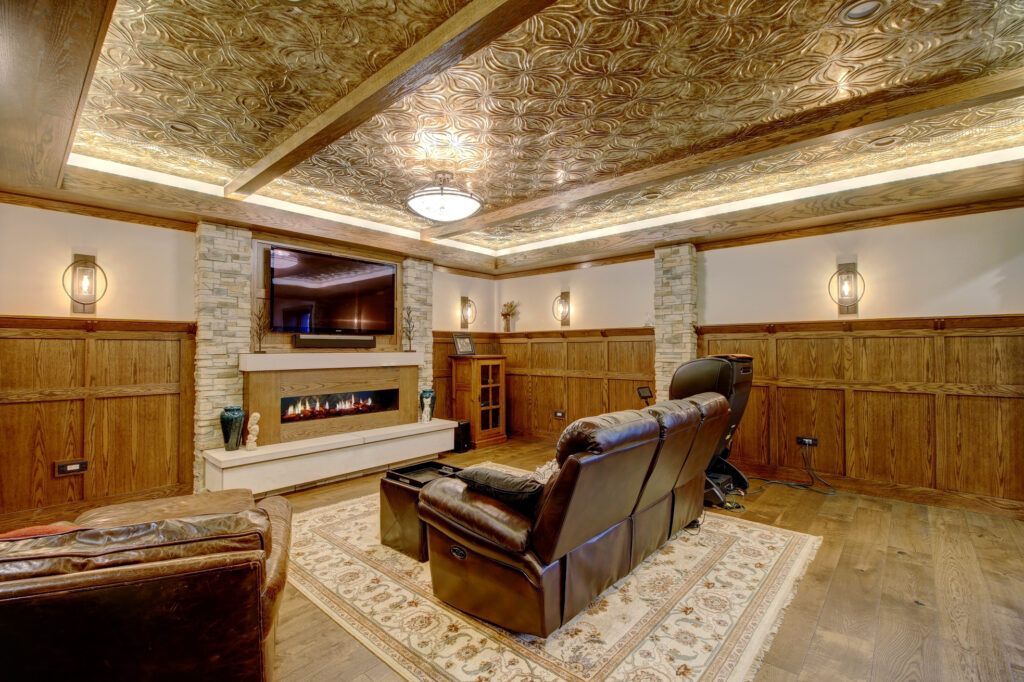
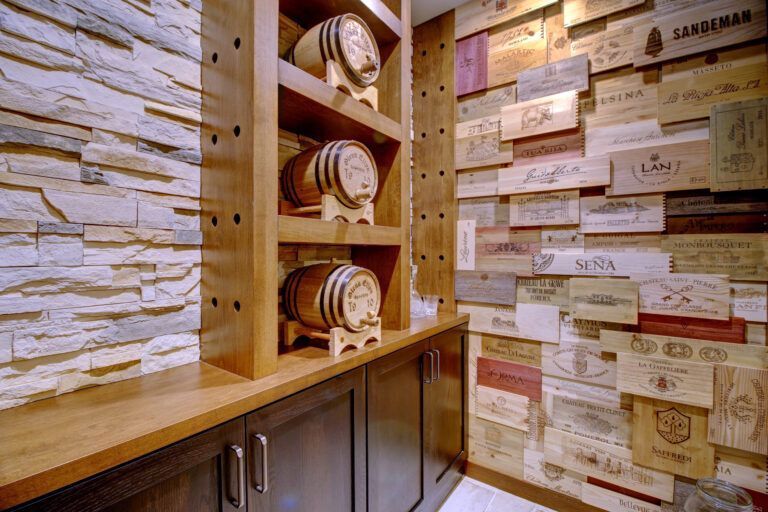
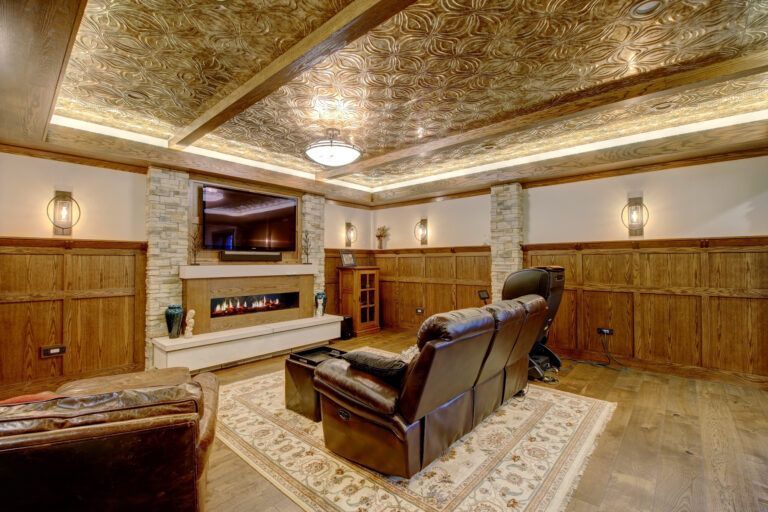
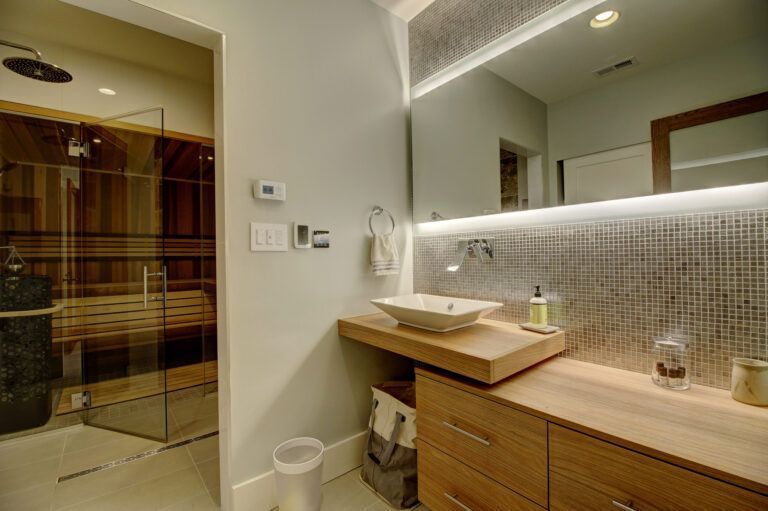
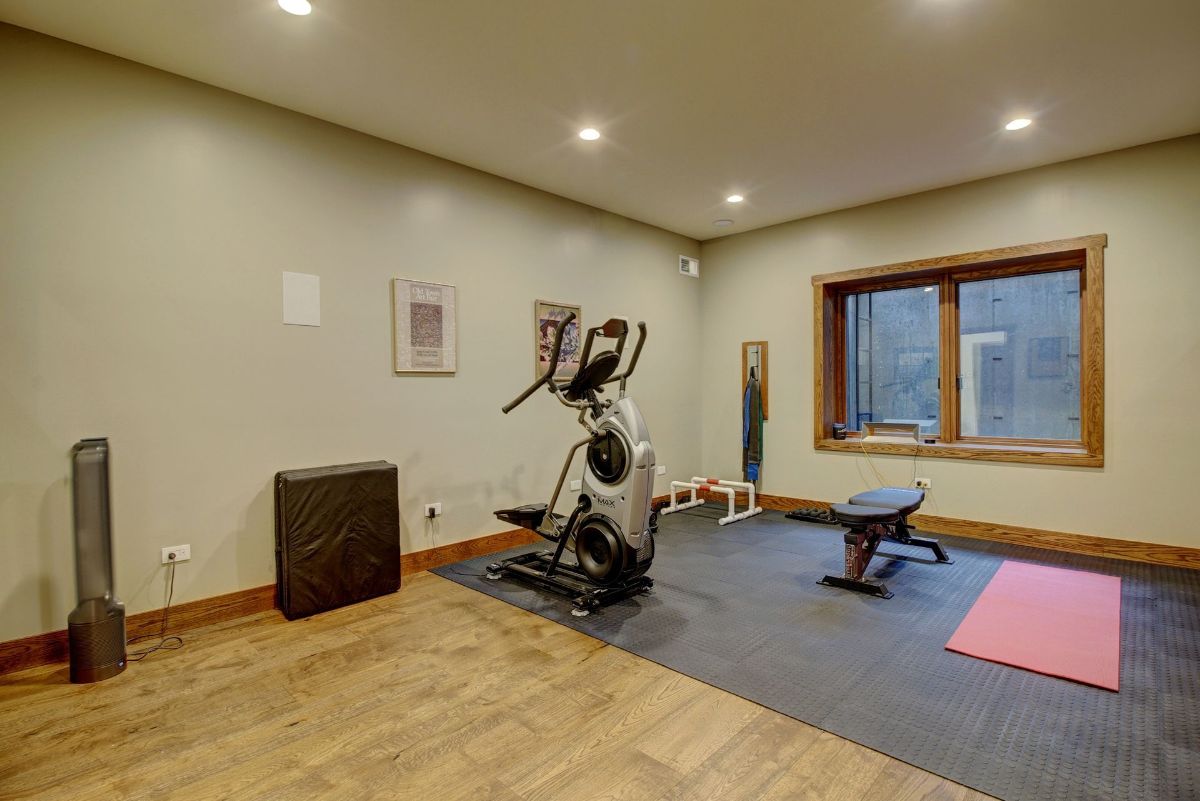
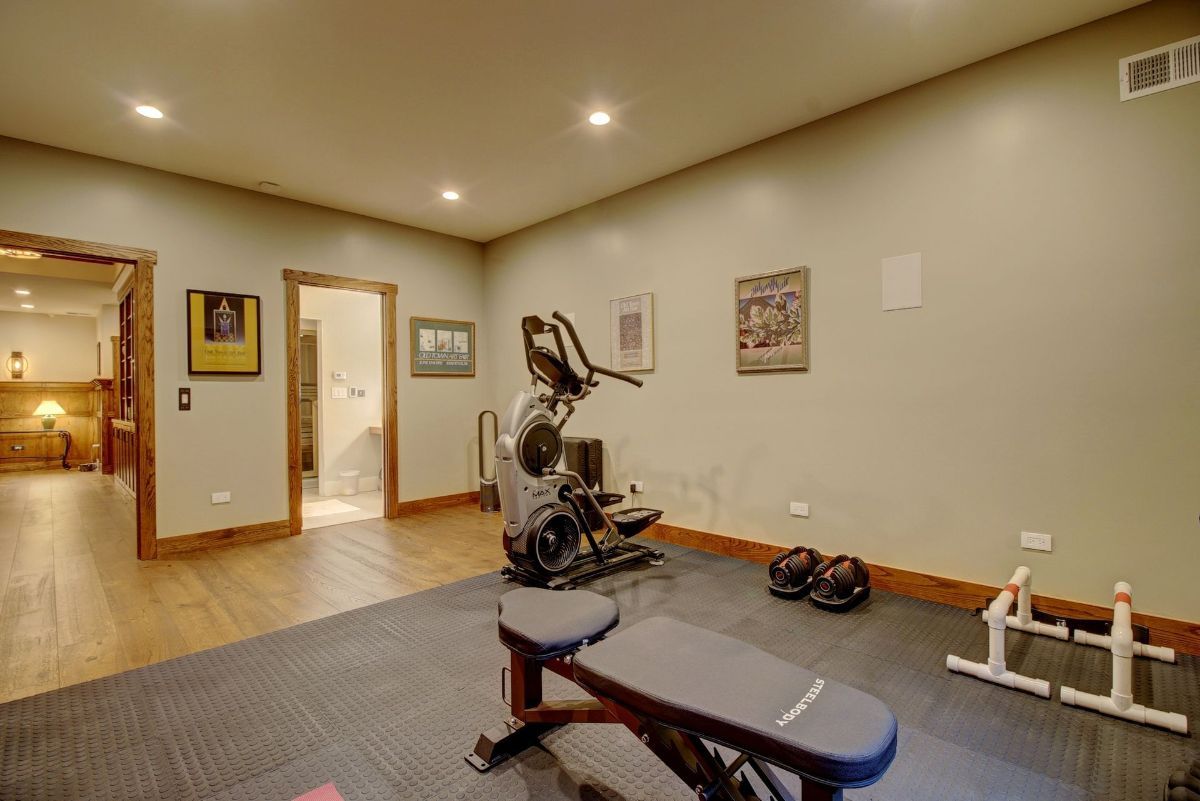
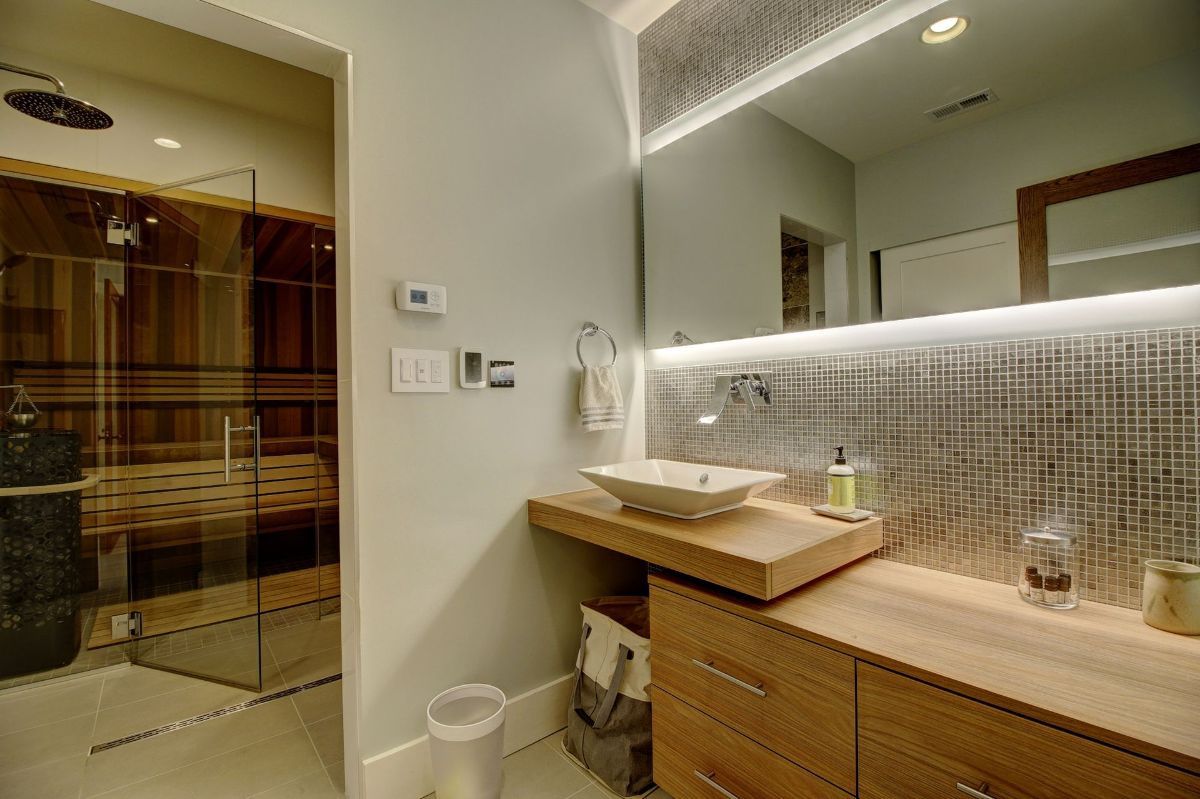
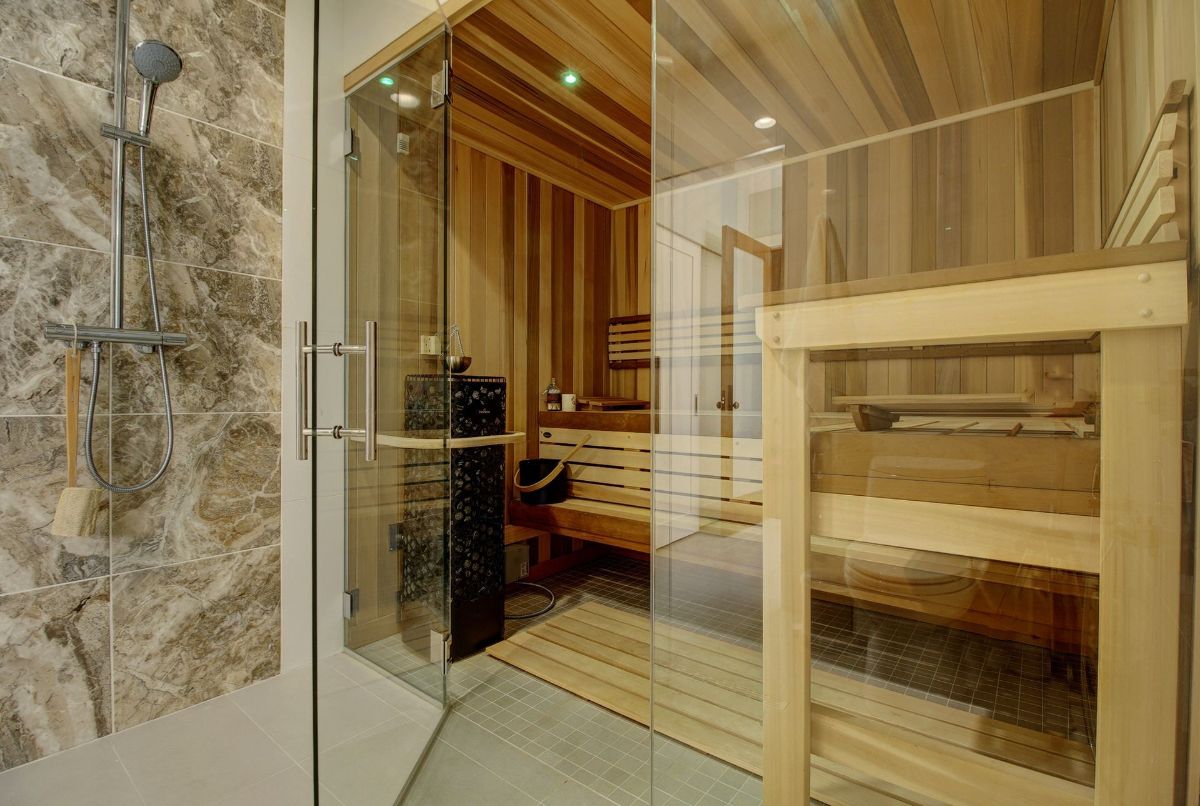
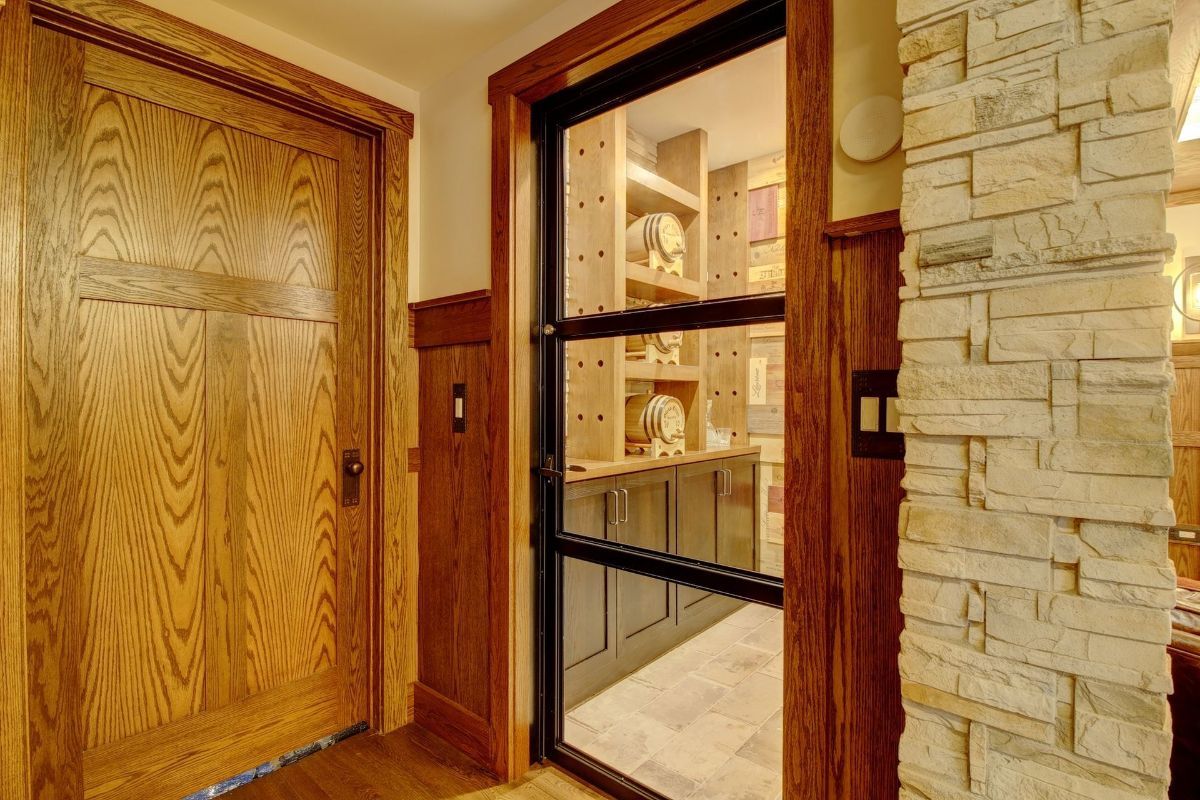
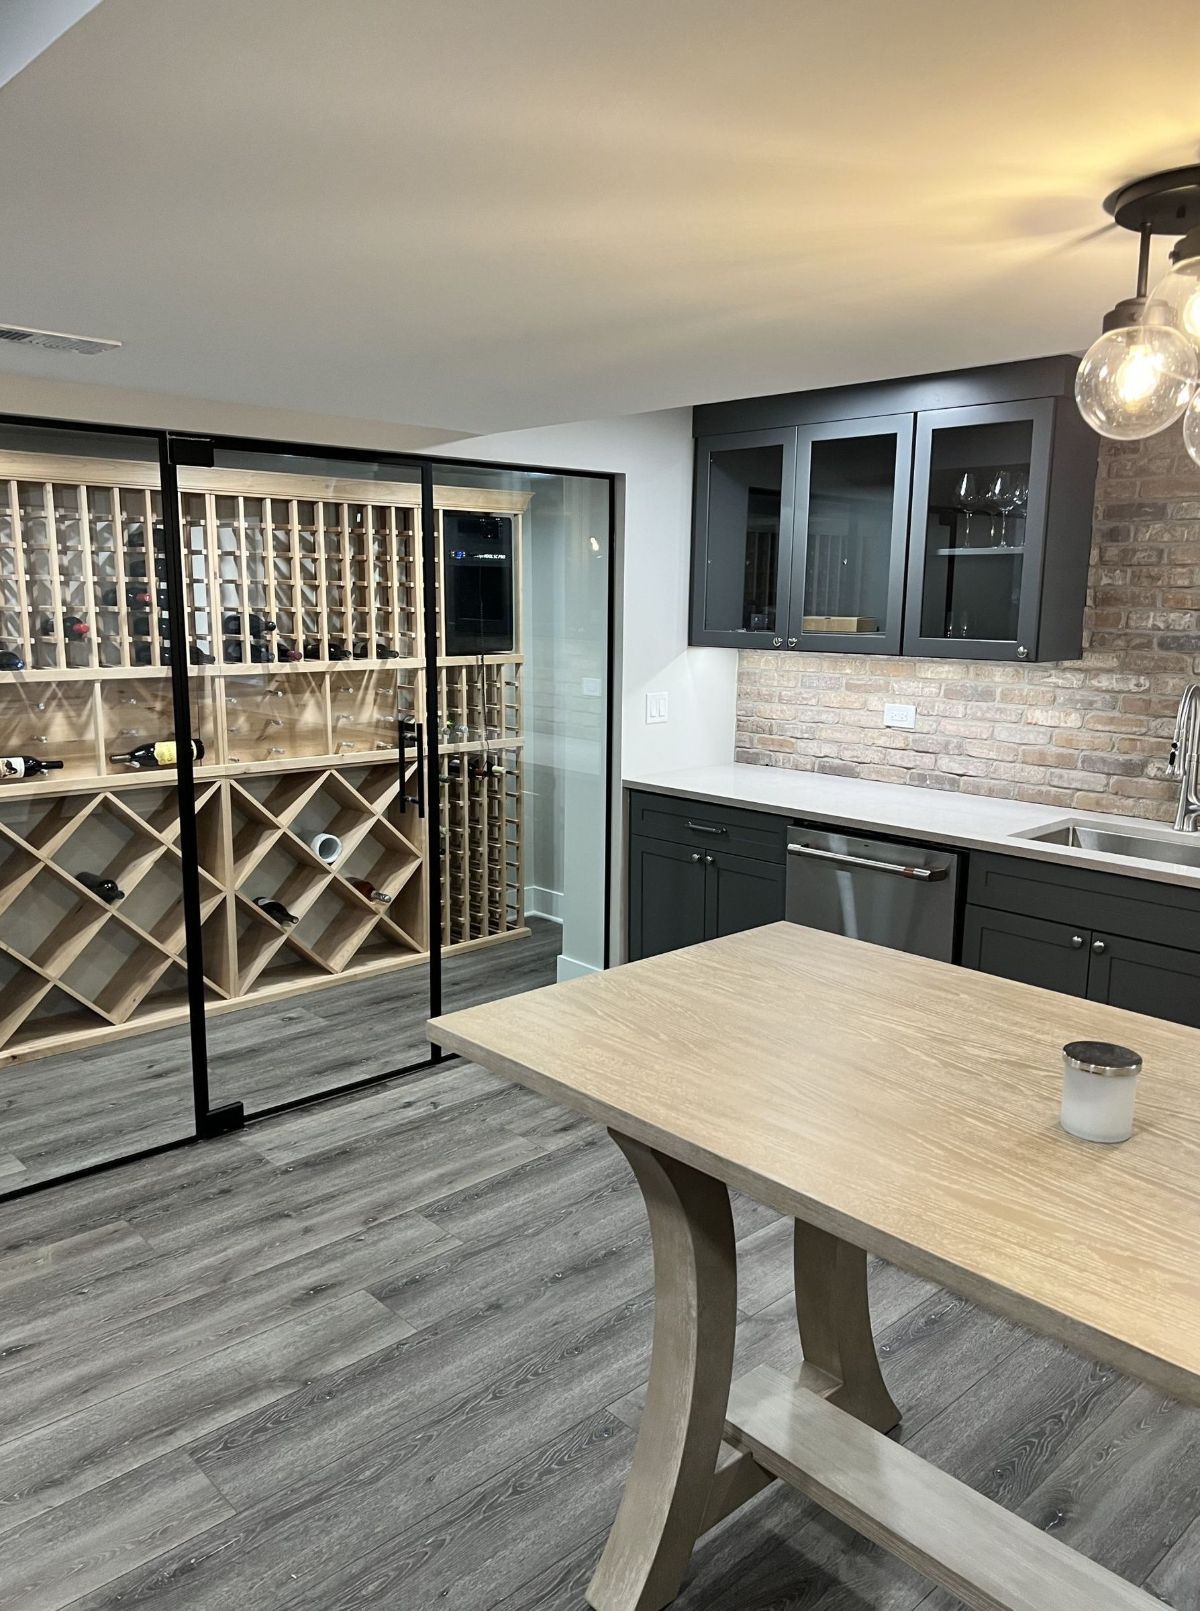
This Prairie Style home in the heart of Glen Ellyn challenged us to create an entertaining space that honored the original design elements of the home while implementing modern technology and materials. The highlight is a fireplace wall. This basement remodel also features a climate-controlled wine room which integrated stamped logos from salvaged wooden wine crates for the wall finish. The wood trim detail on the staircase and ceiling help to capture the original period of the home.
Crimson Basement Remodeling


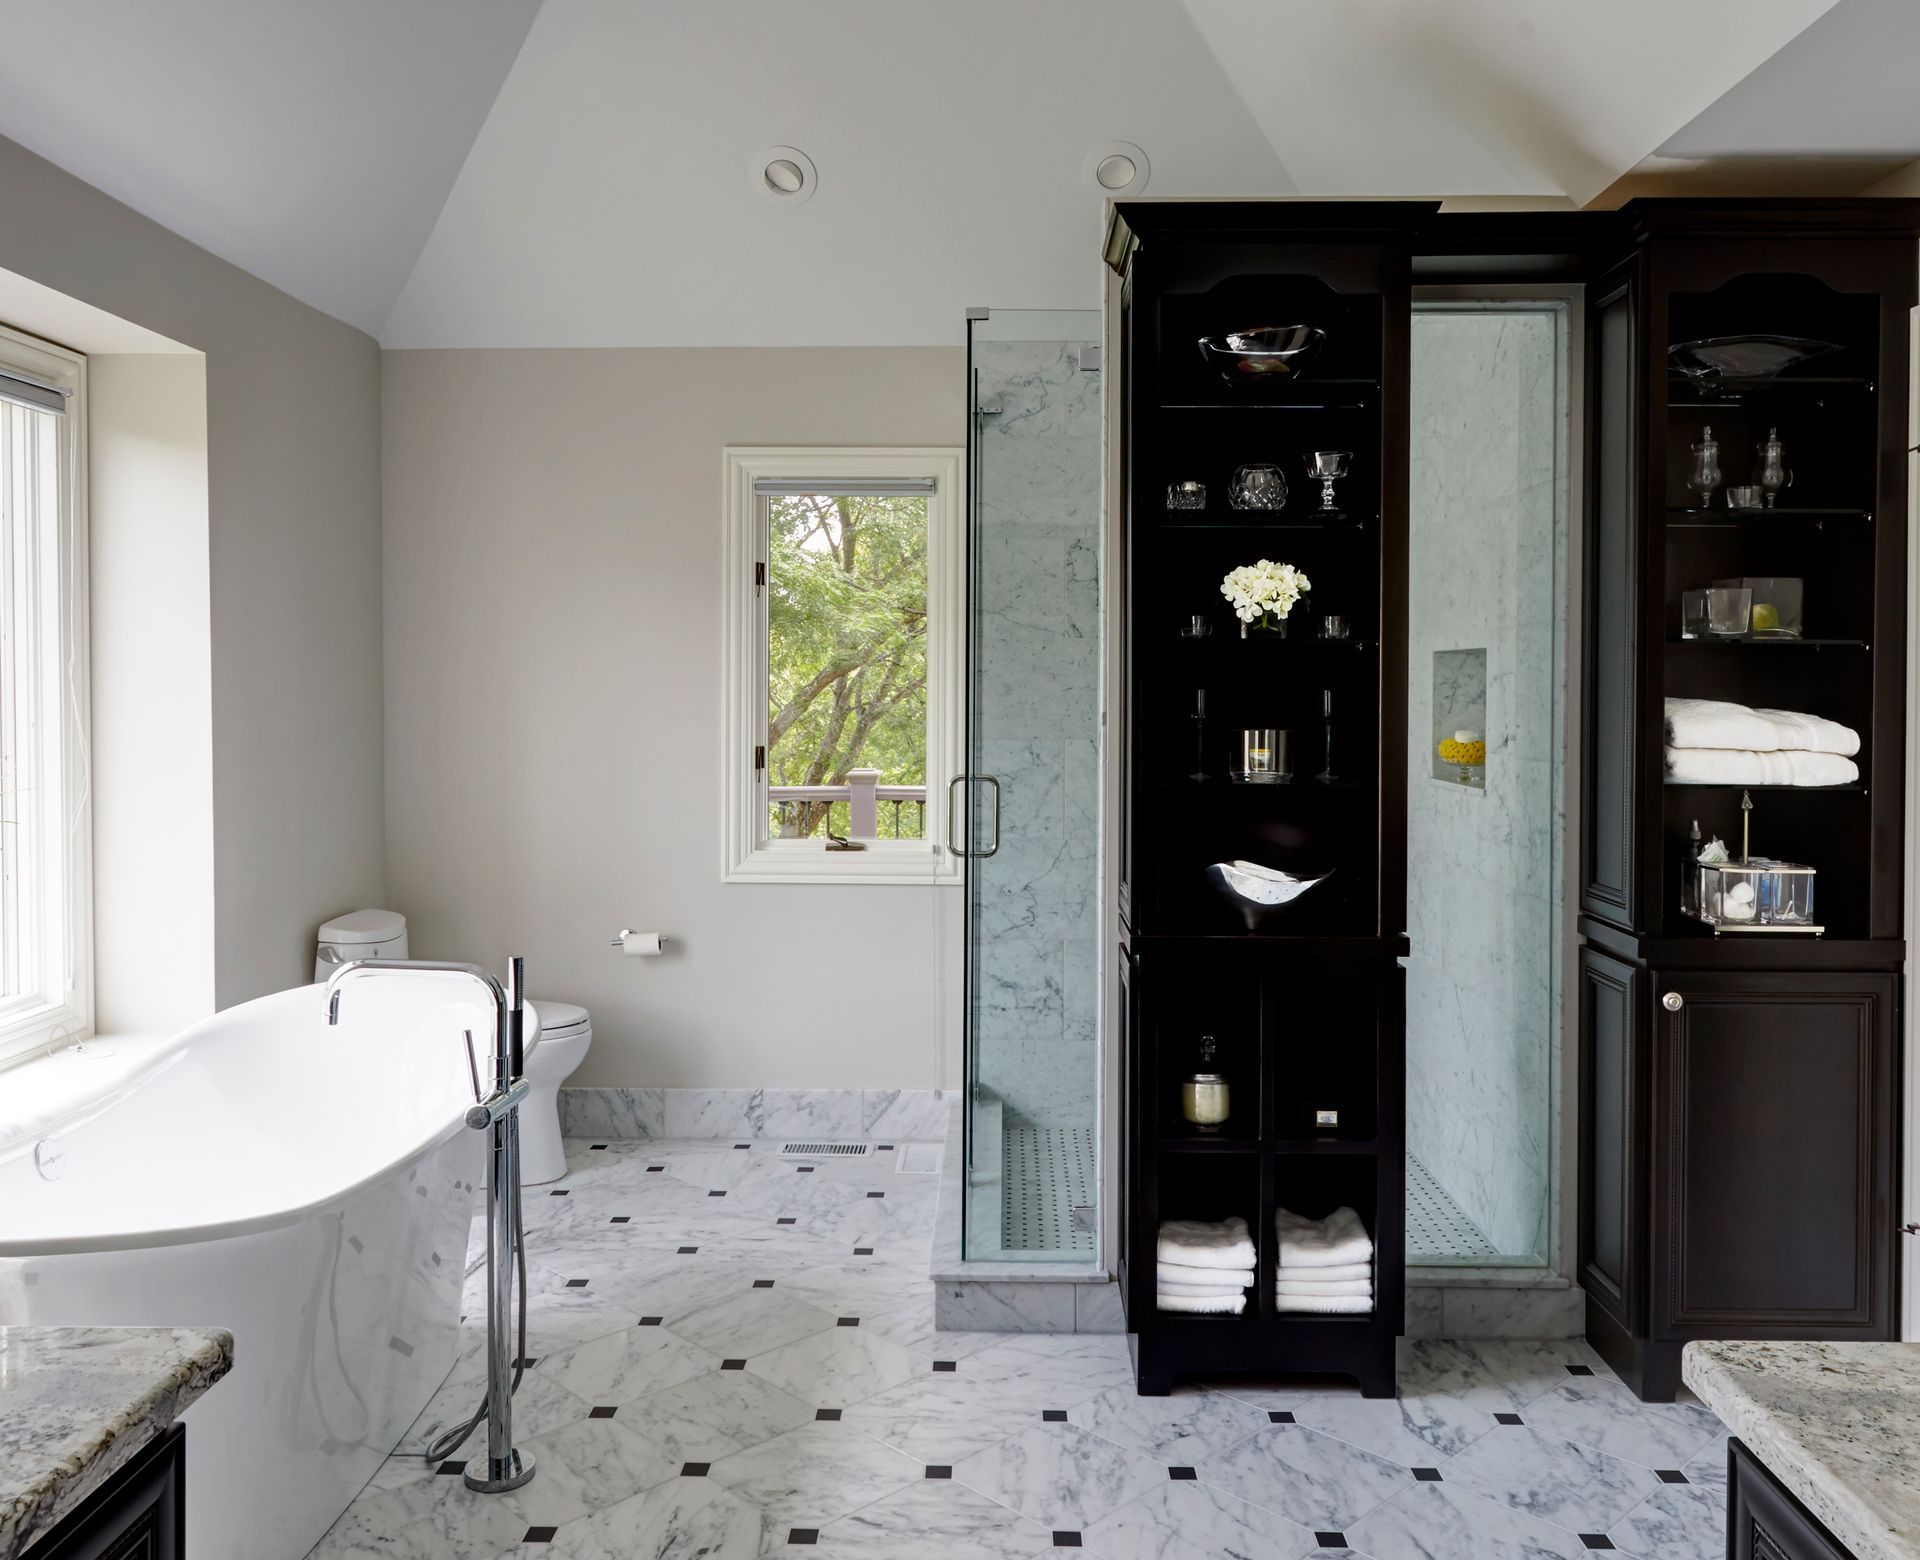
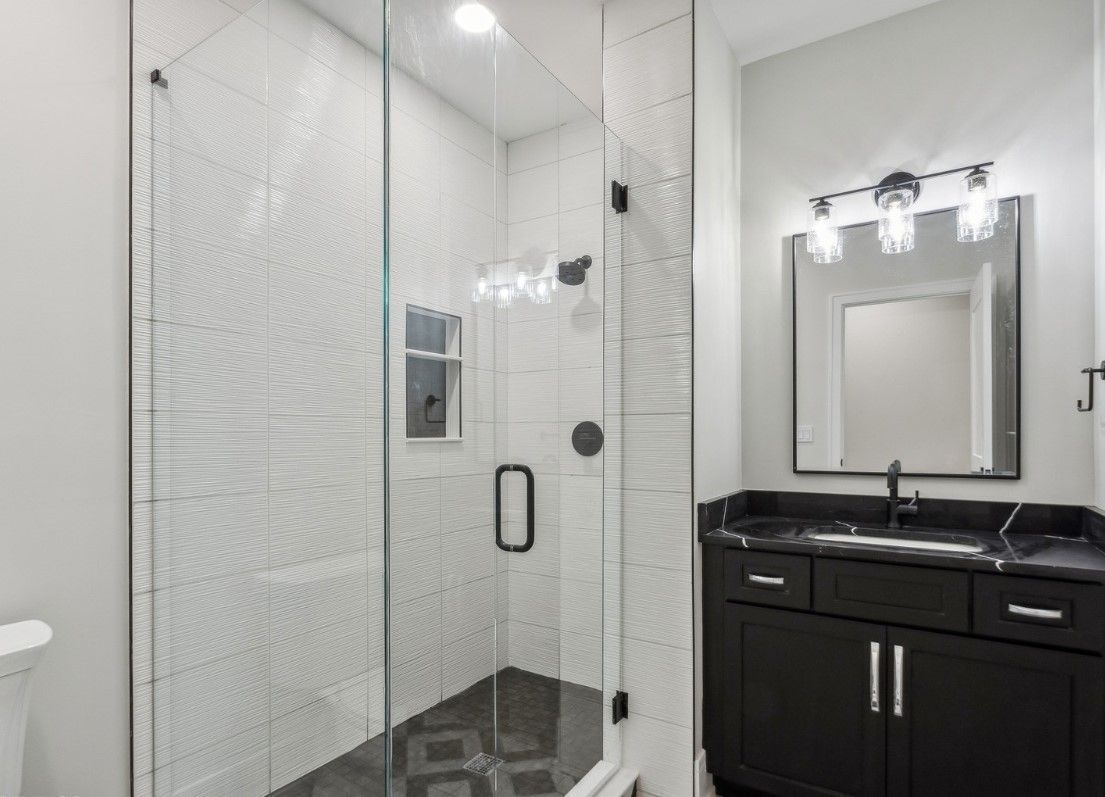
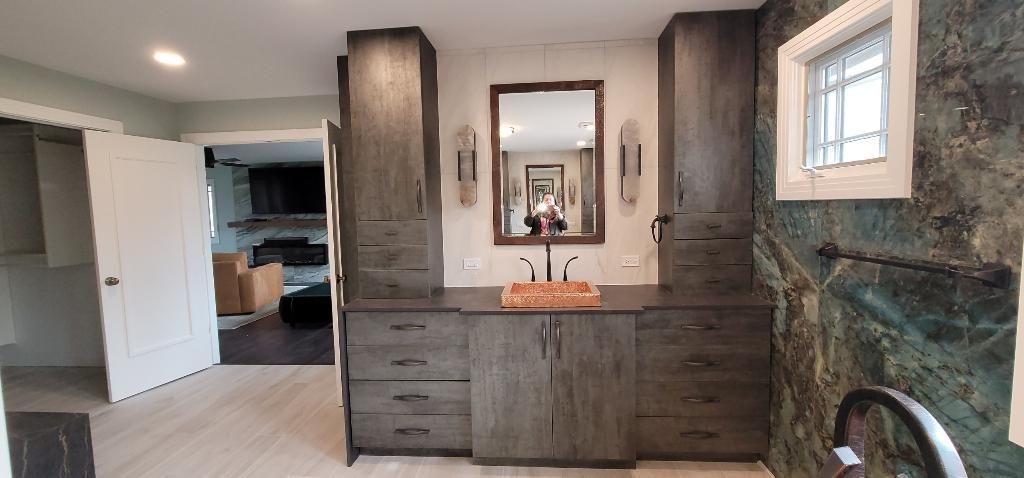
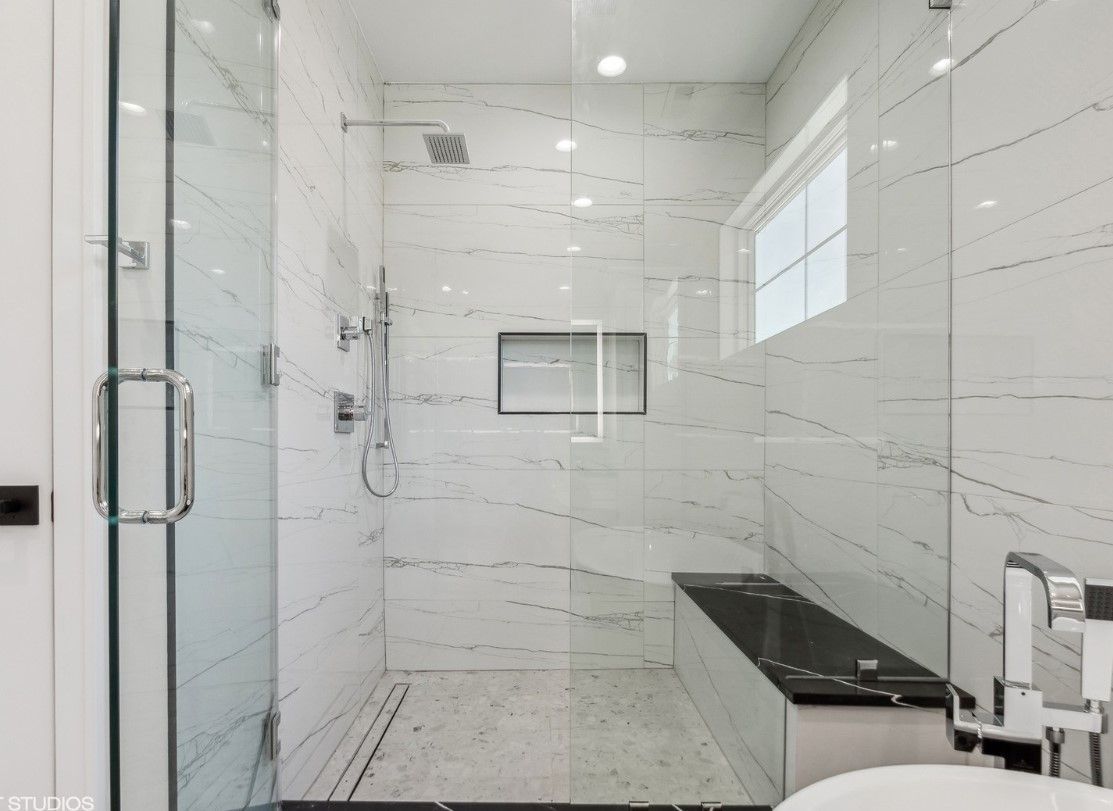
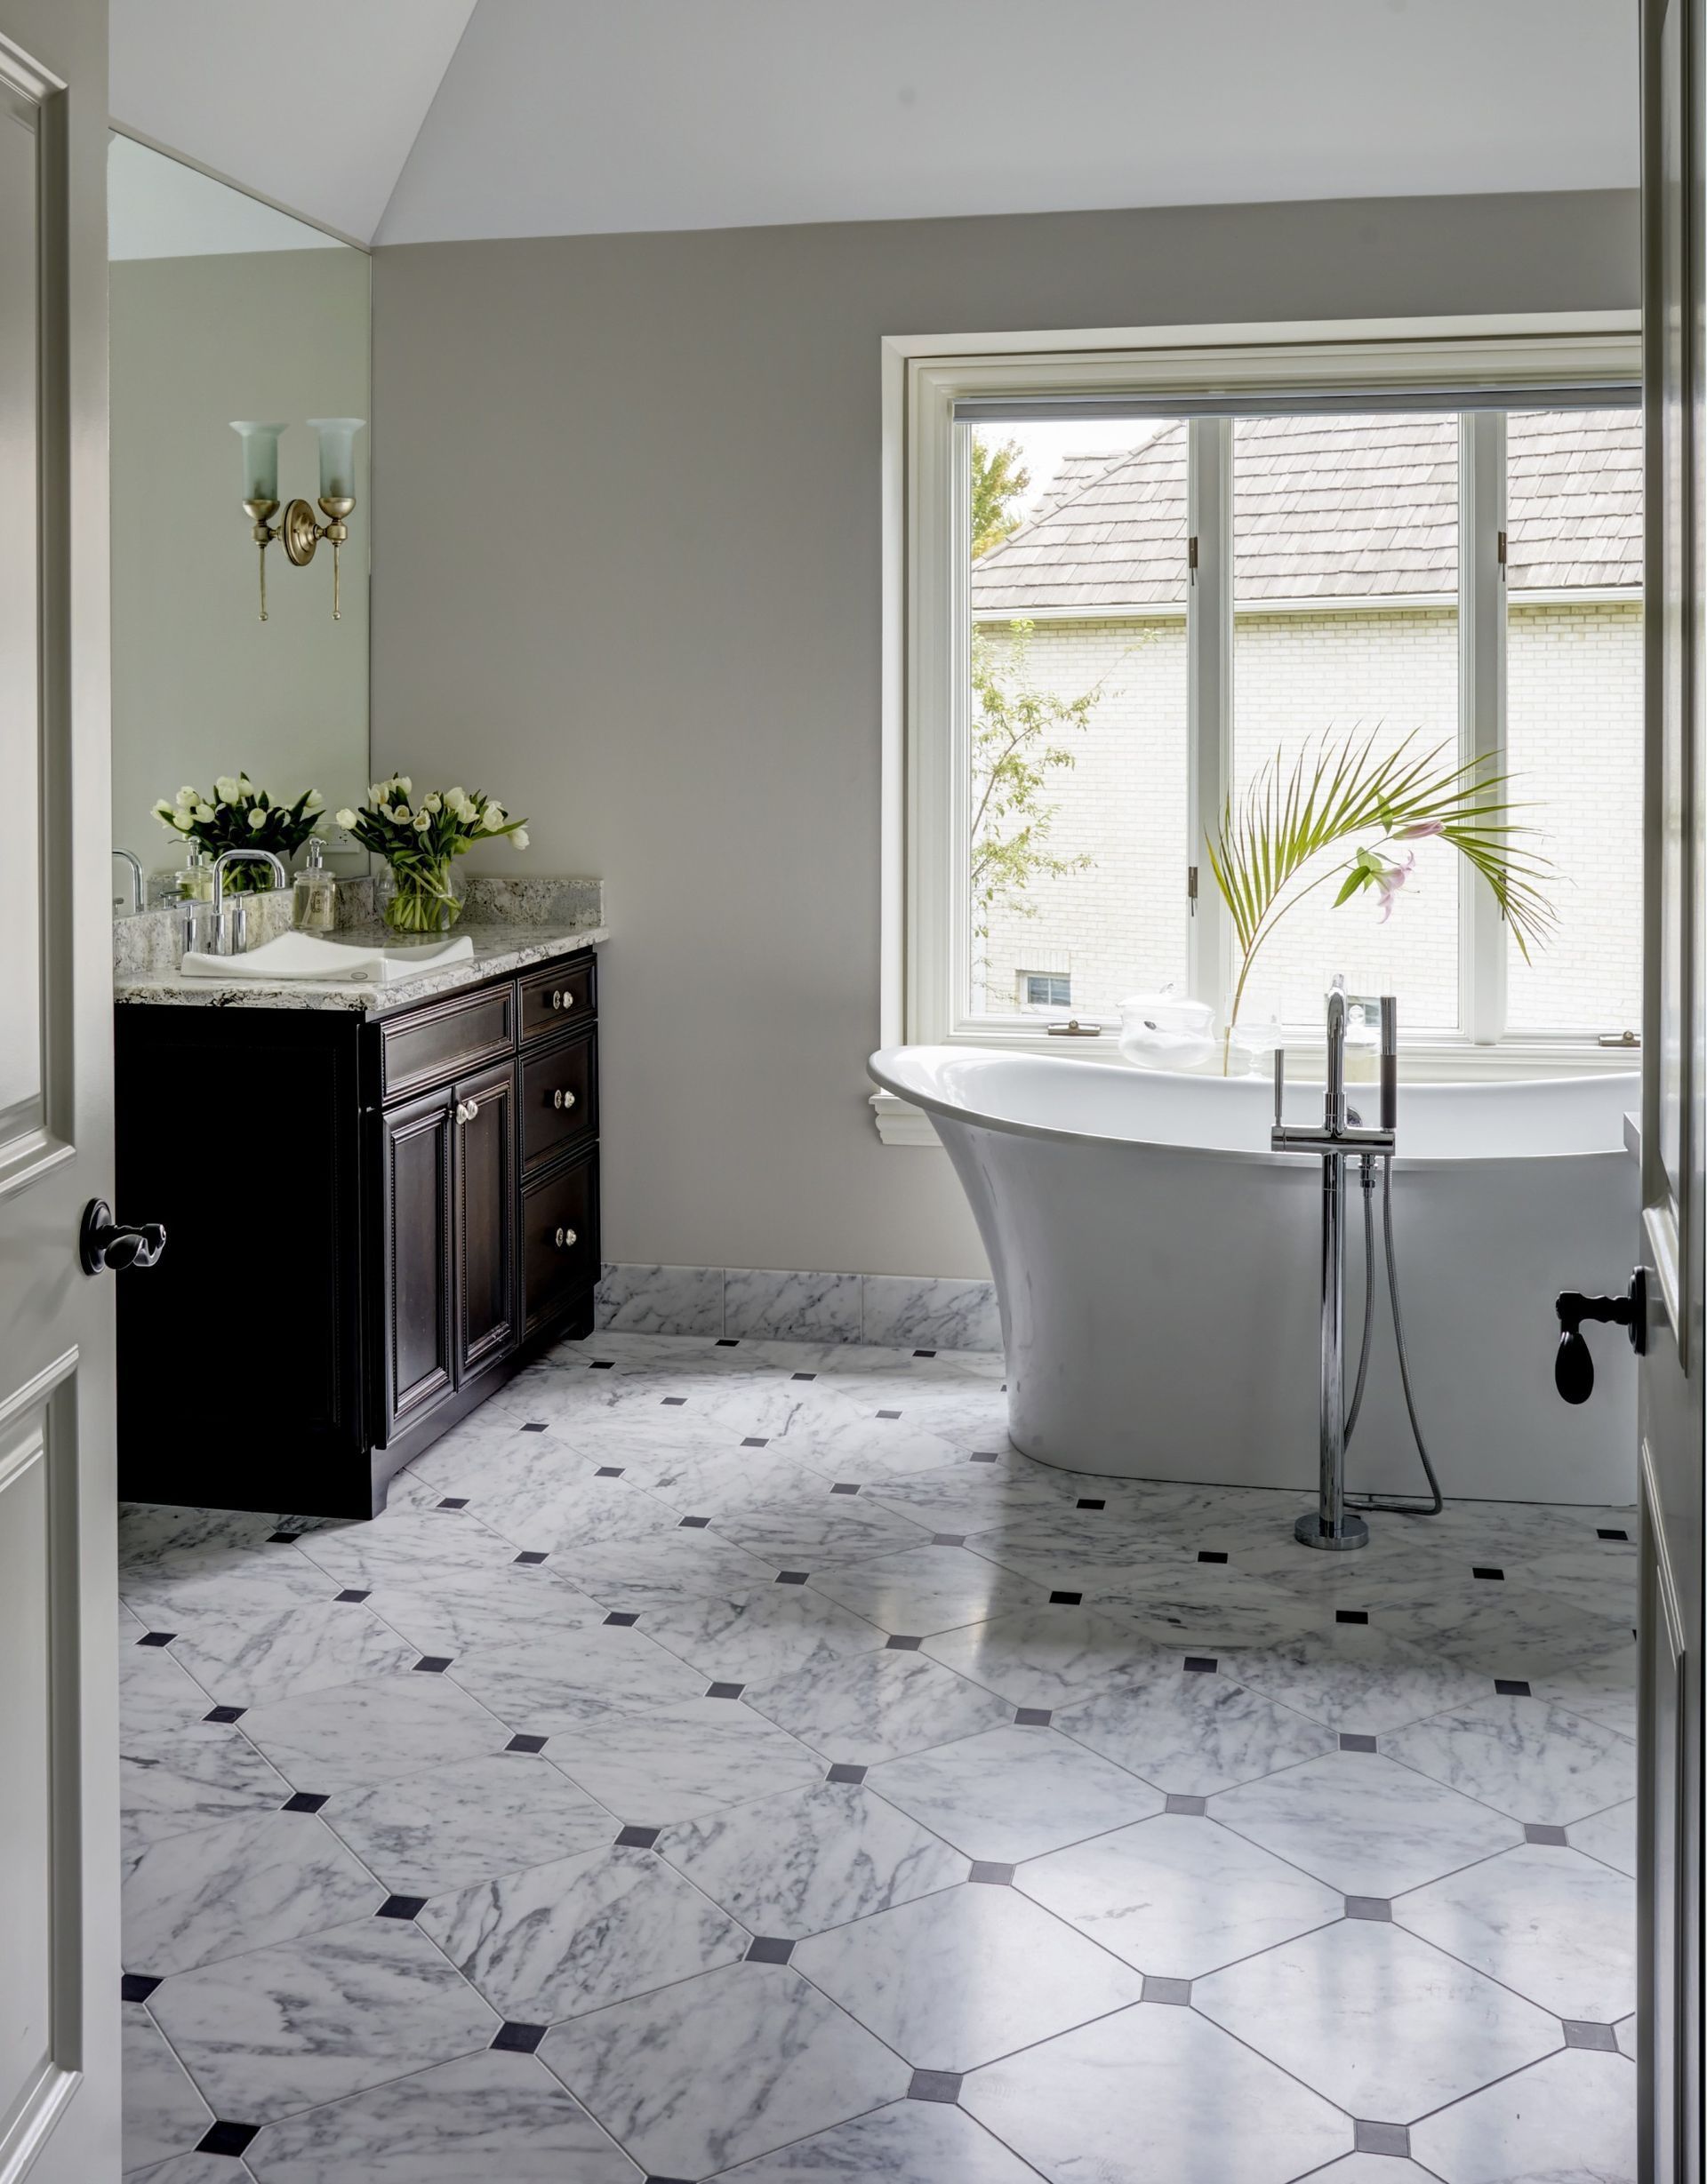

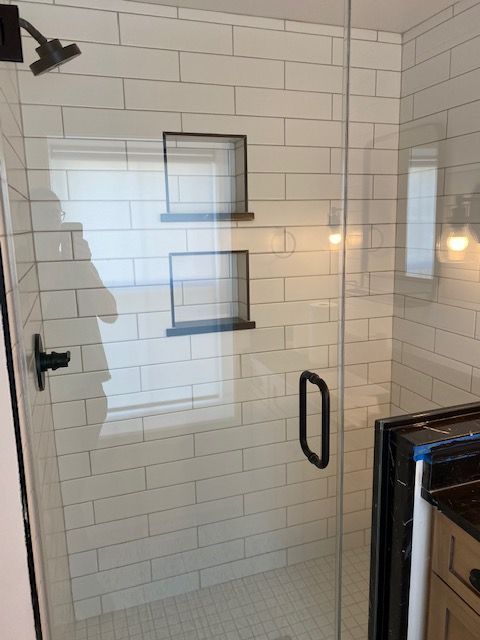
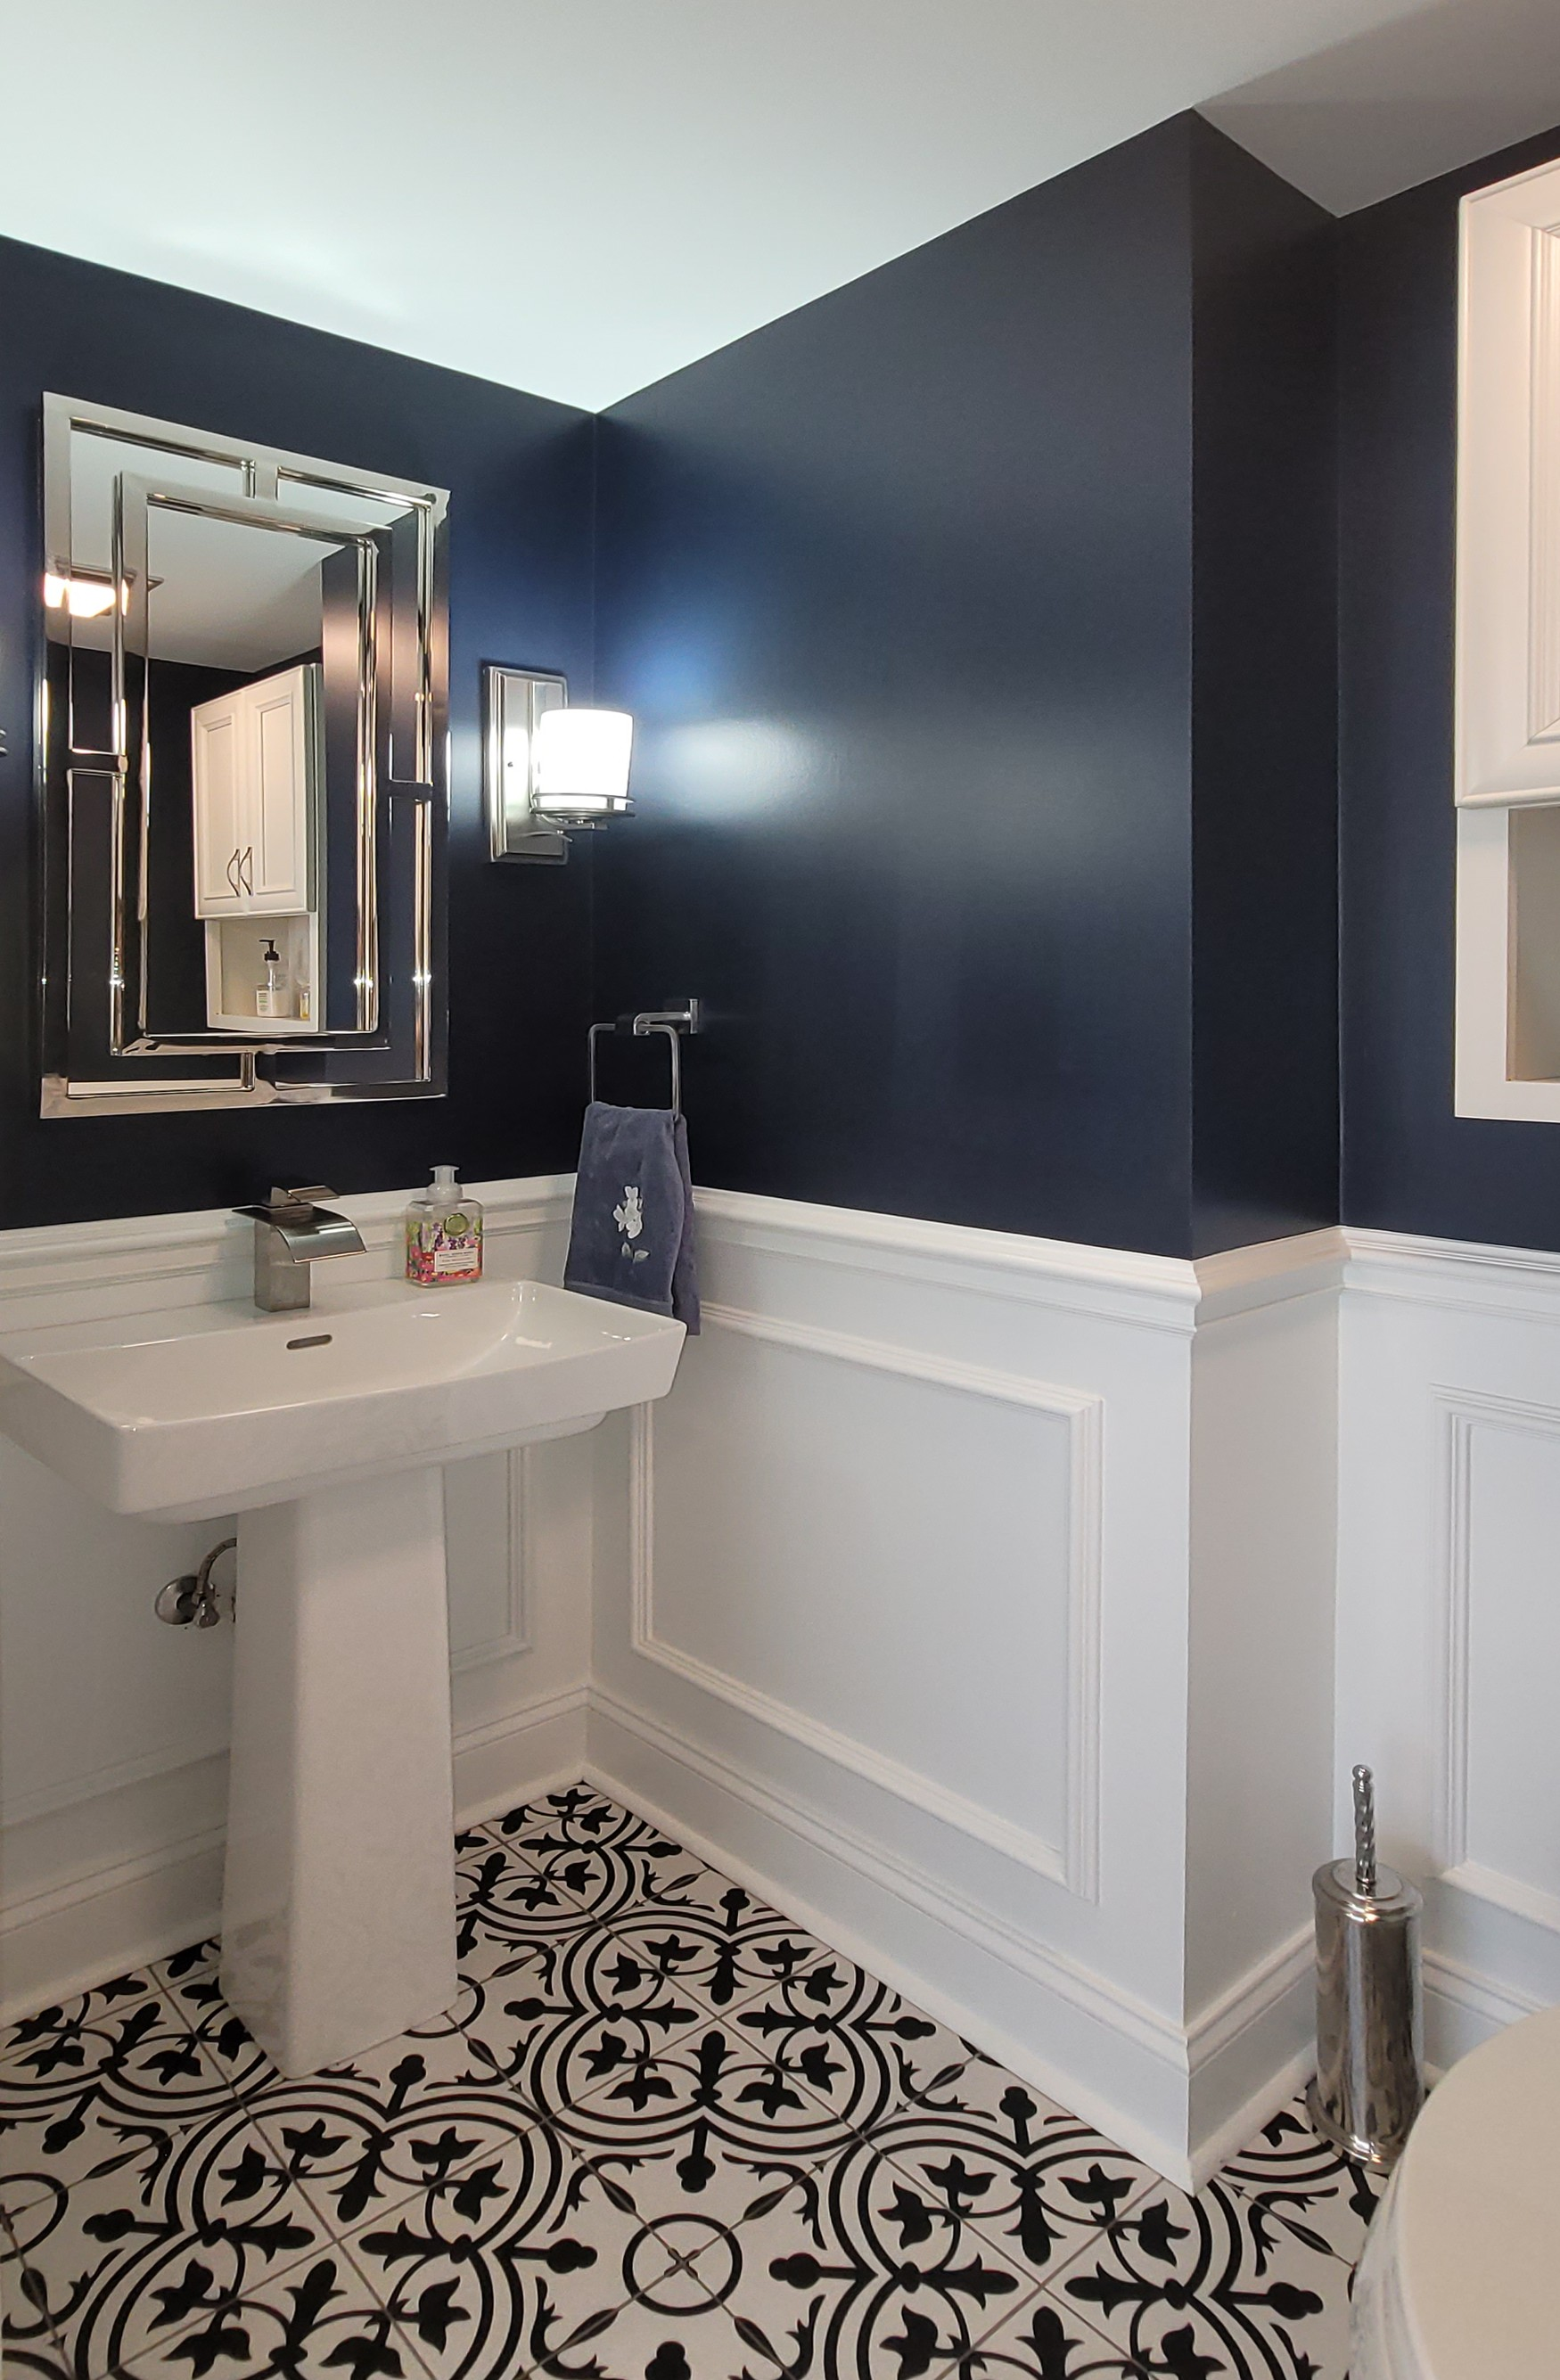
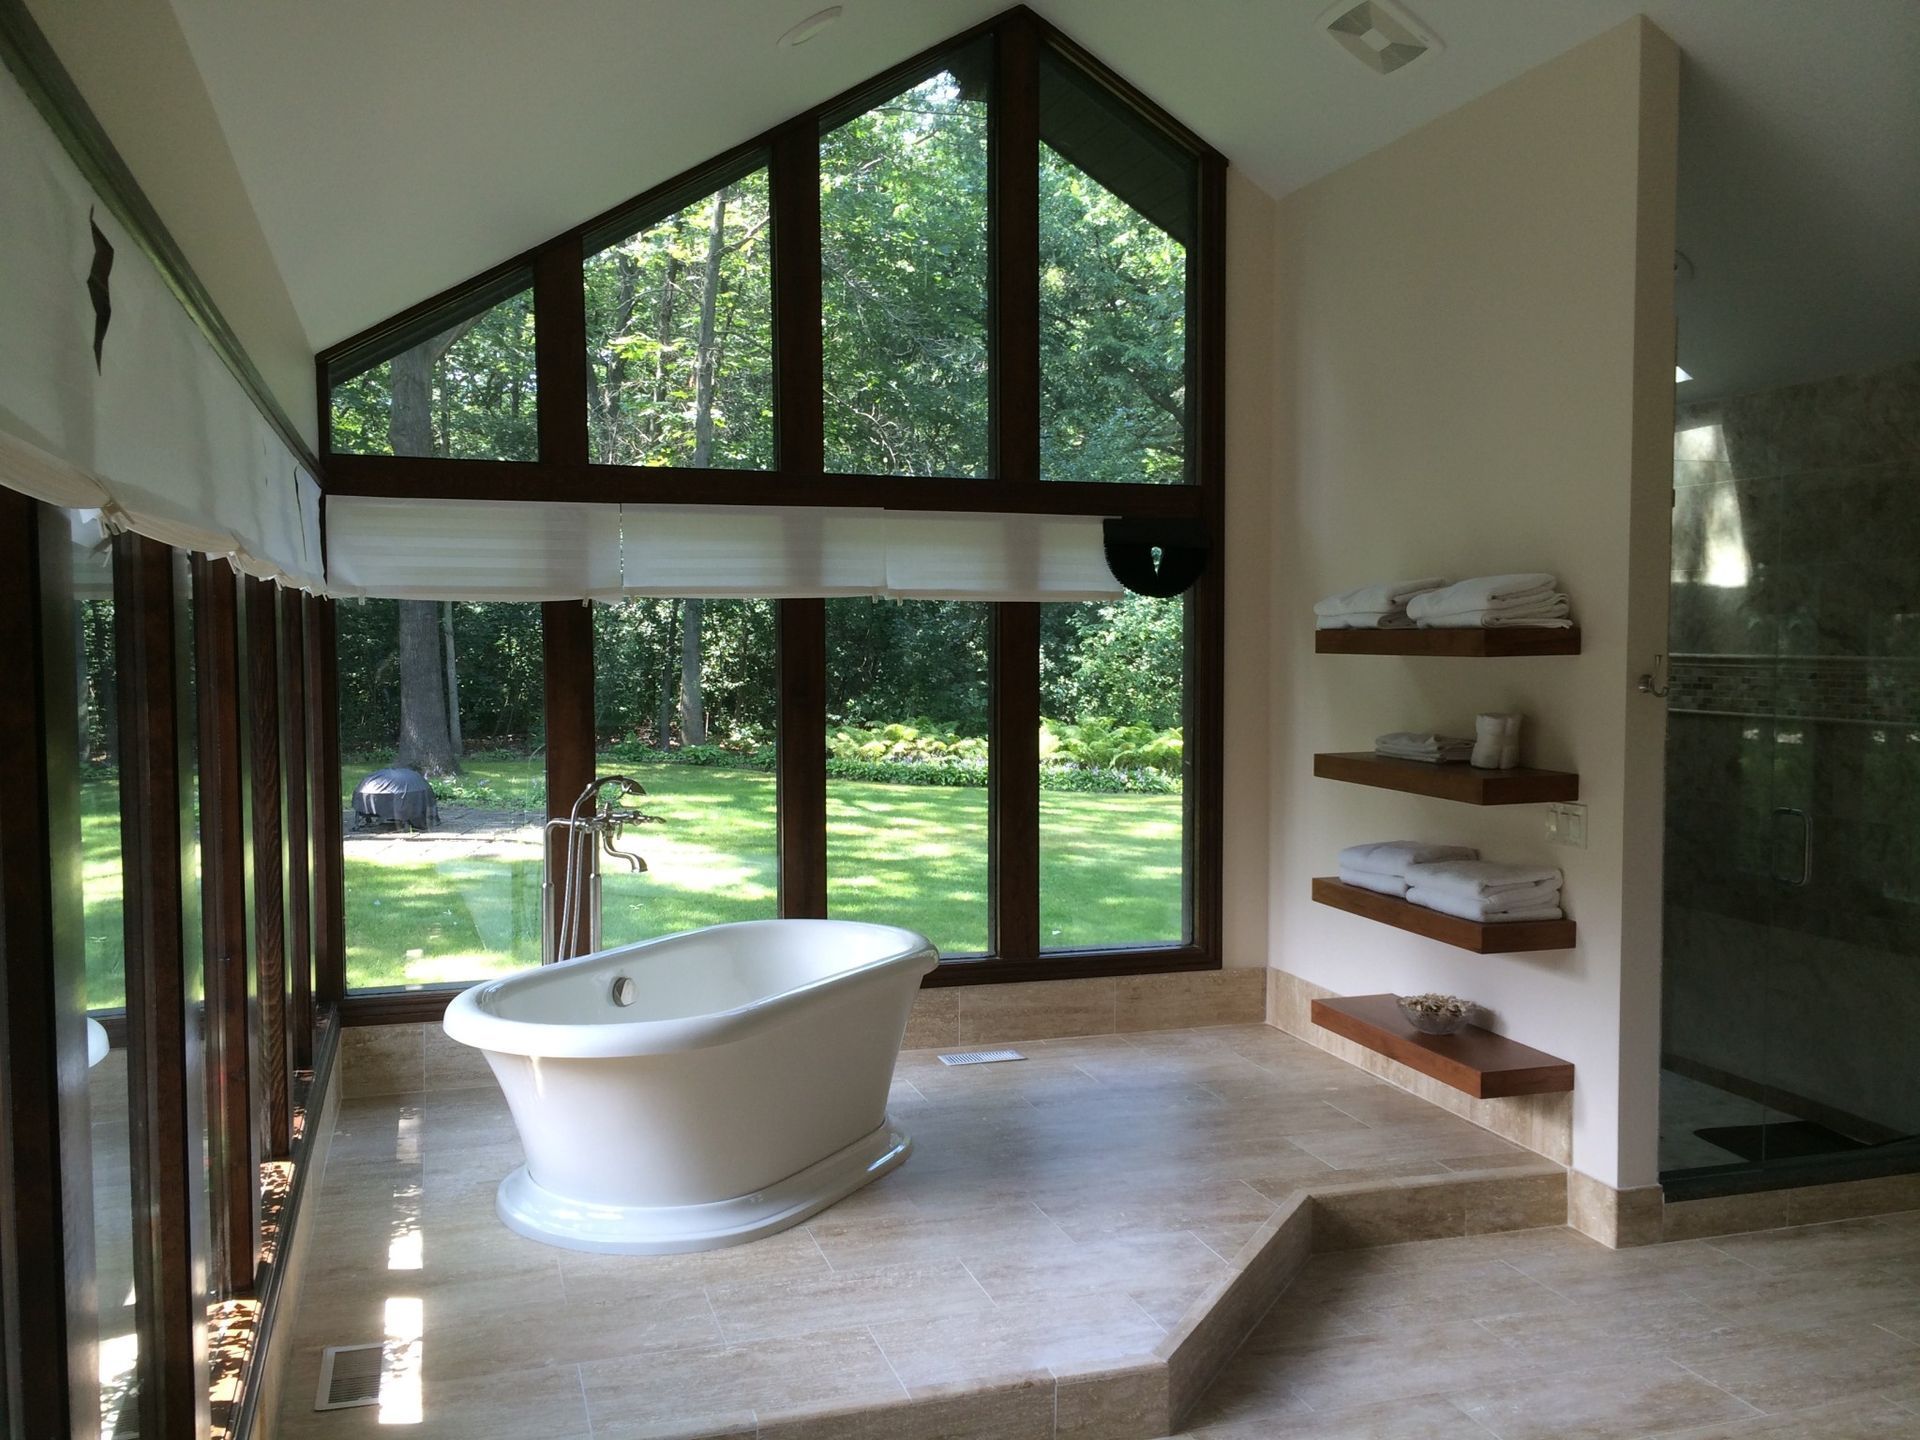
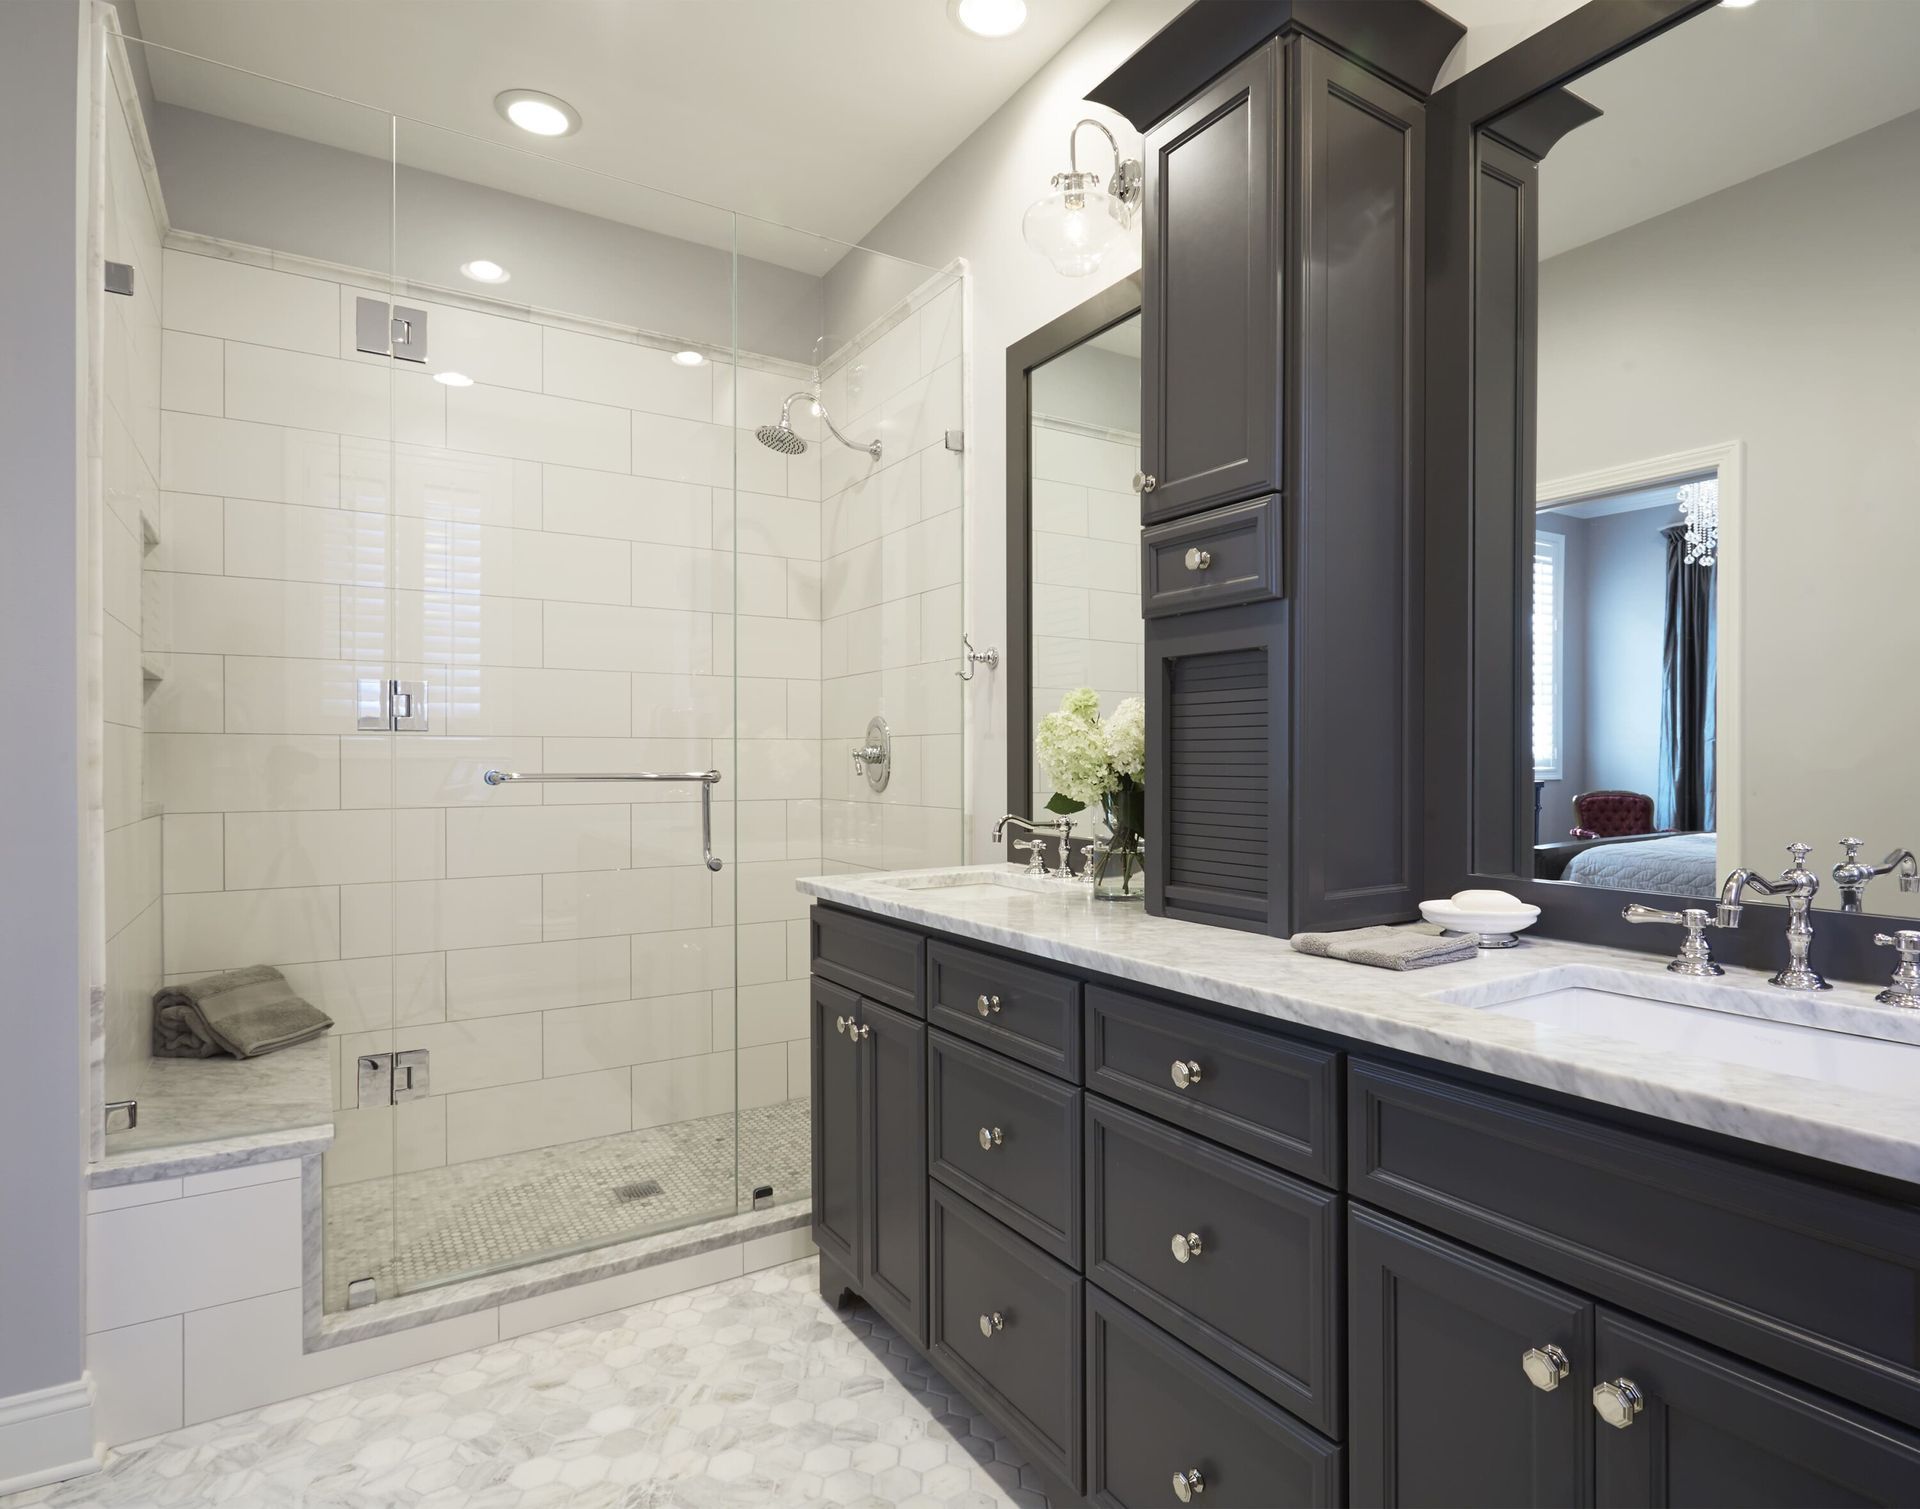
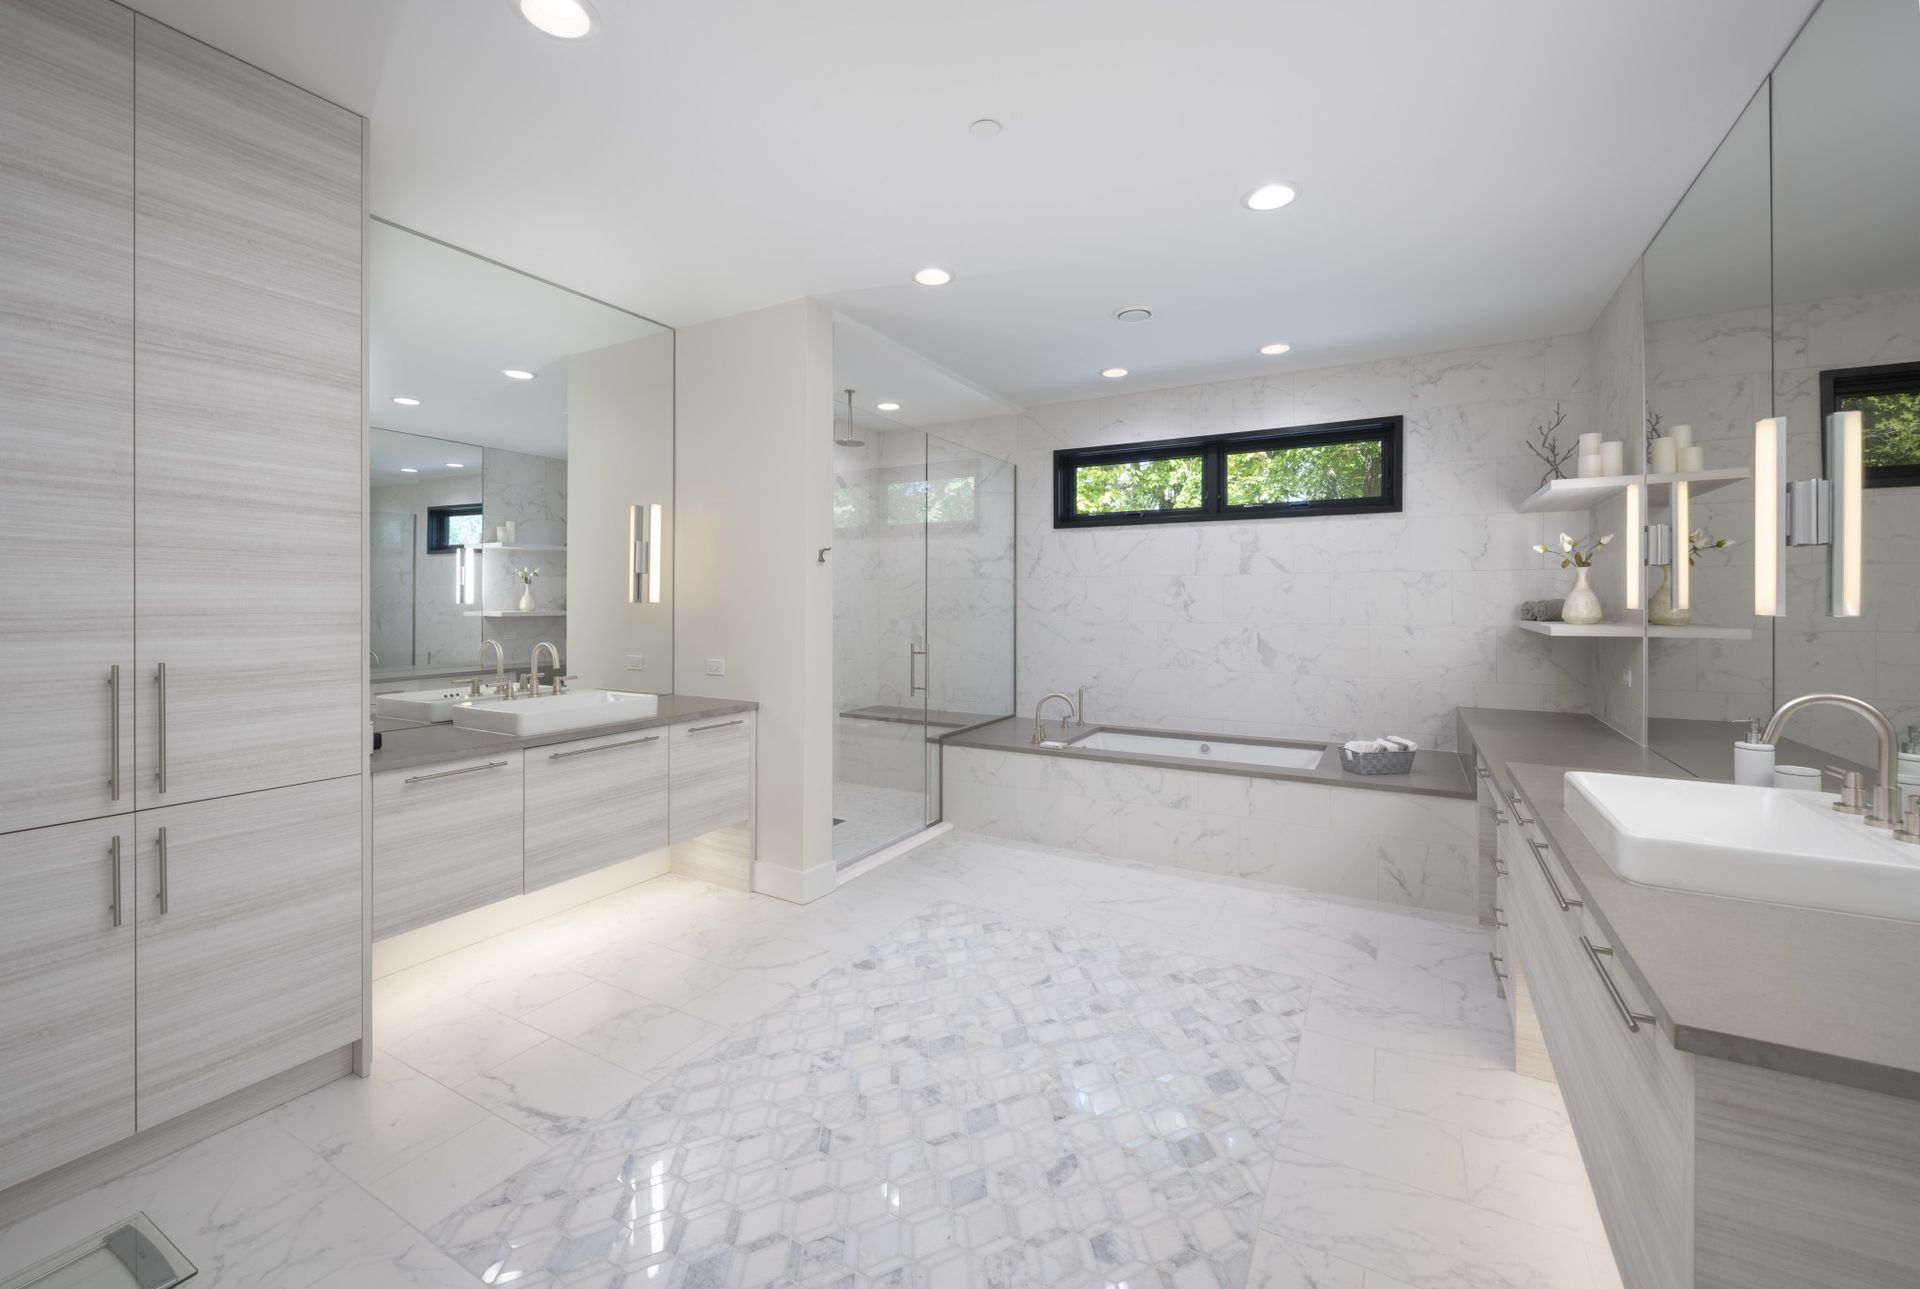


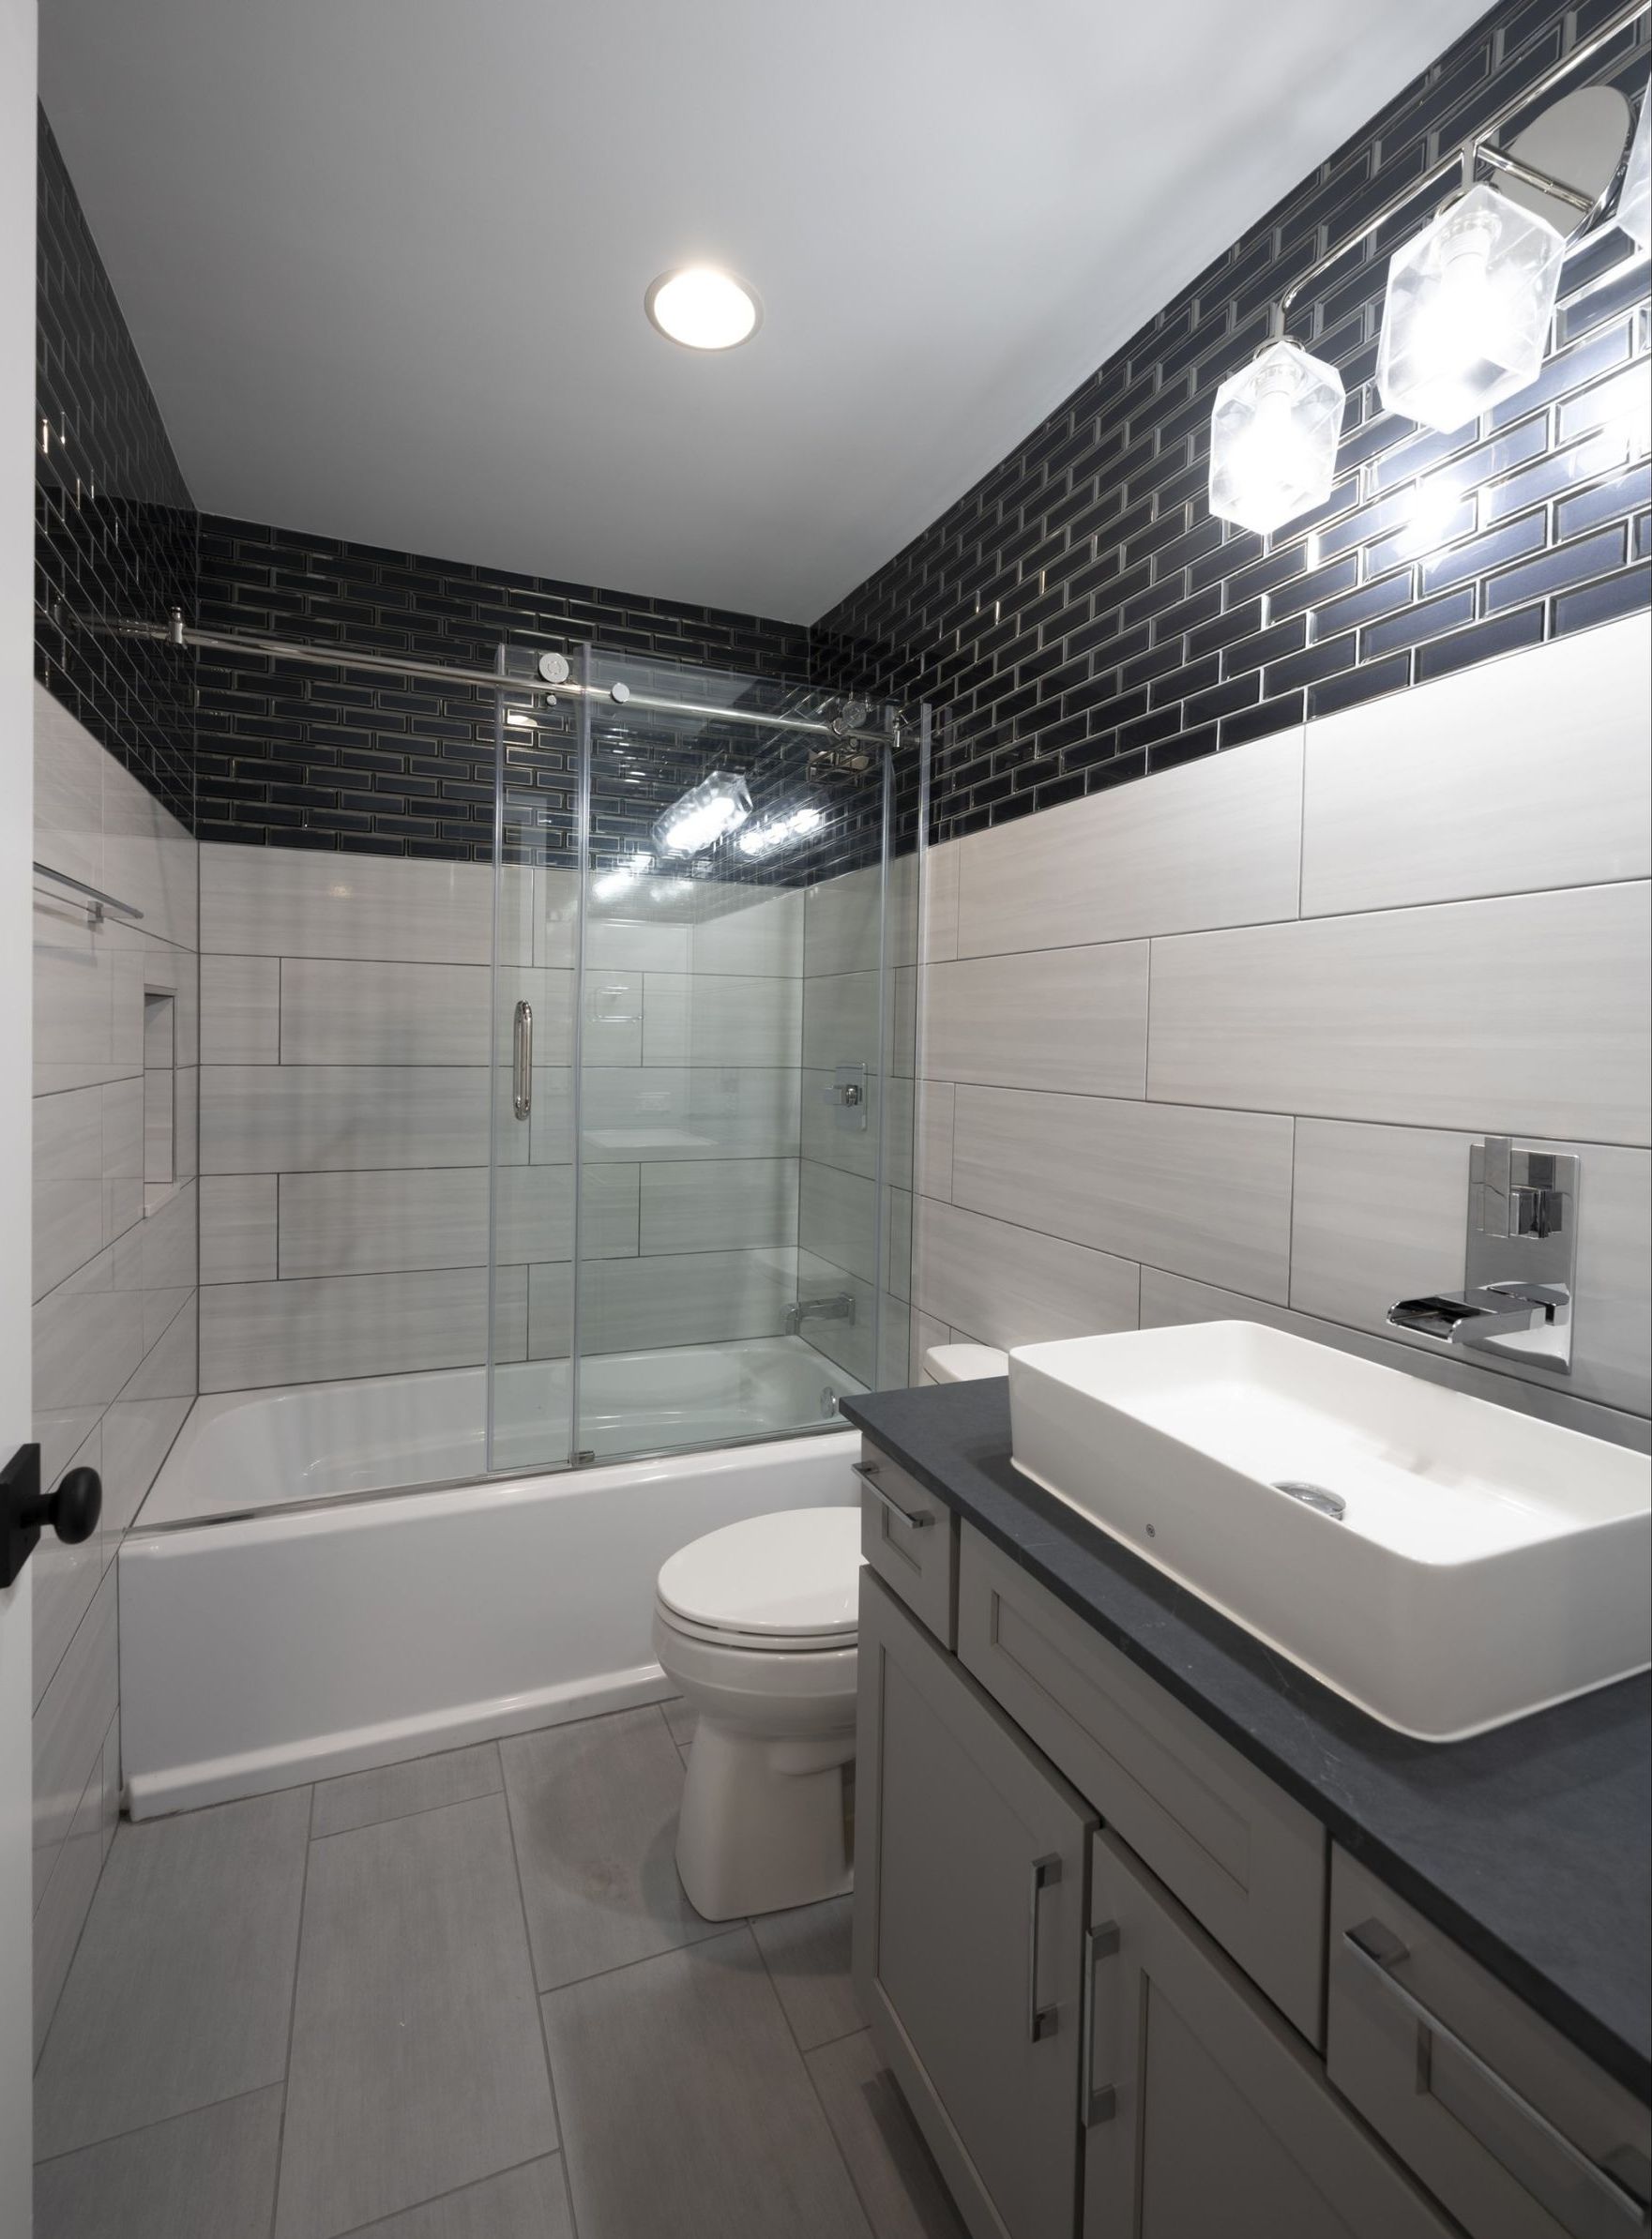
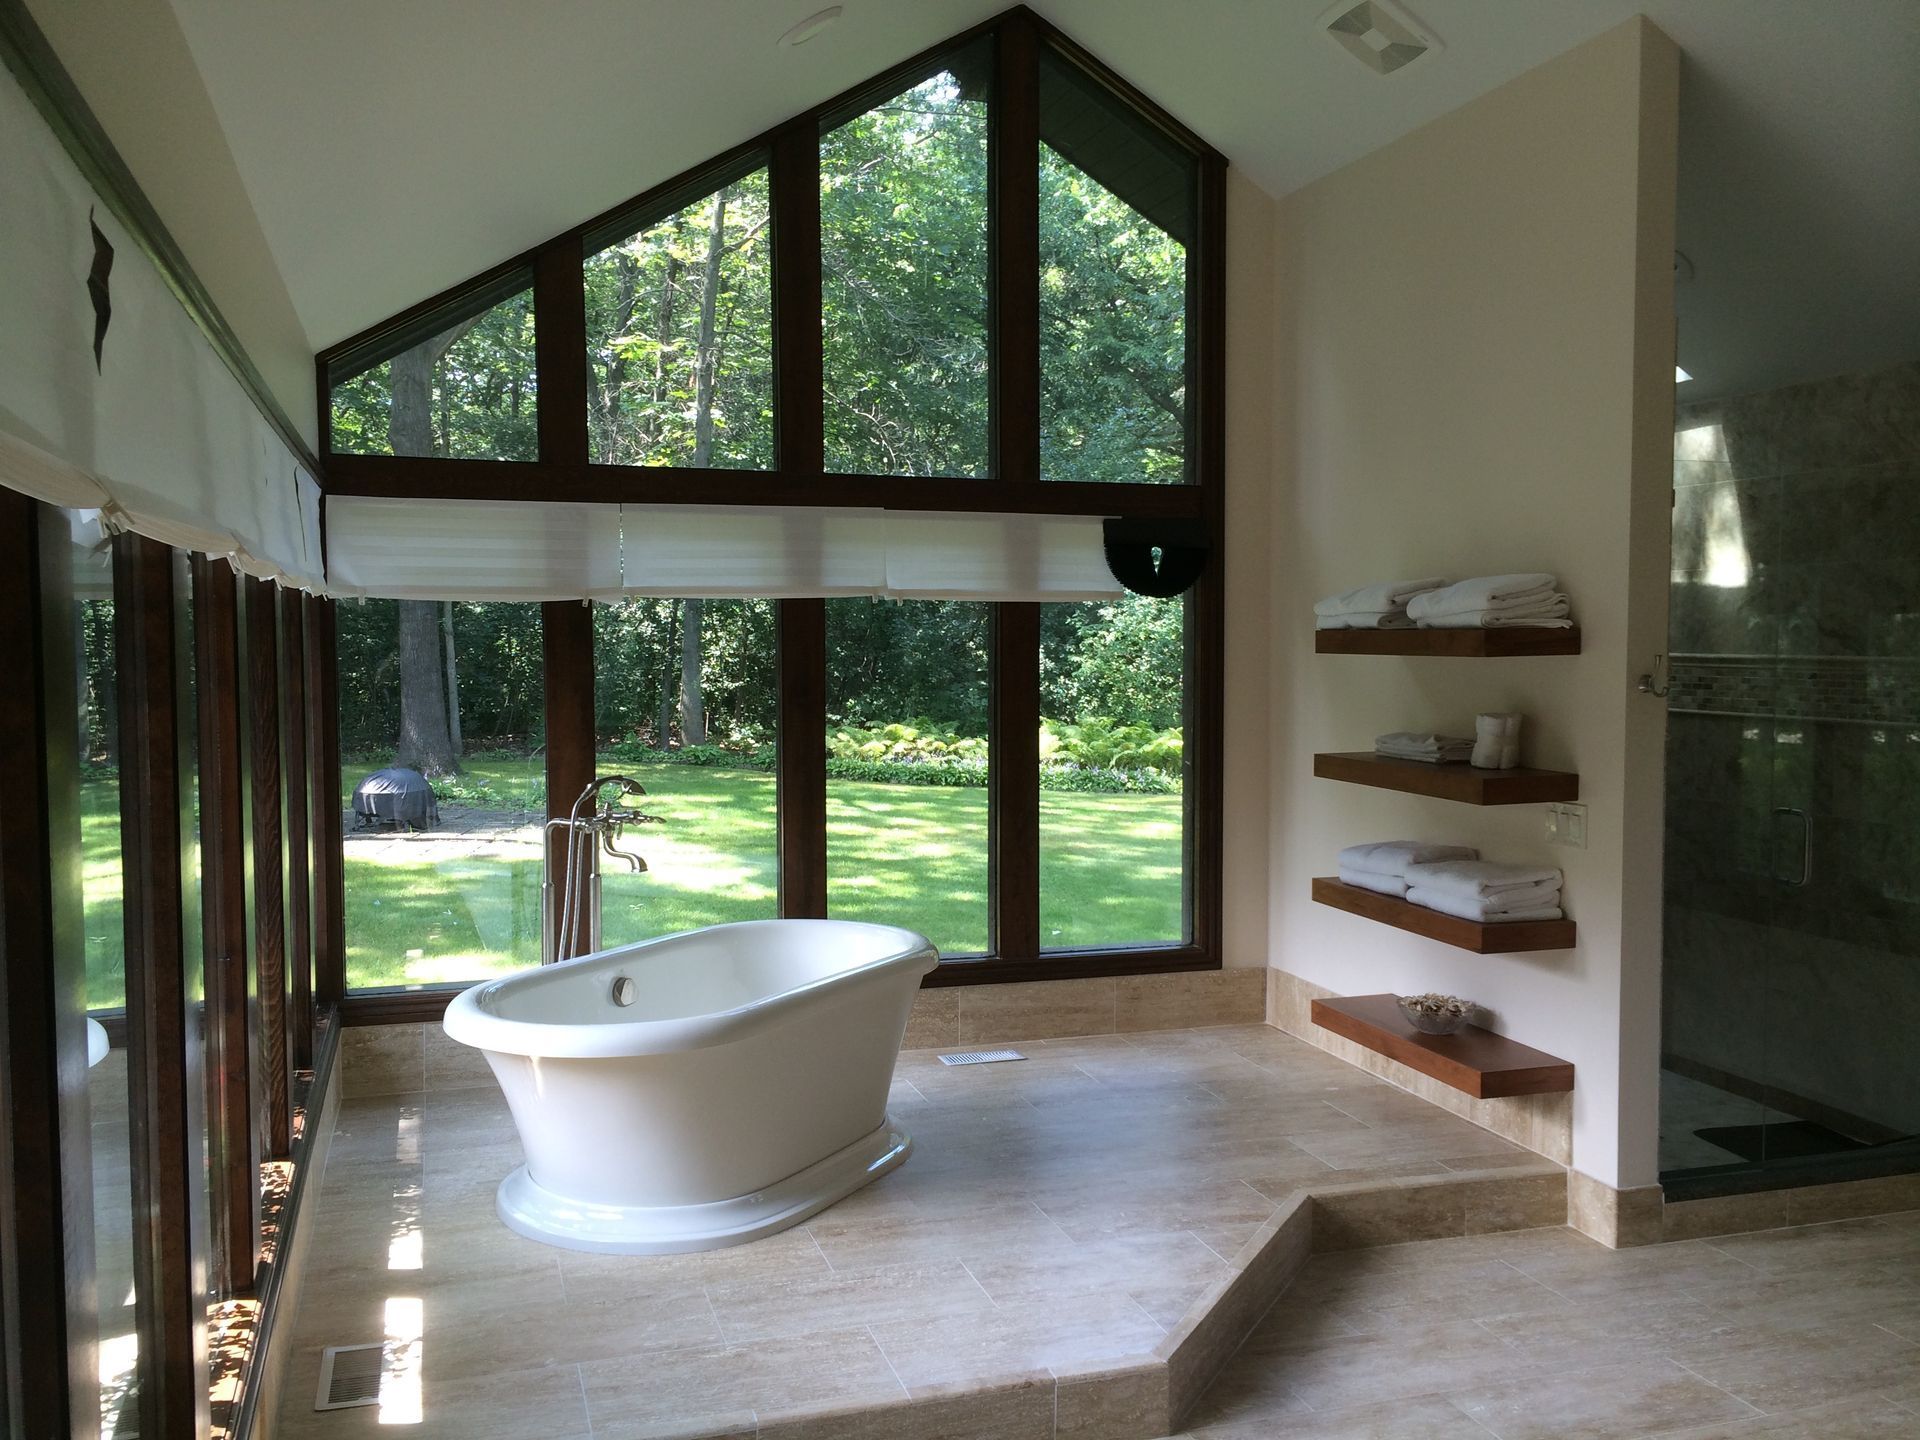
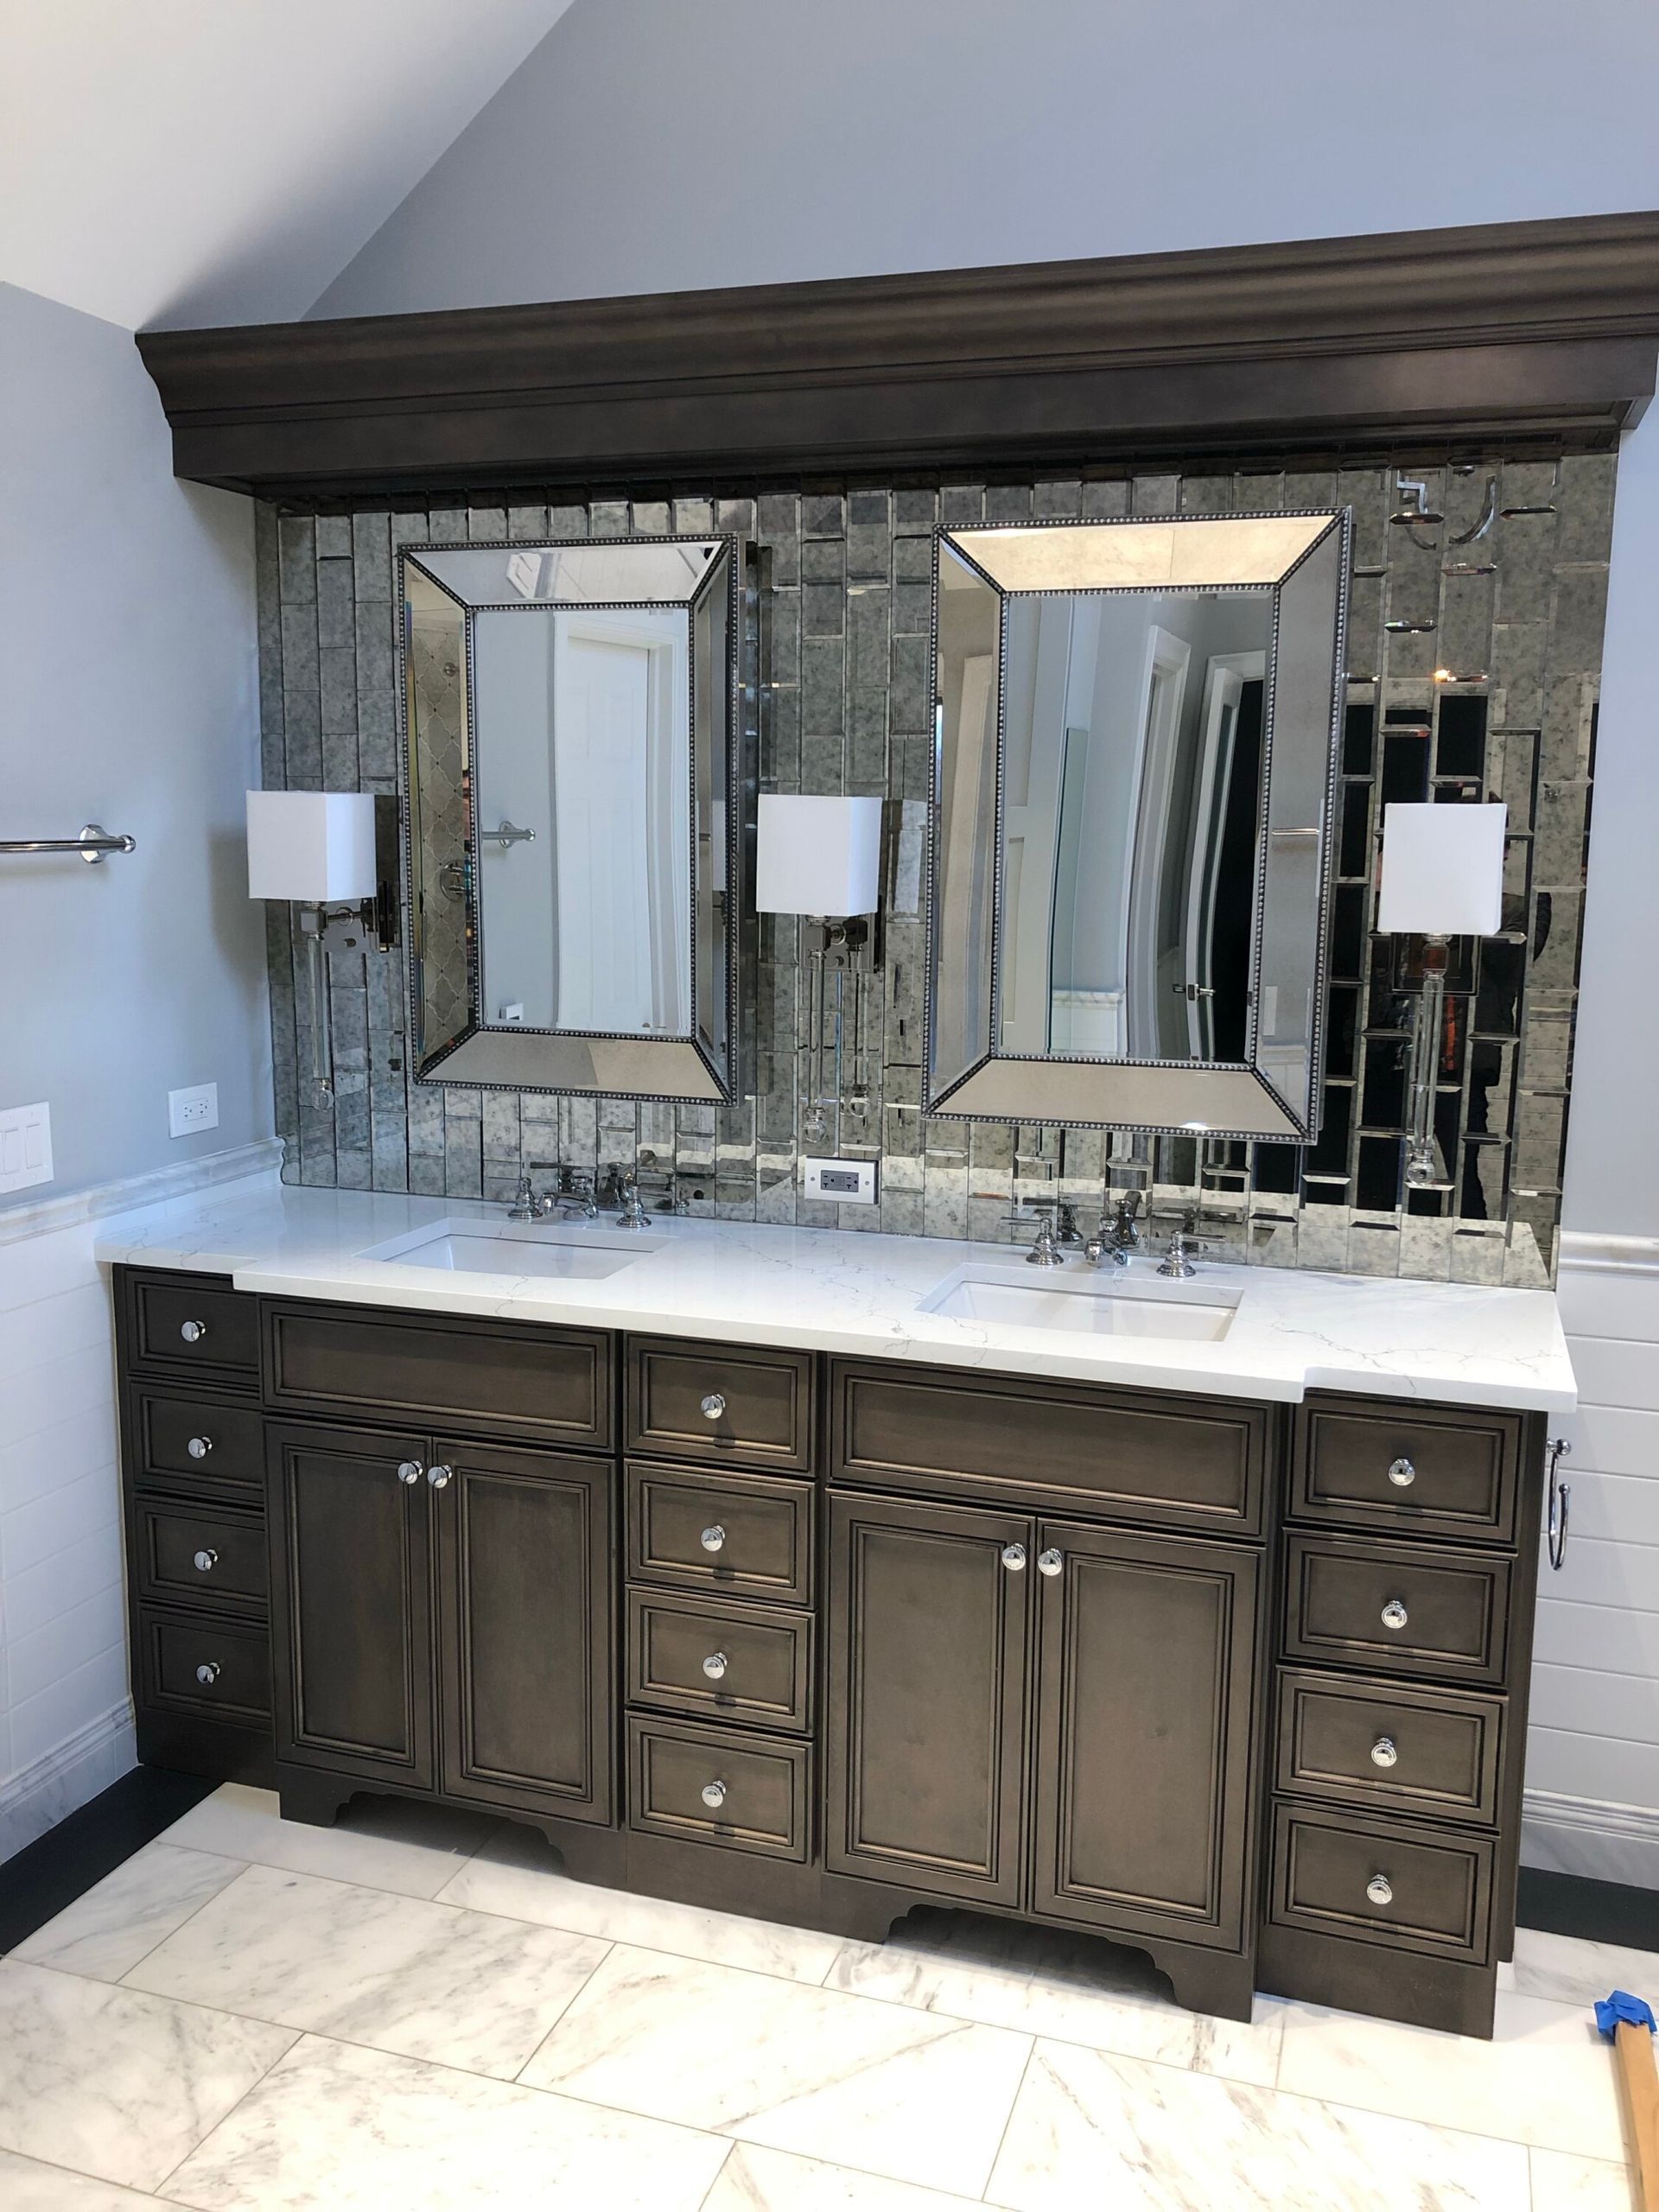
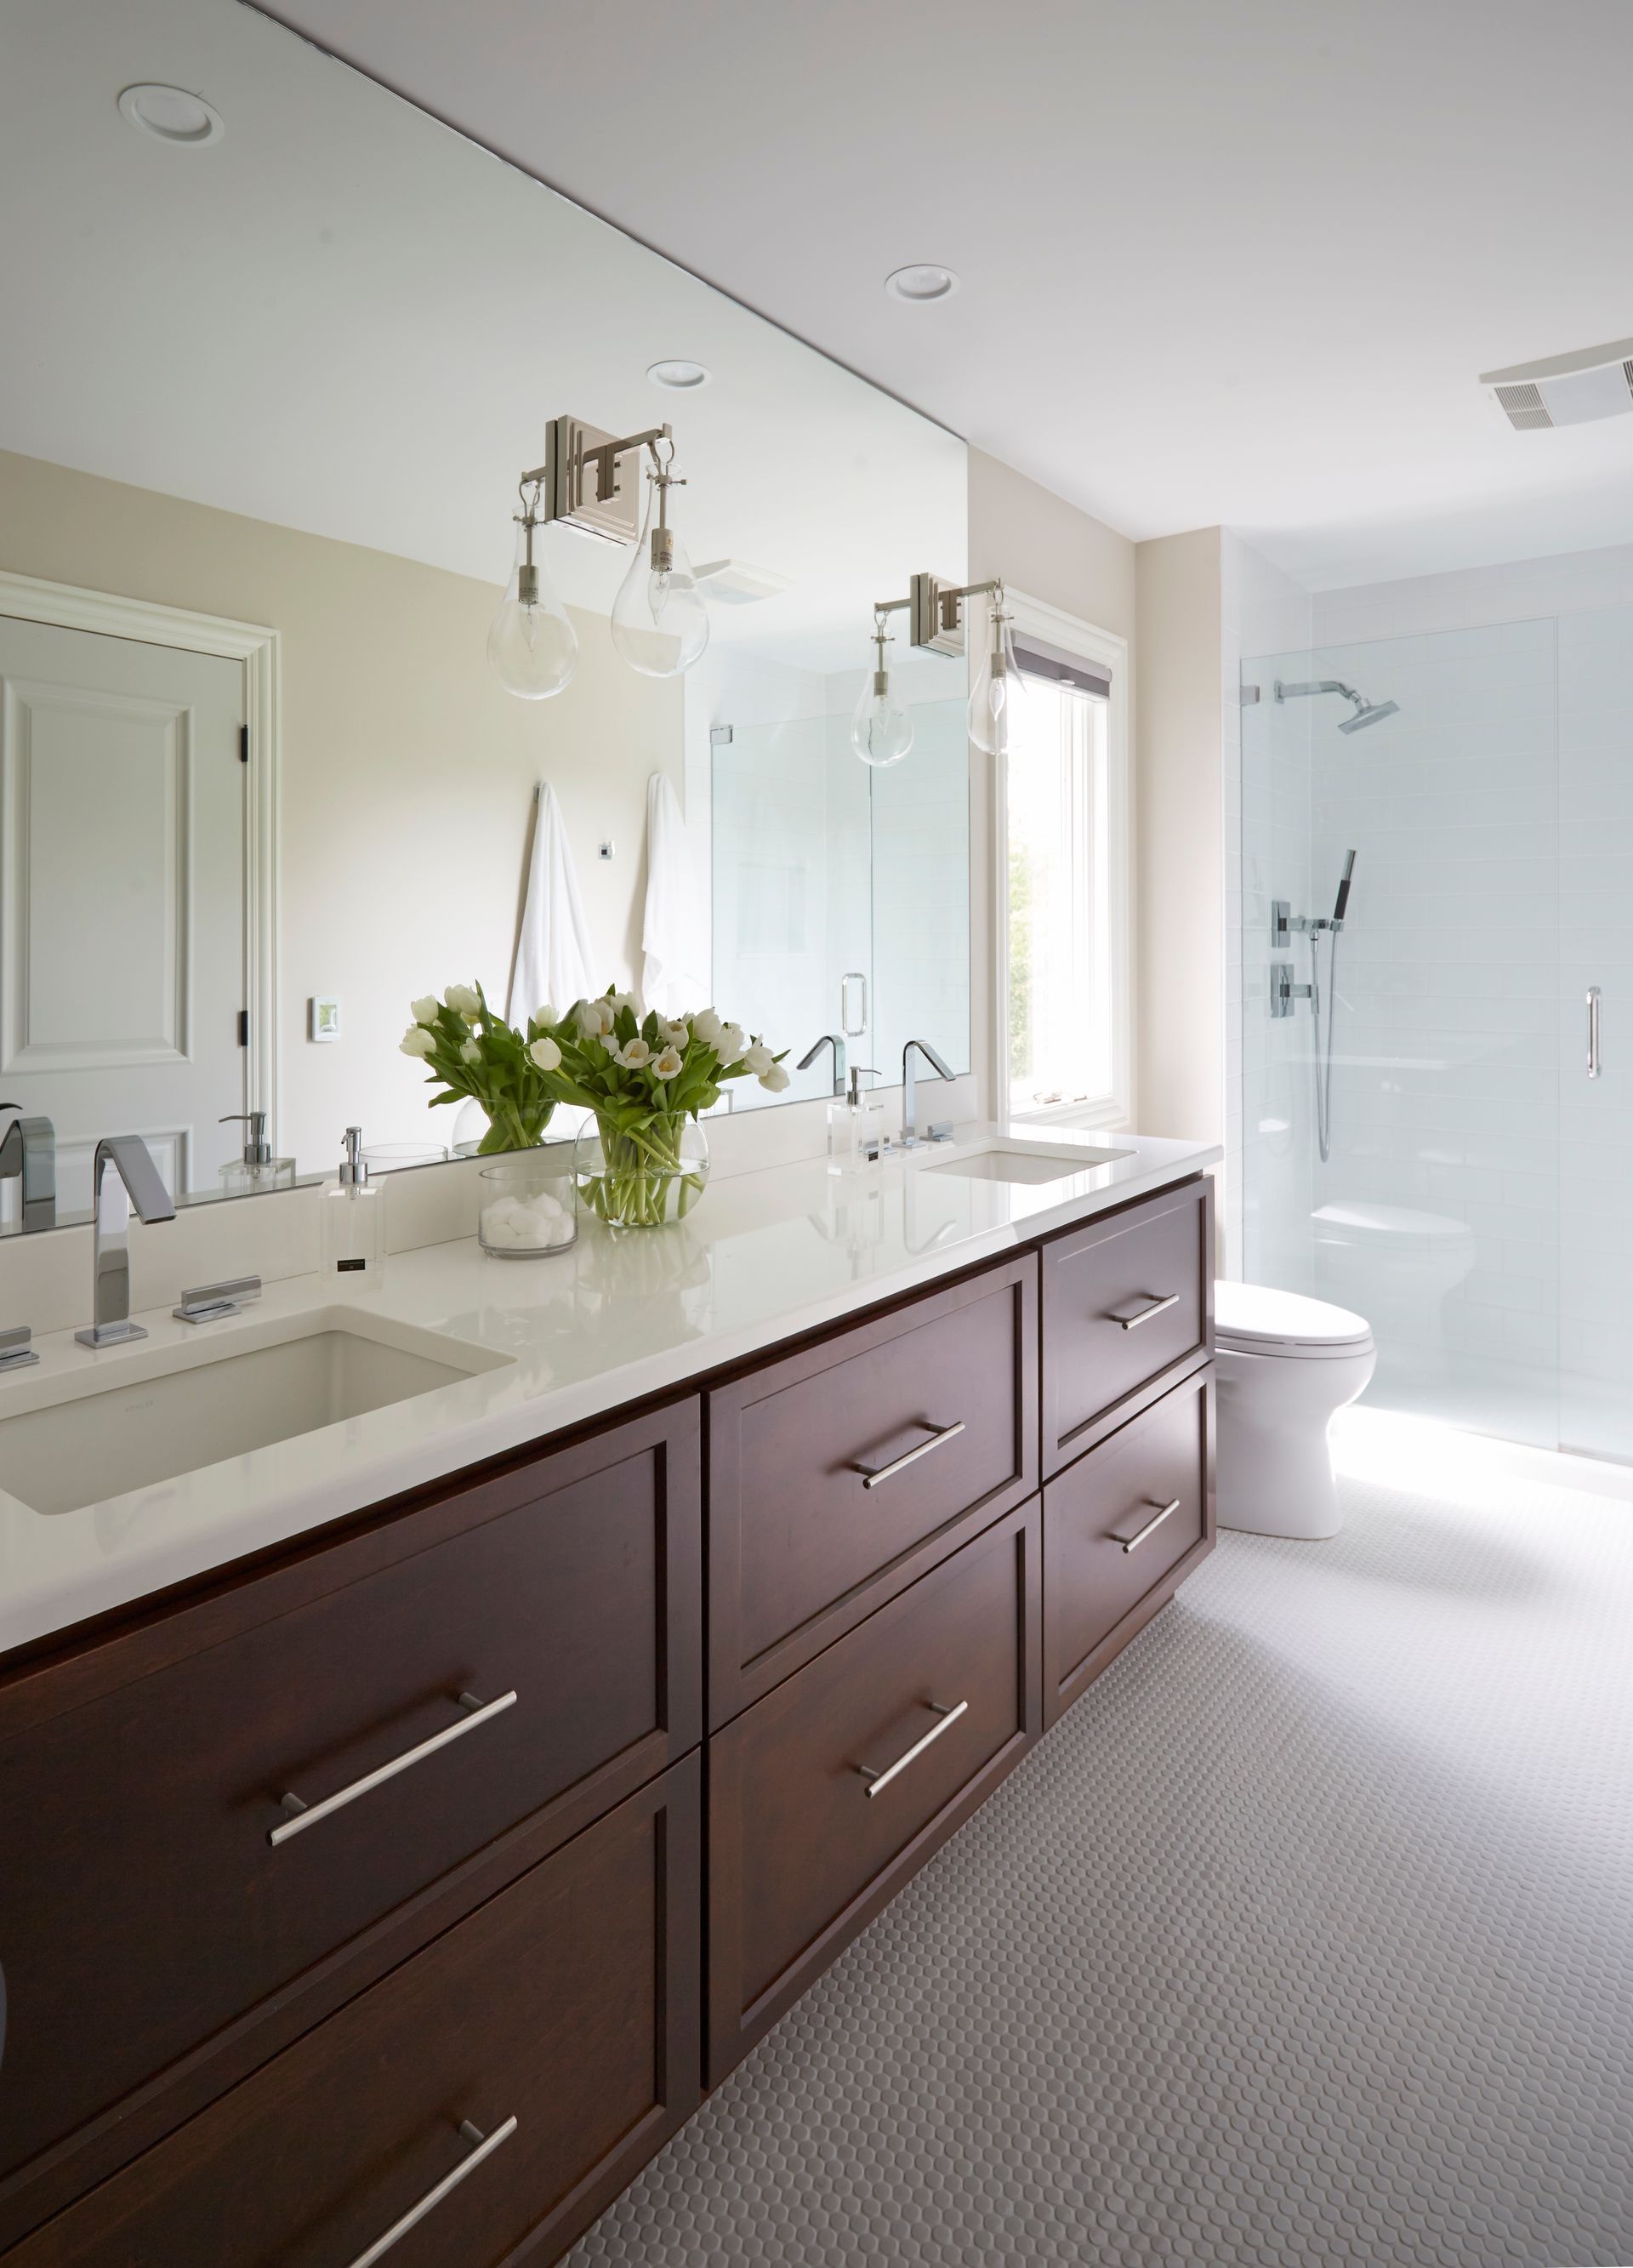
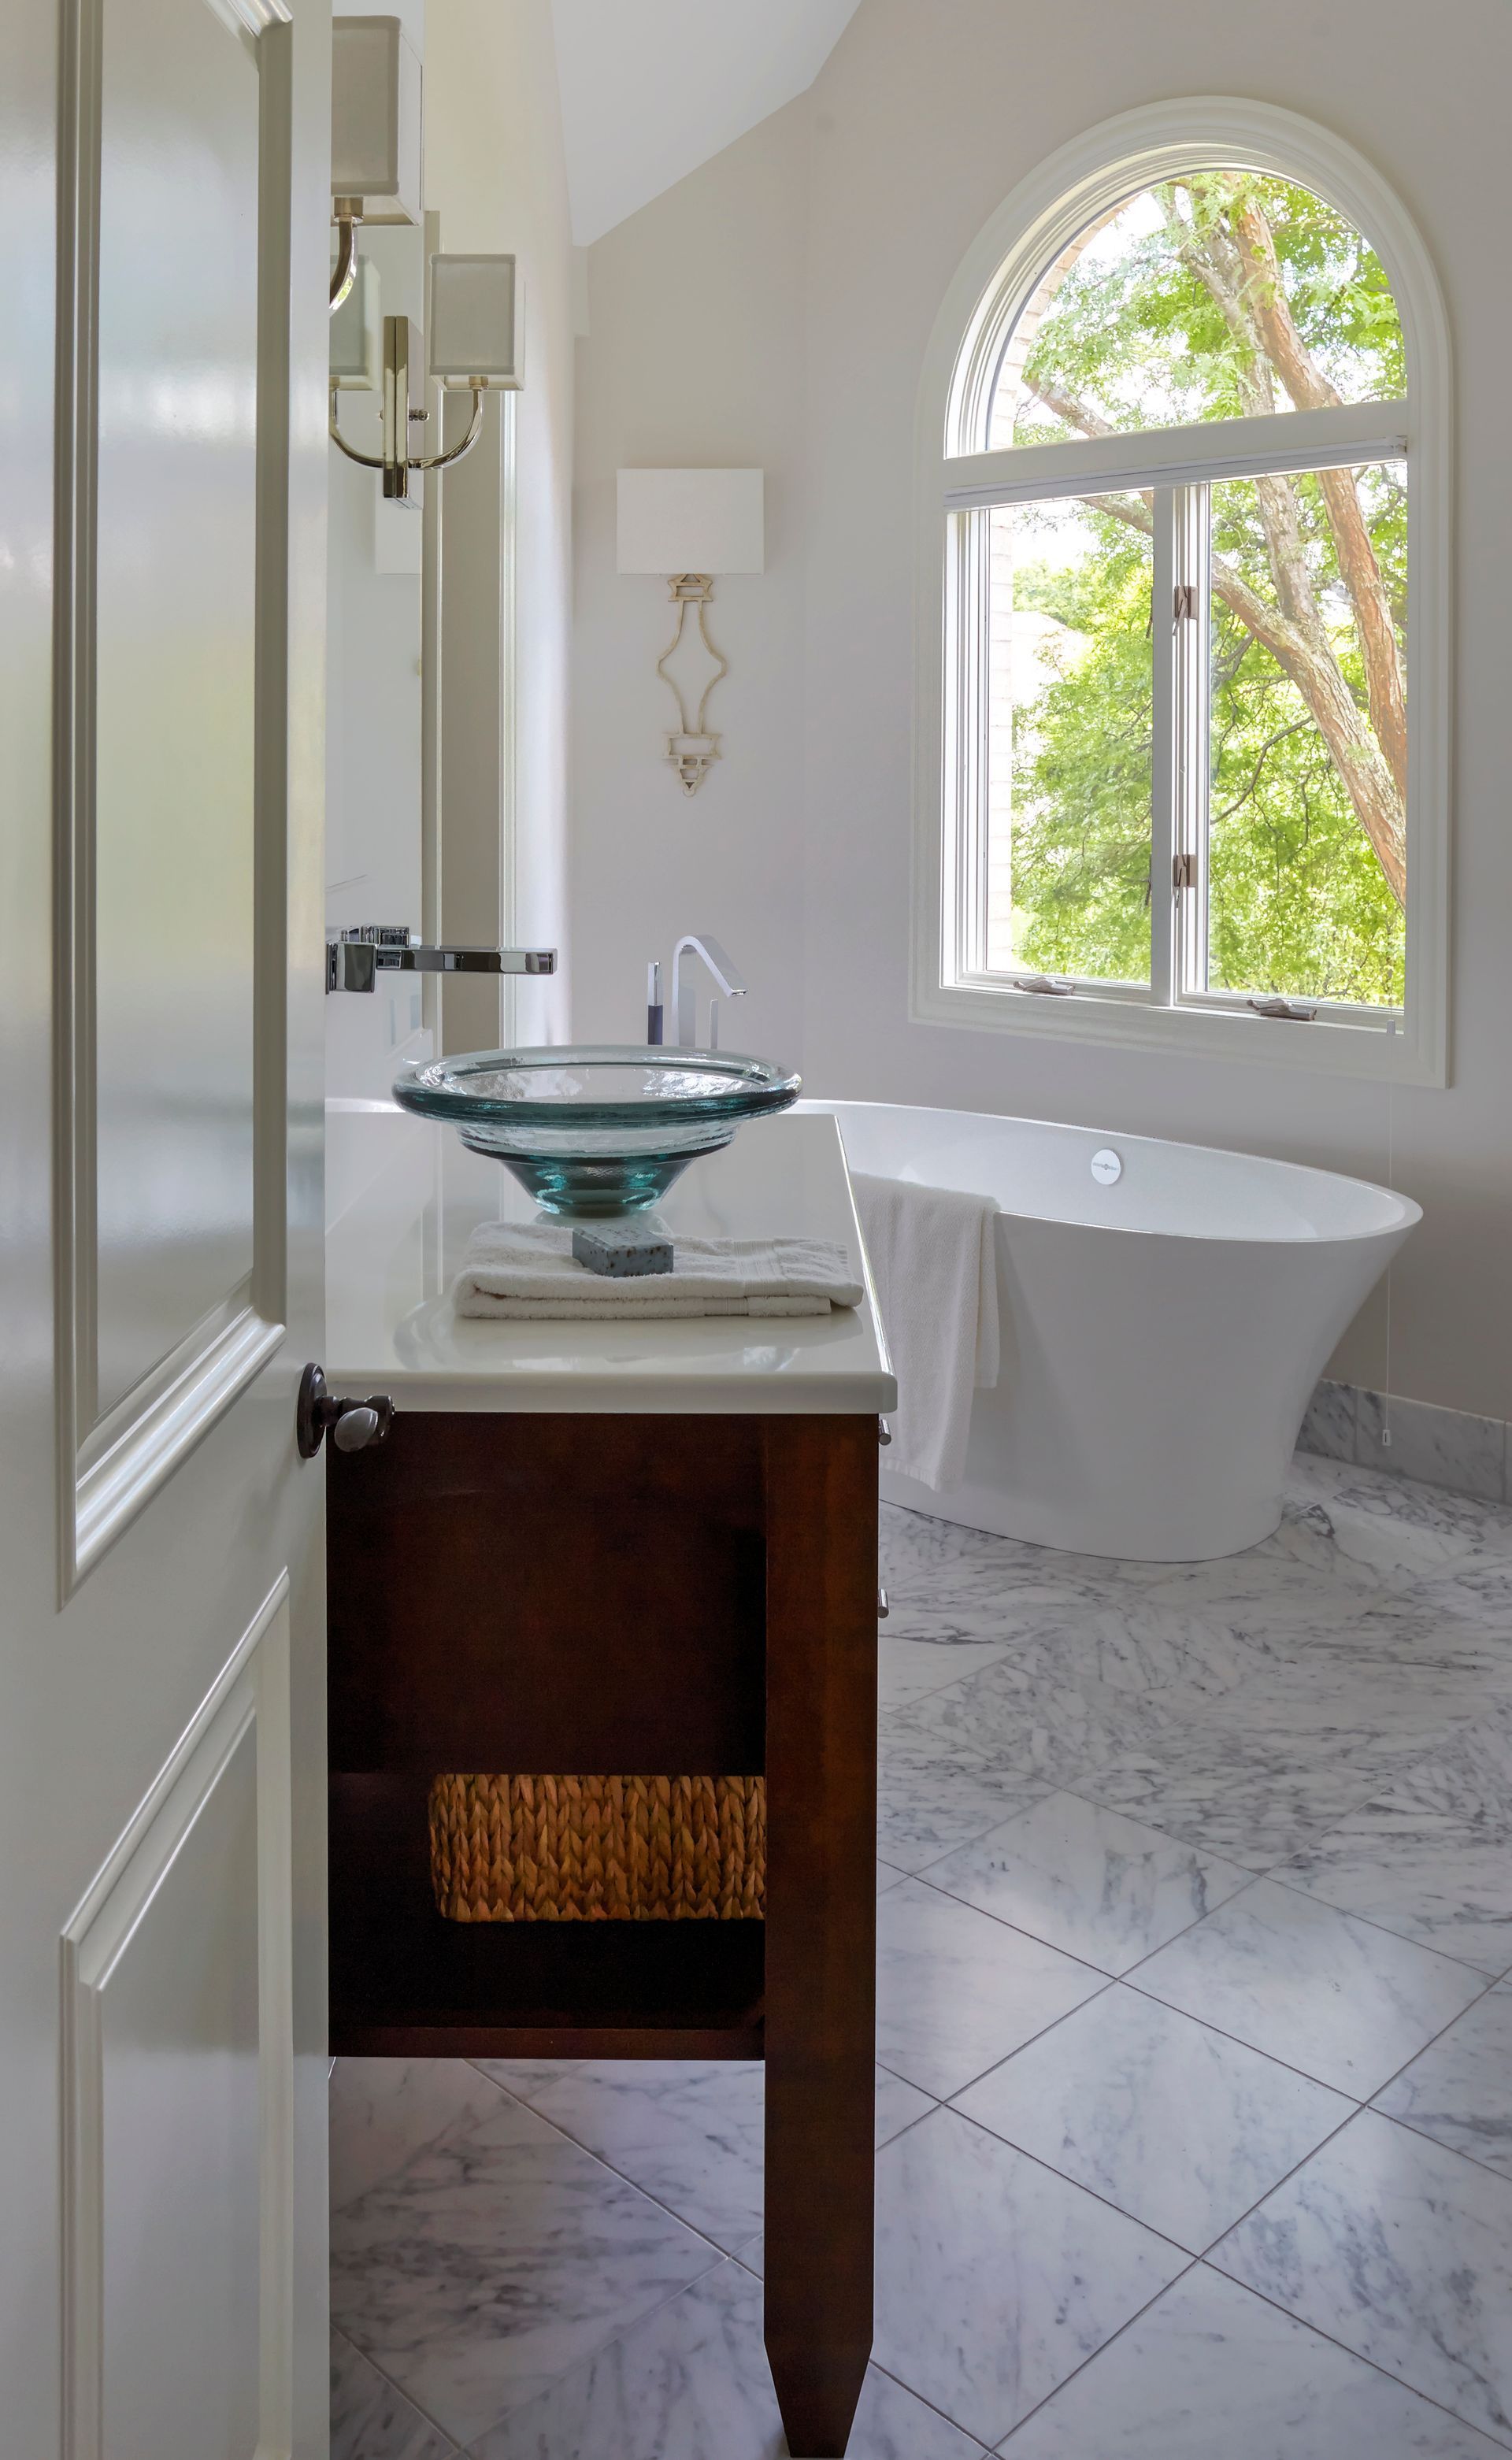
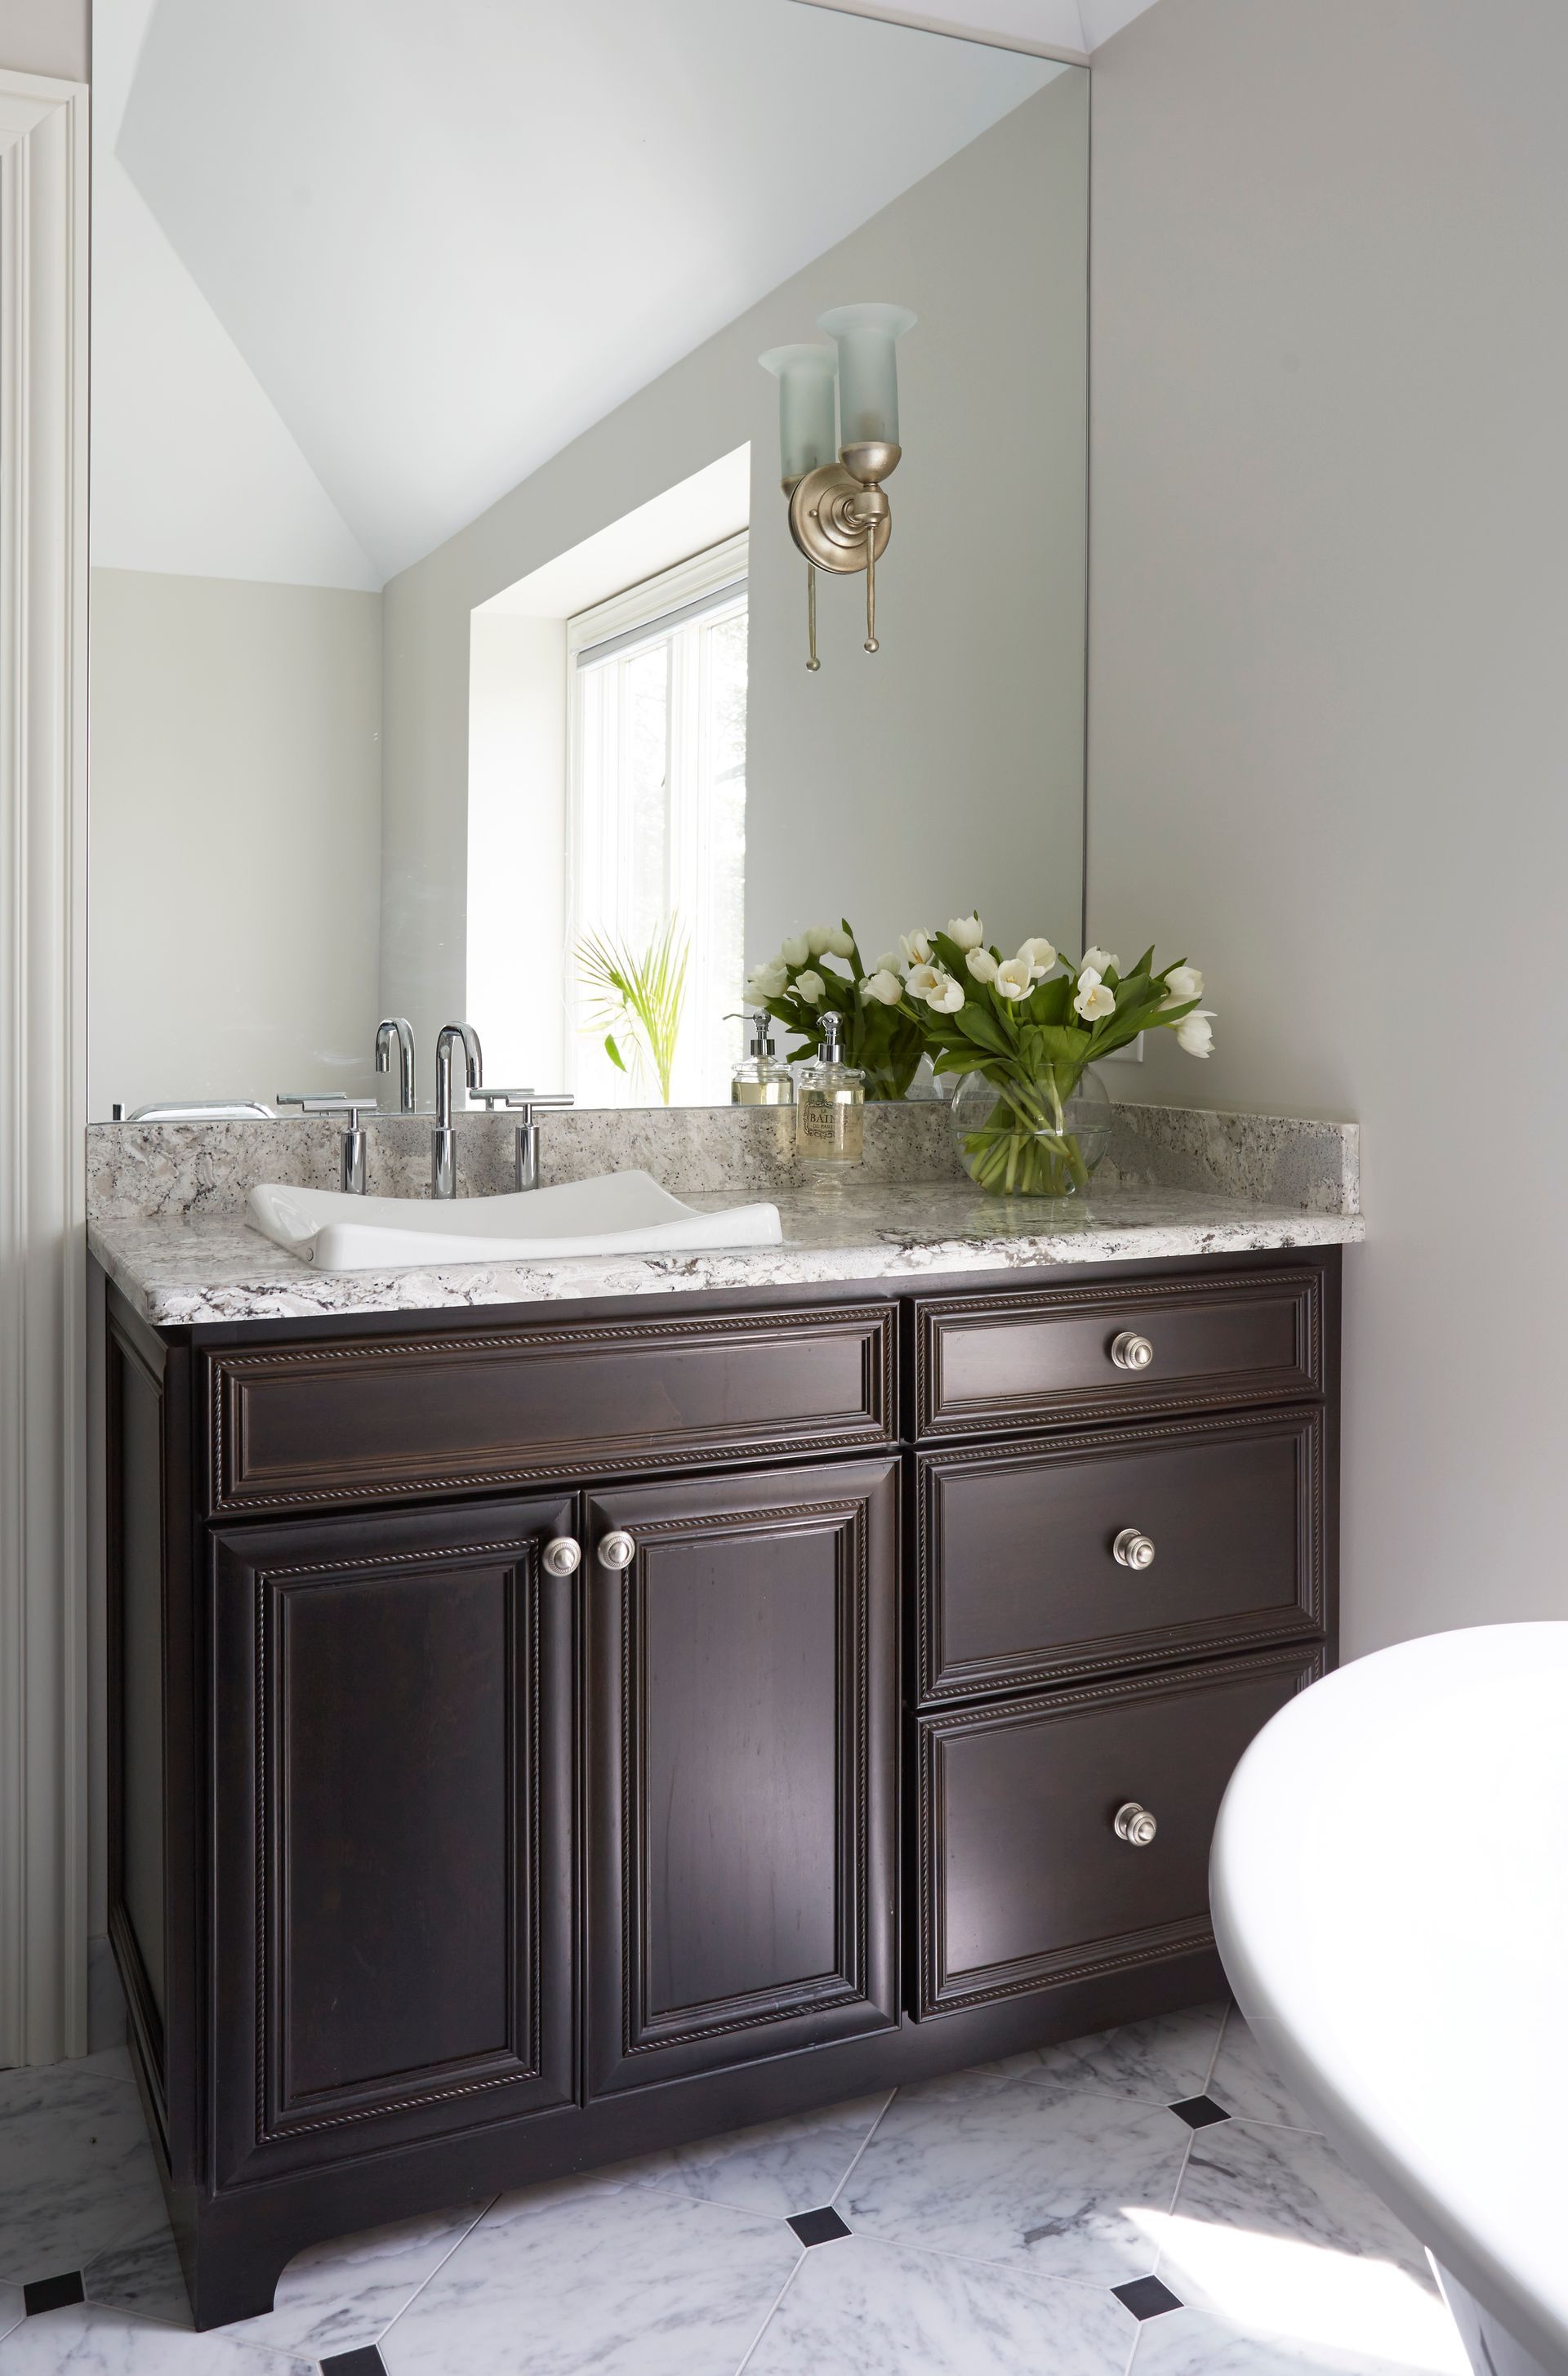
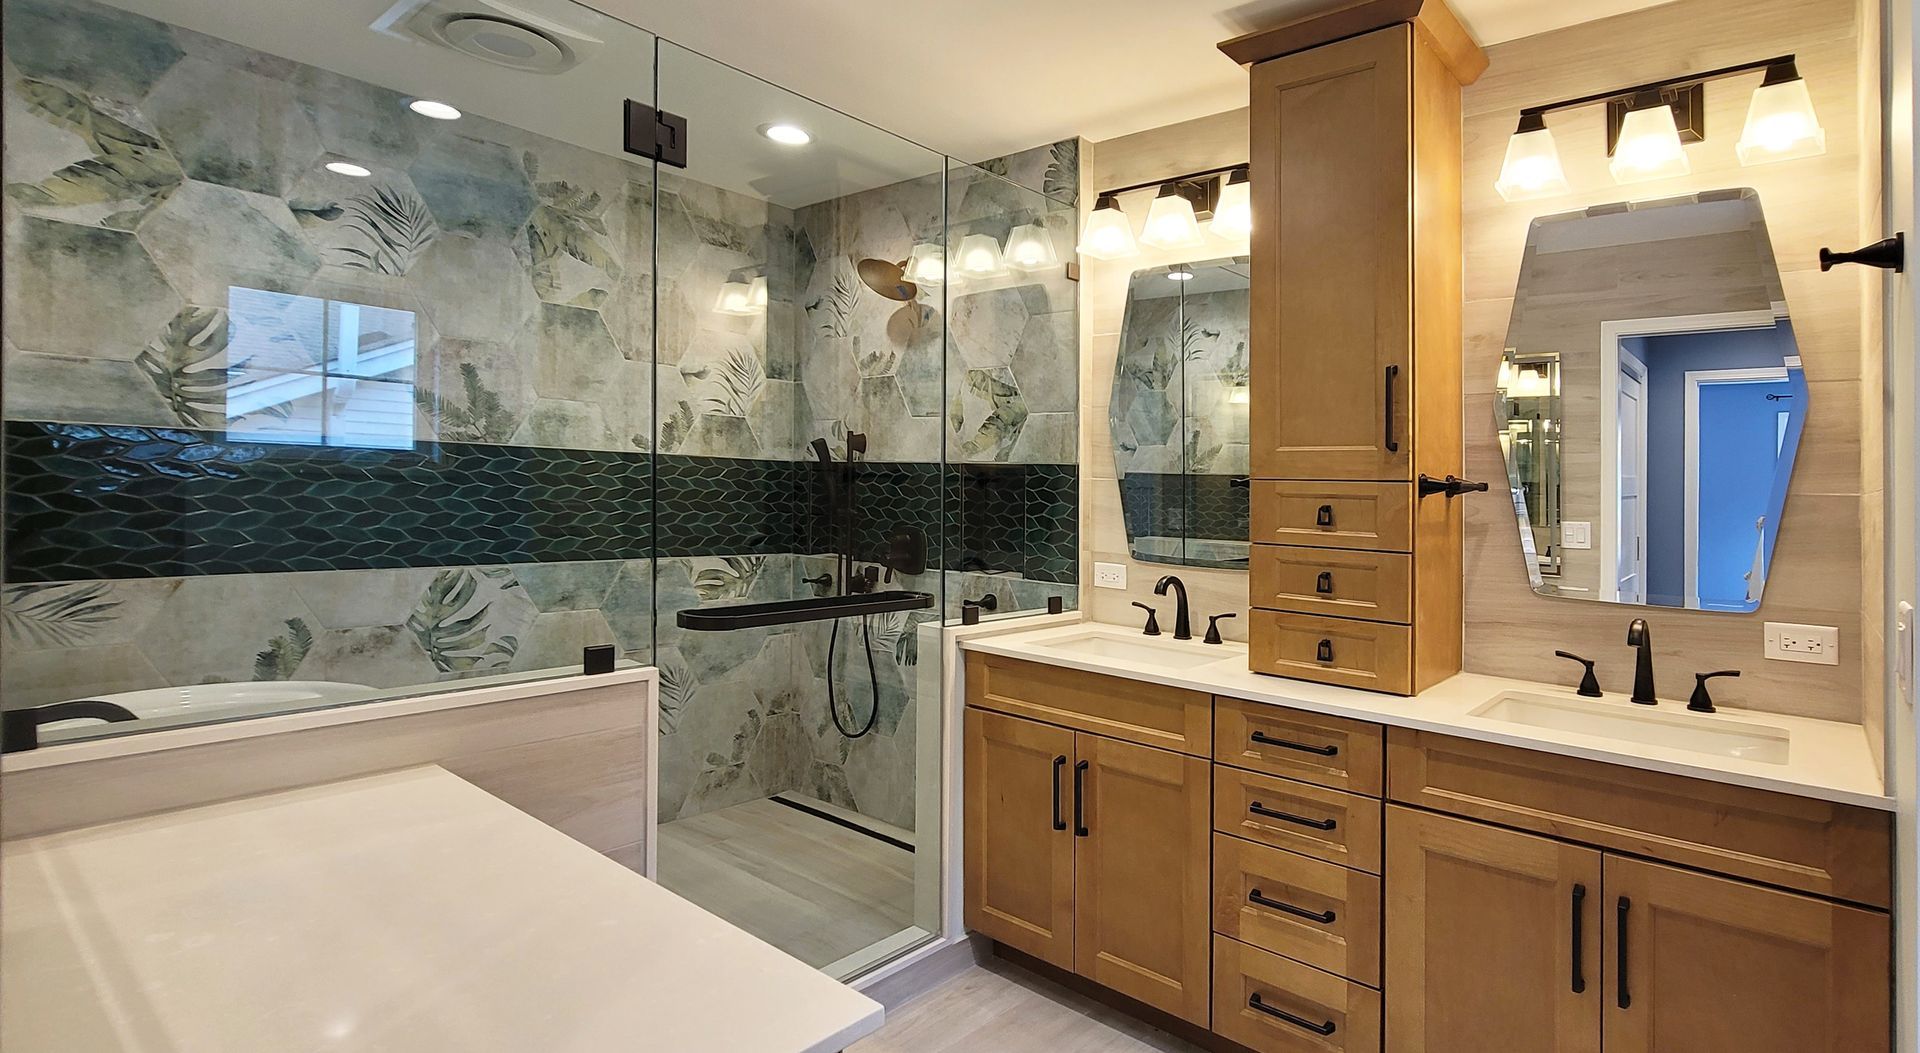
Crimson Bathroom Remodeling
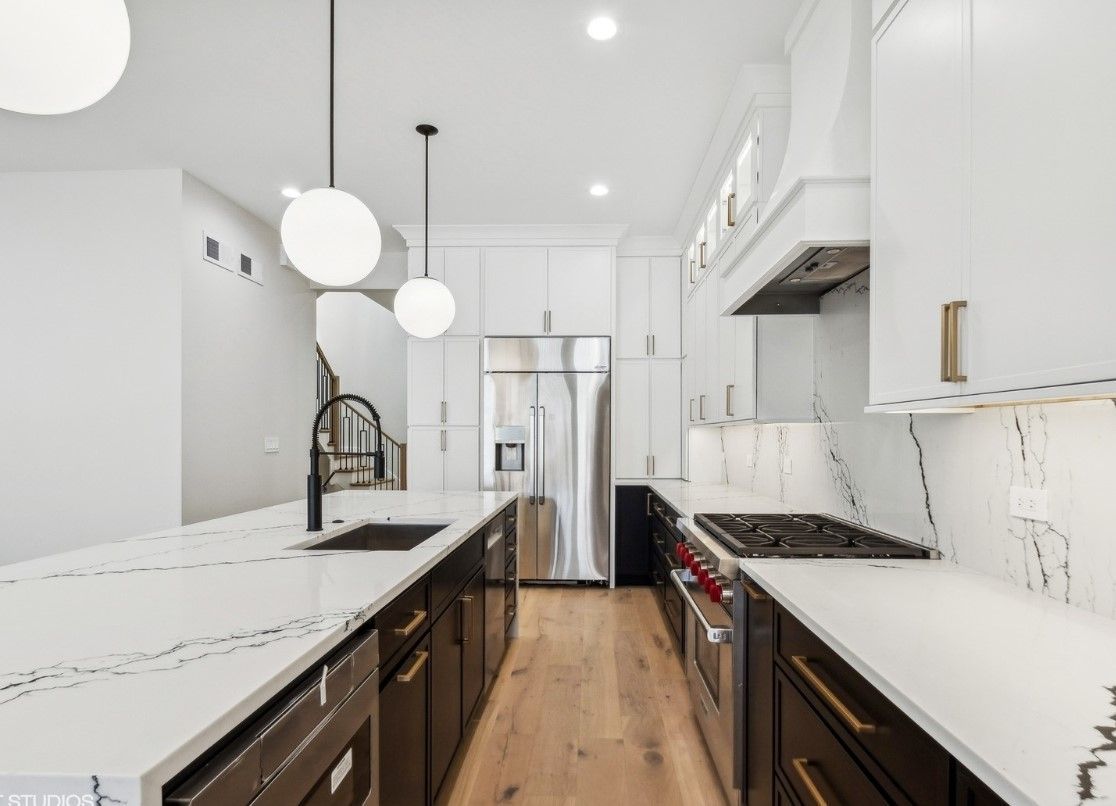
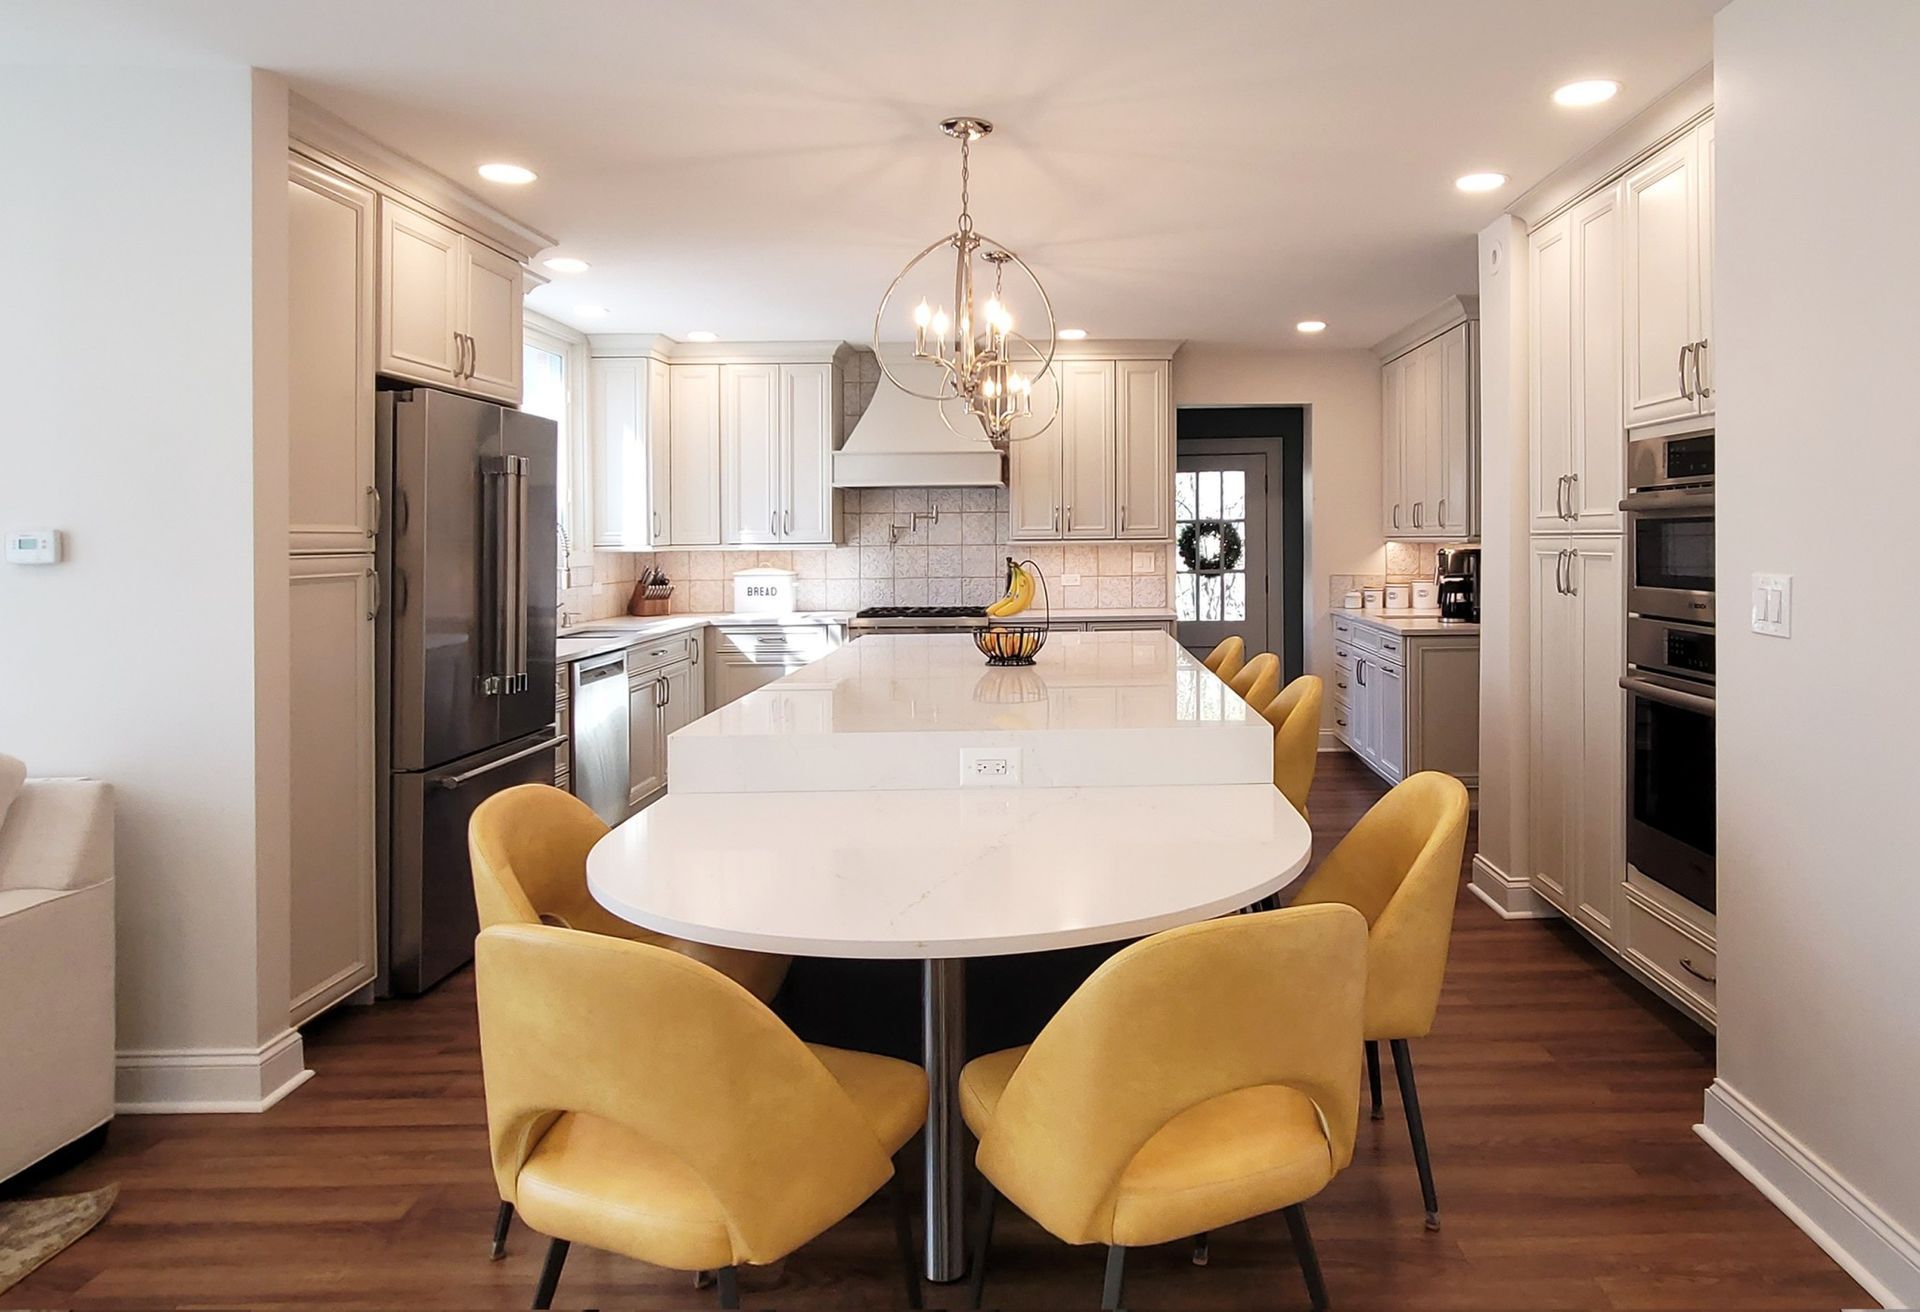
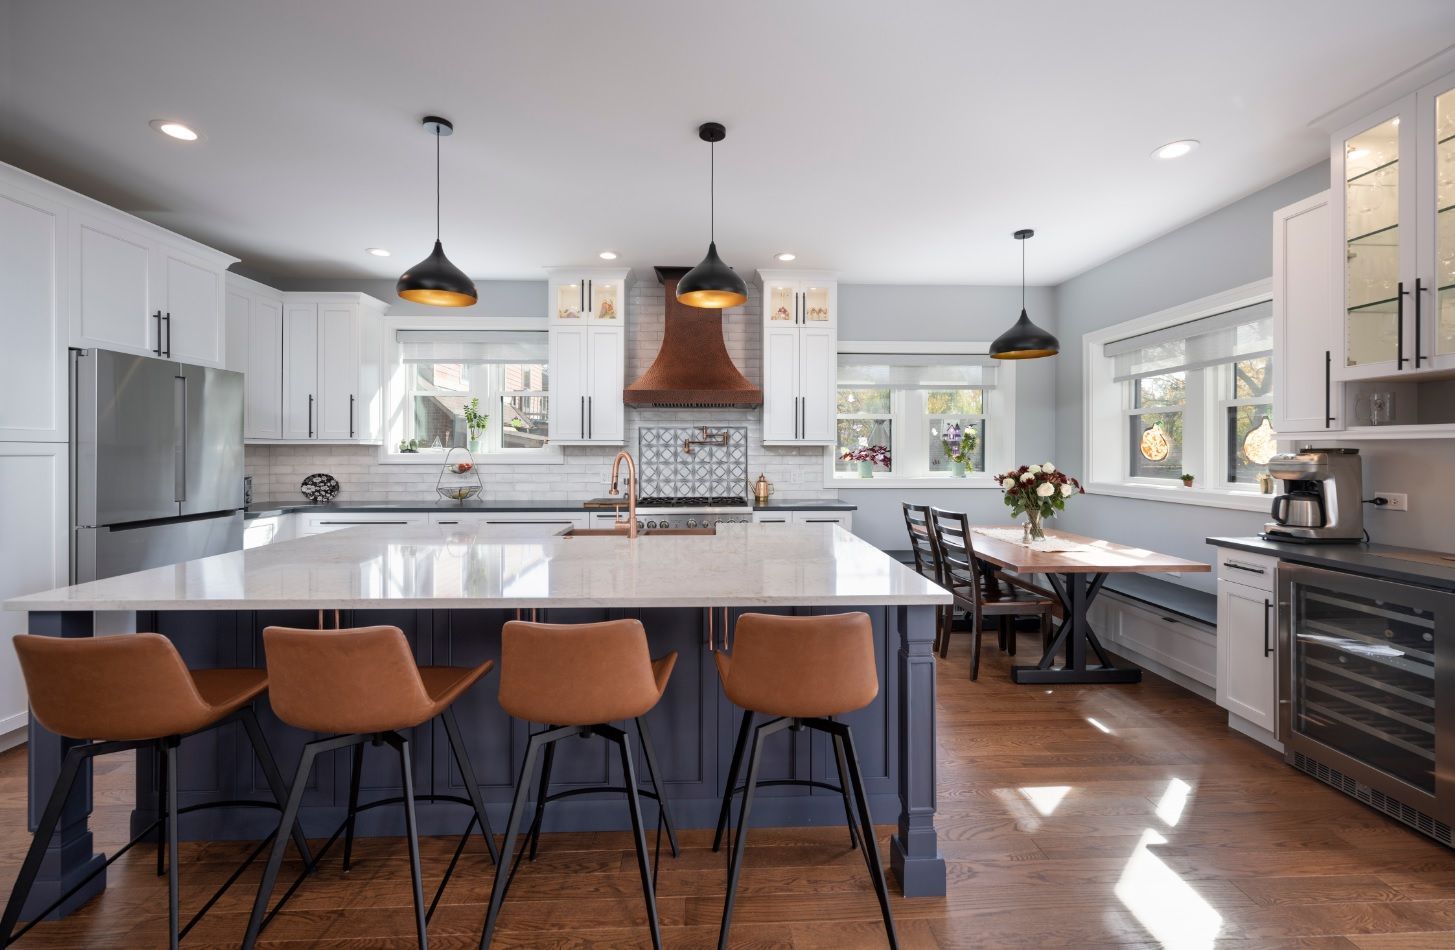
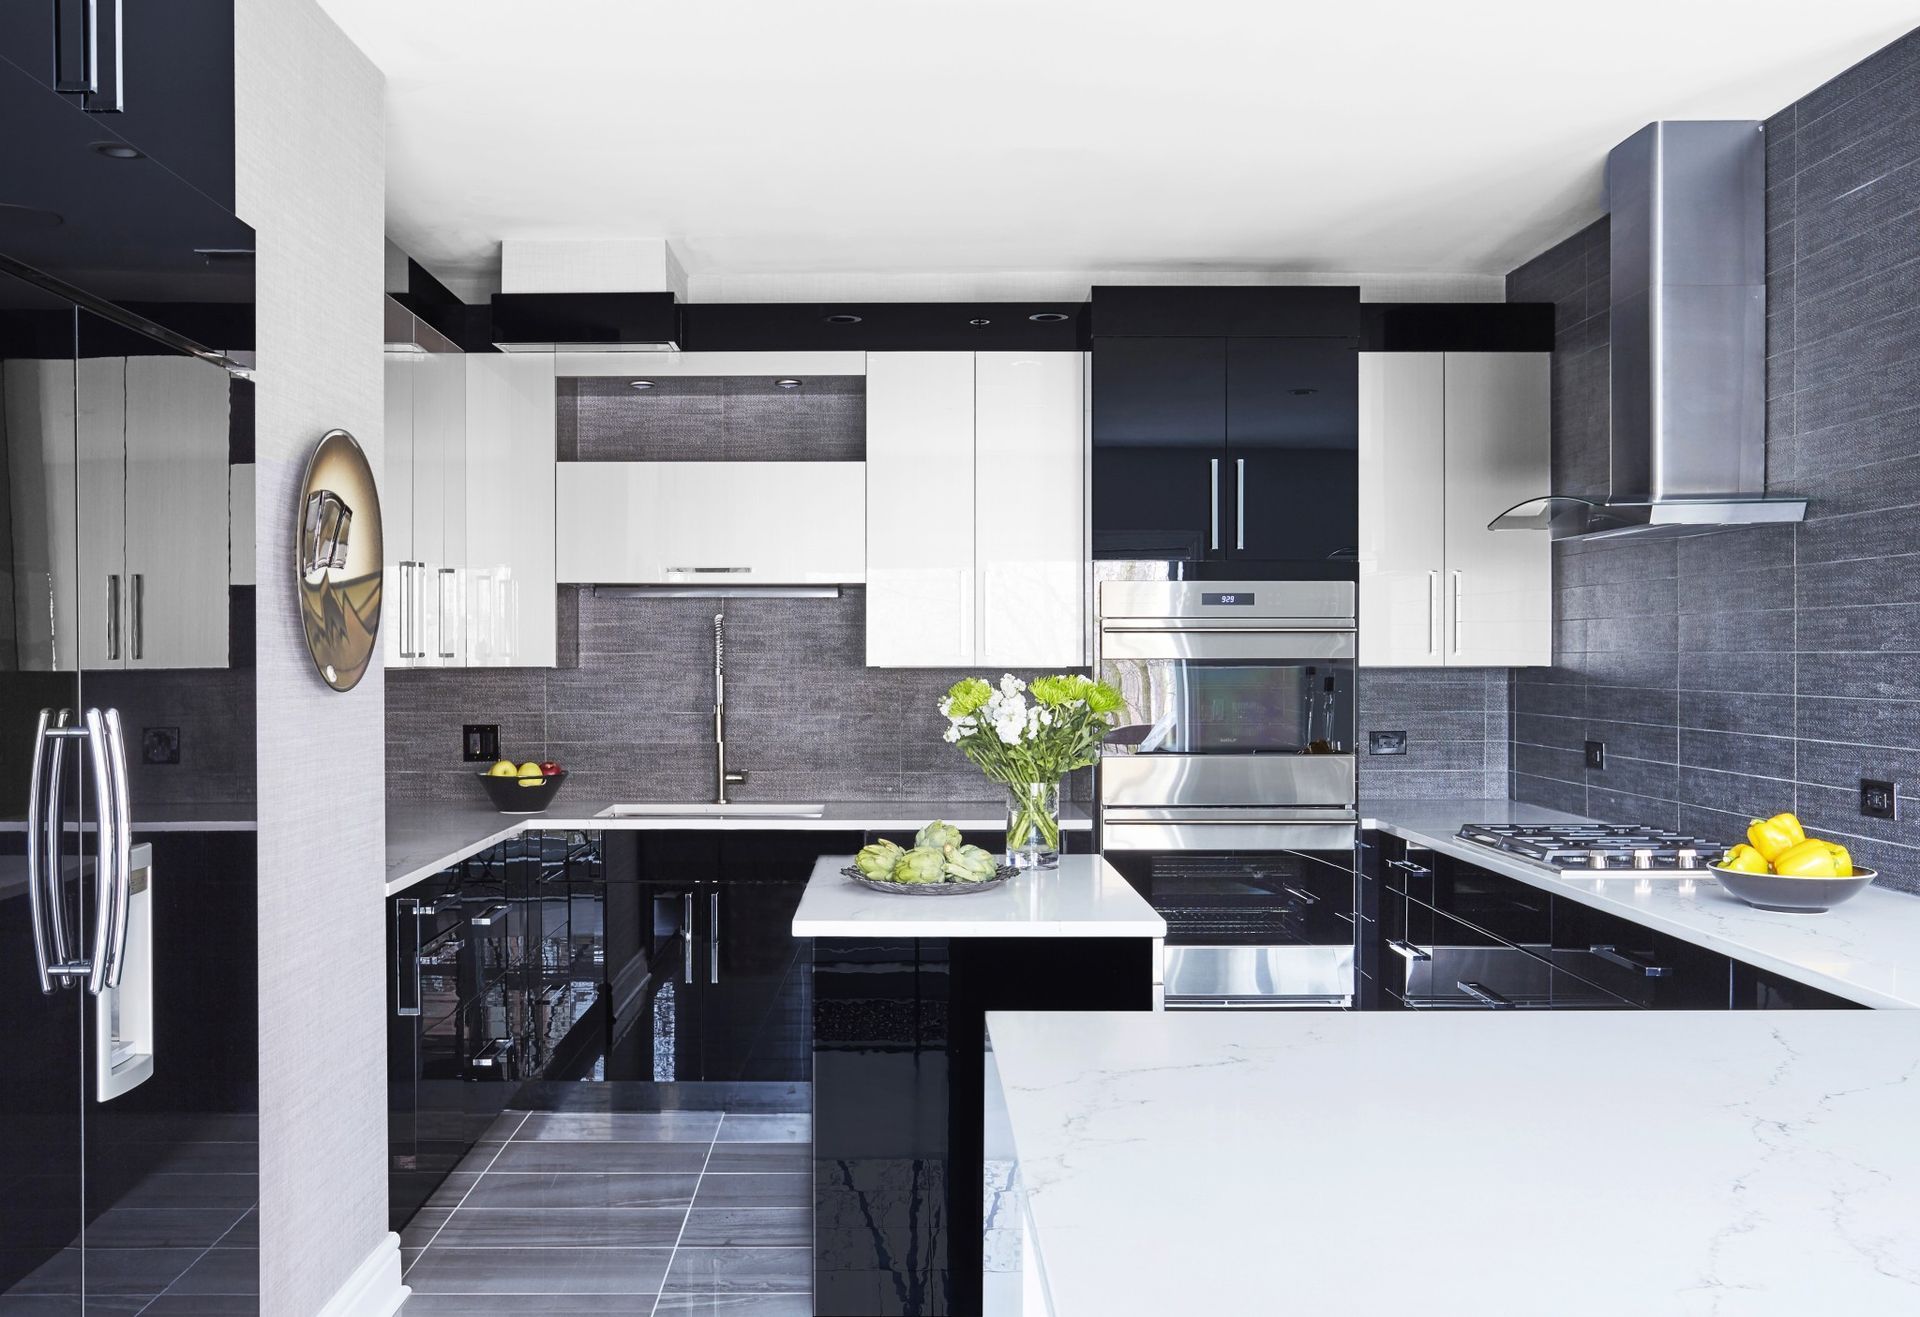
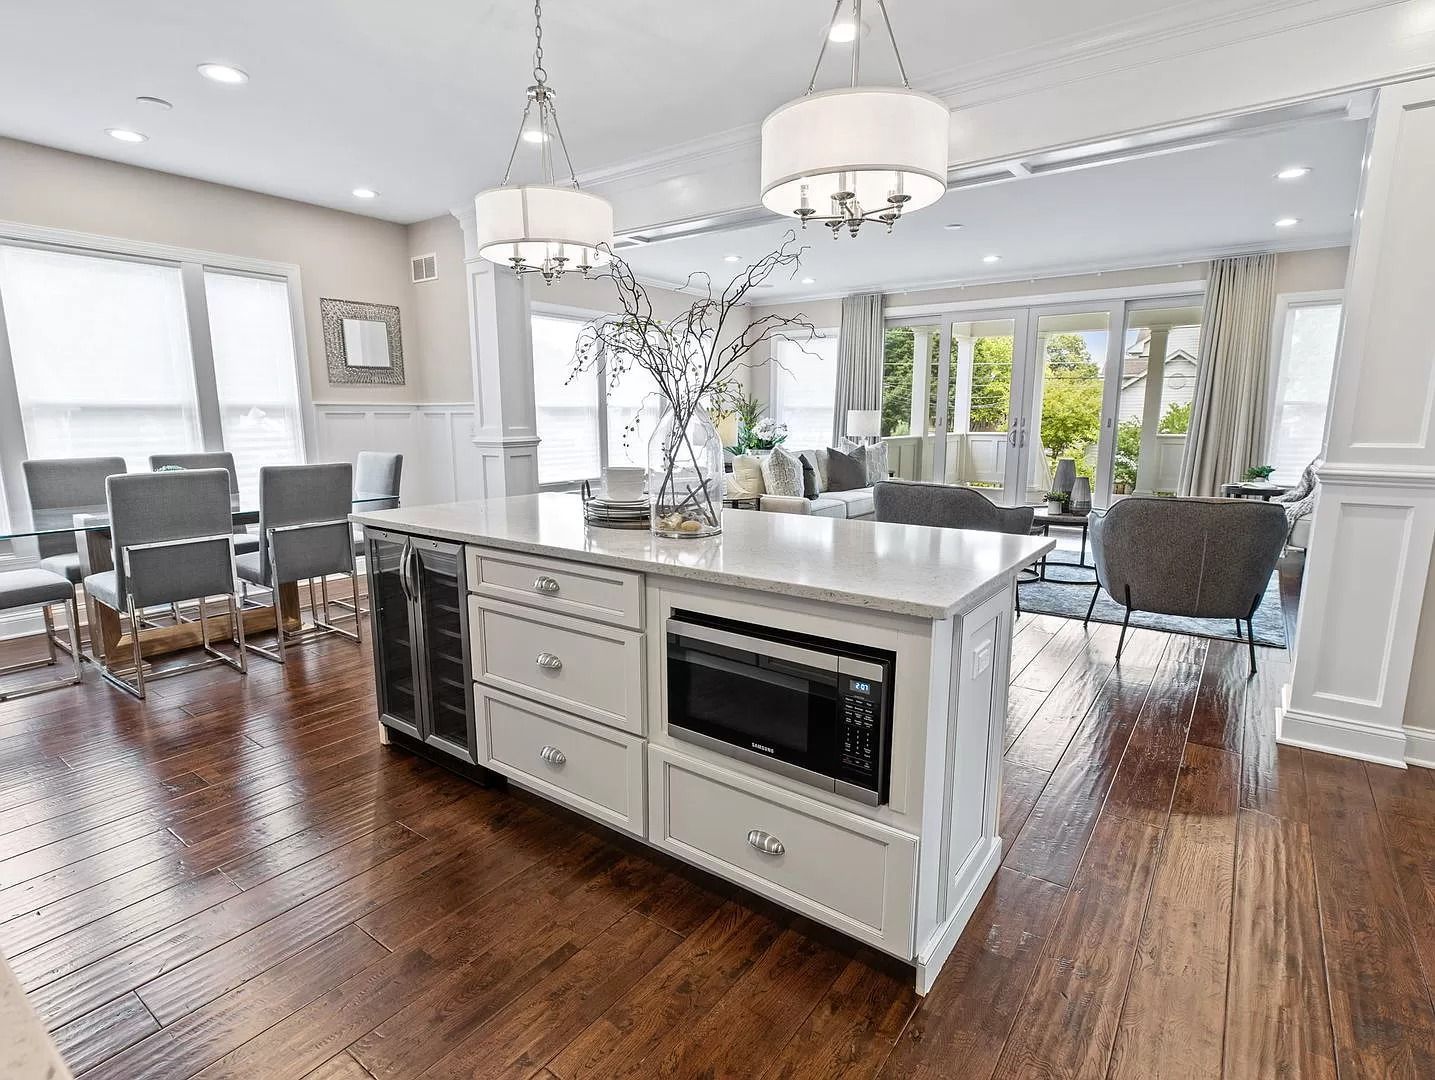
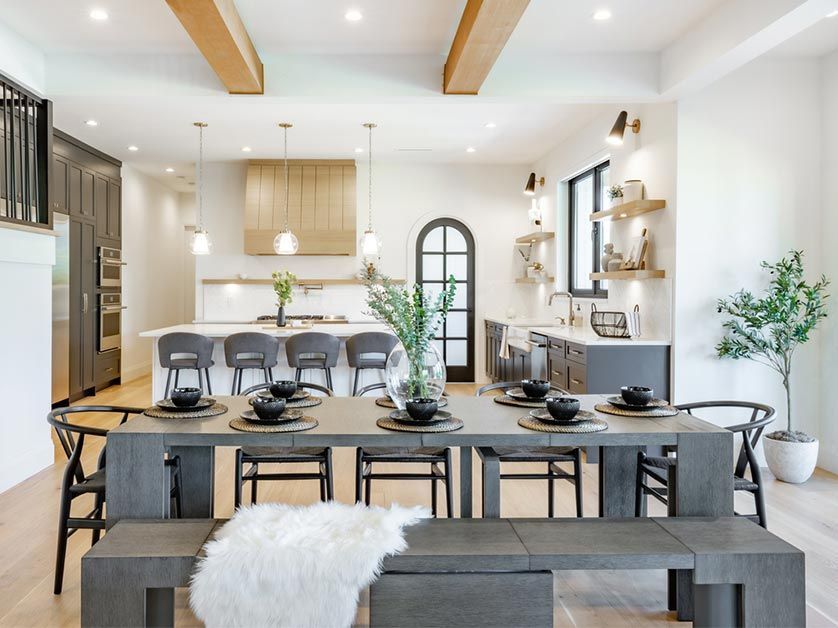
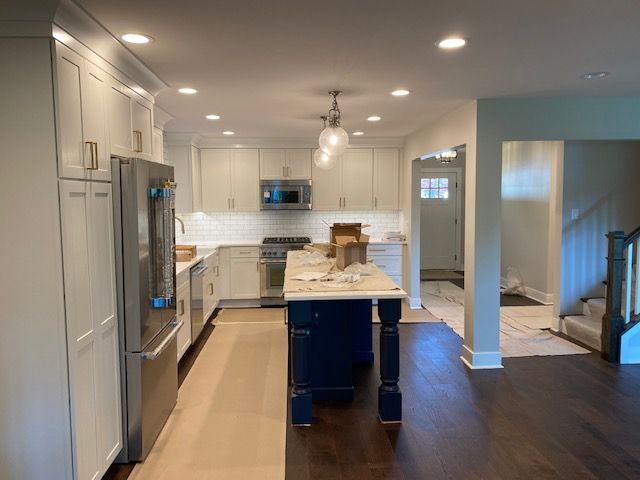
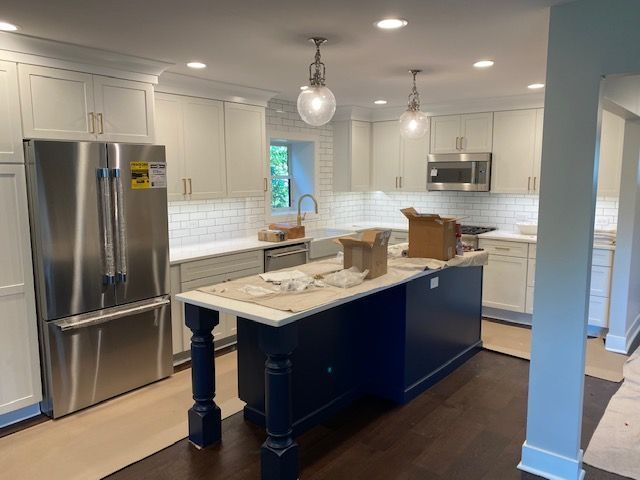
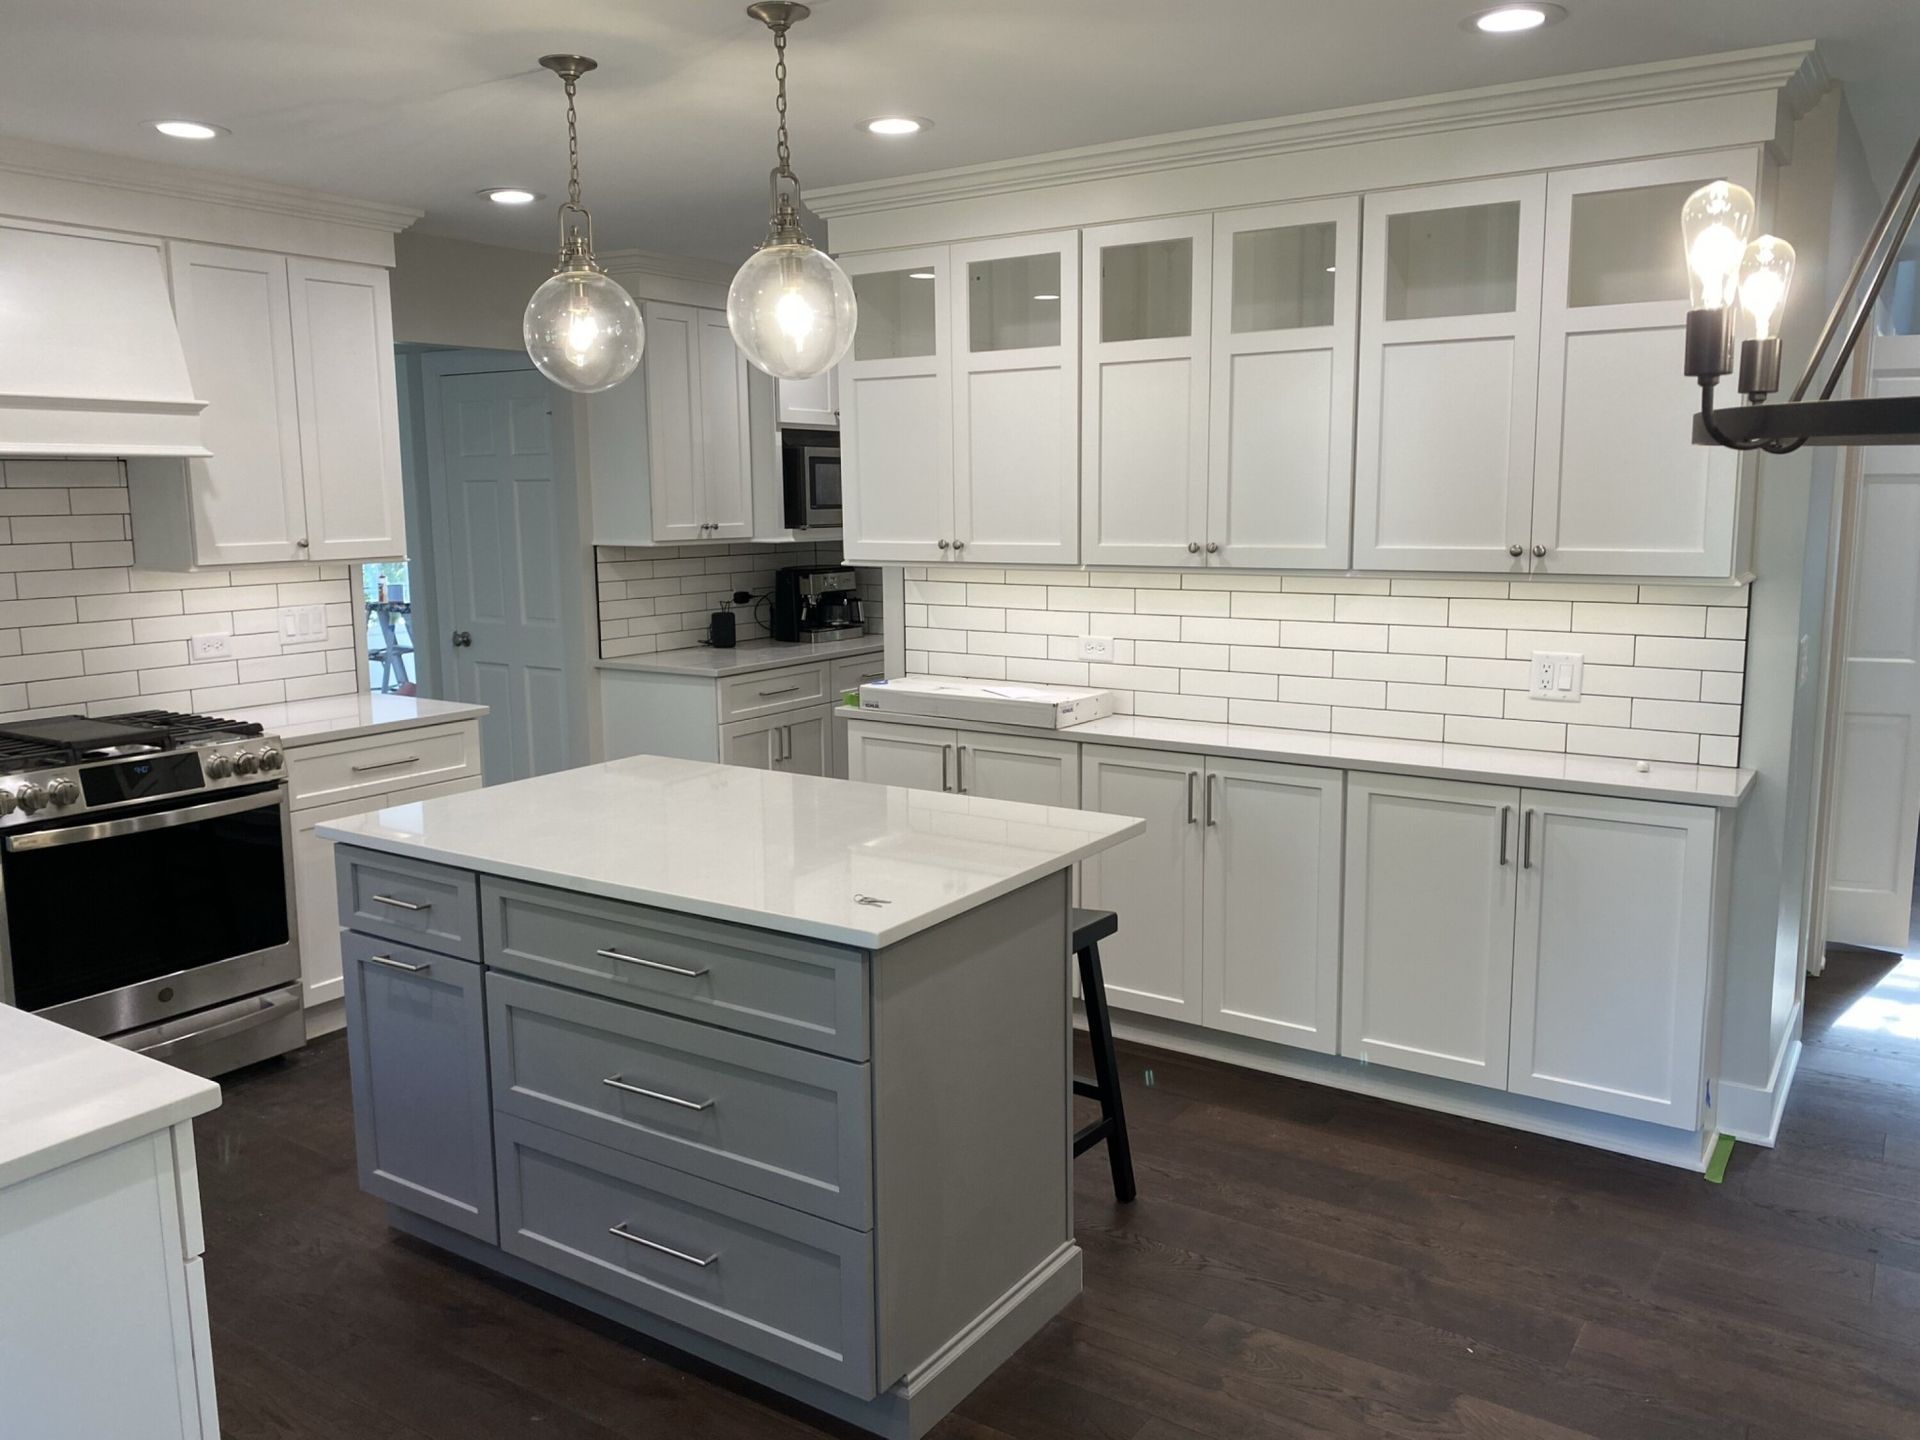
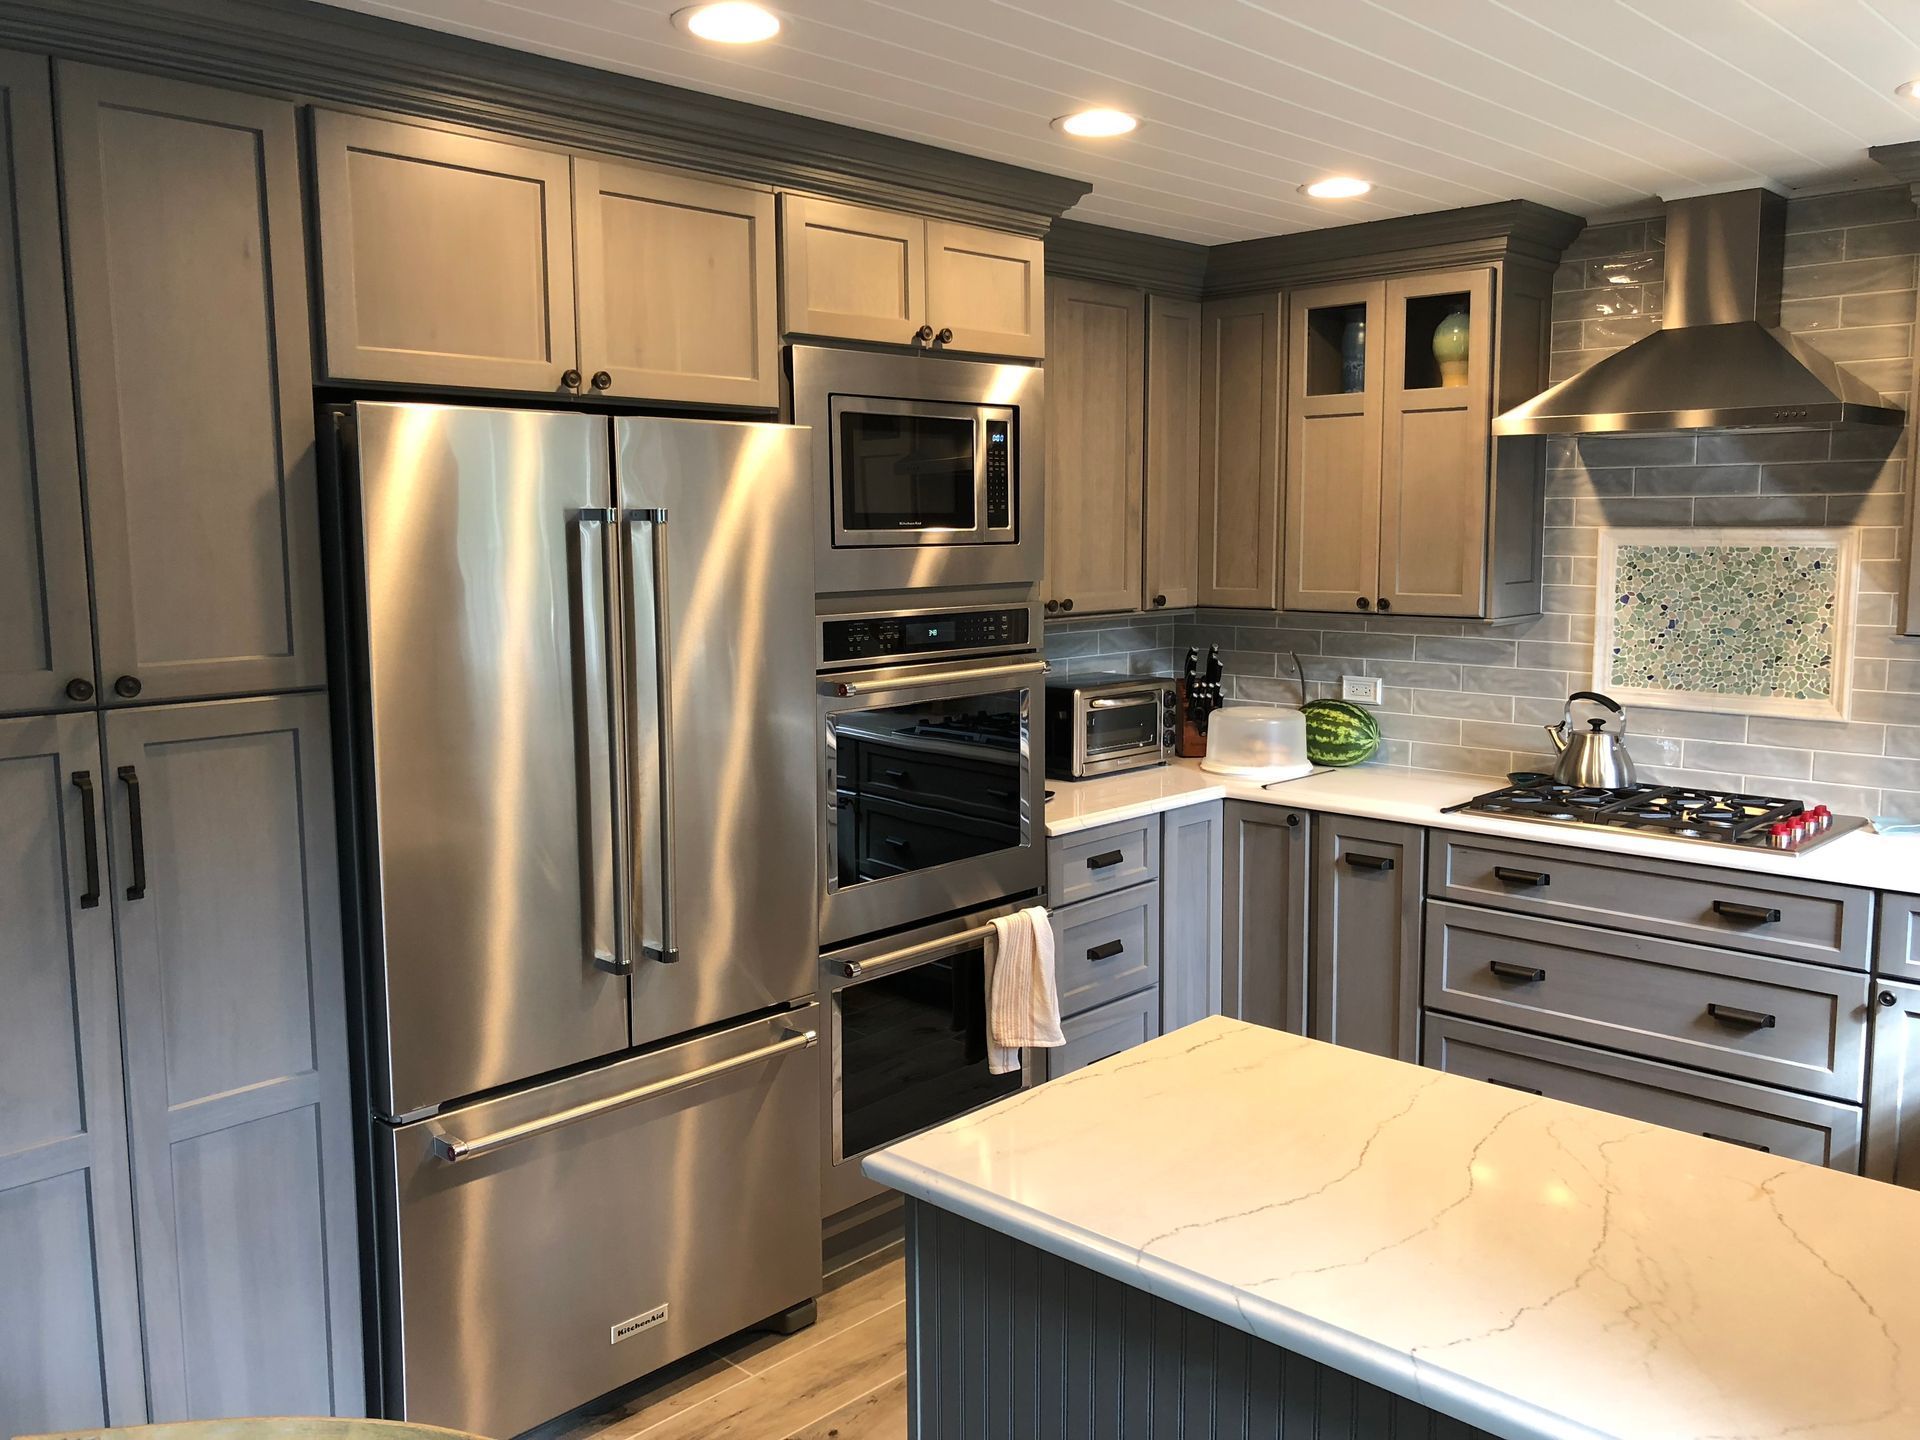
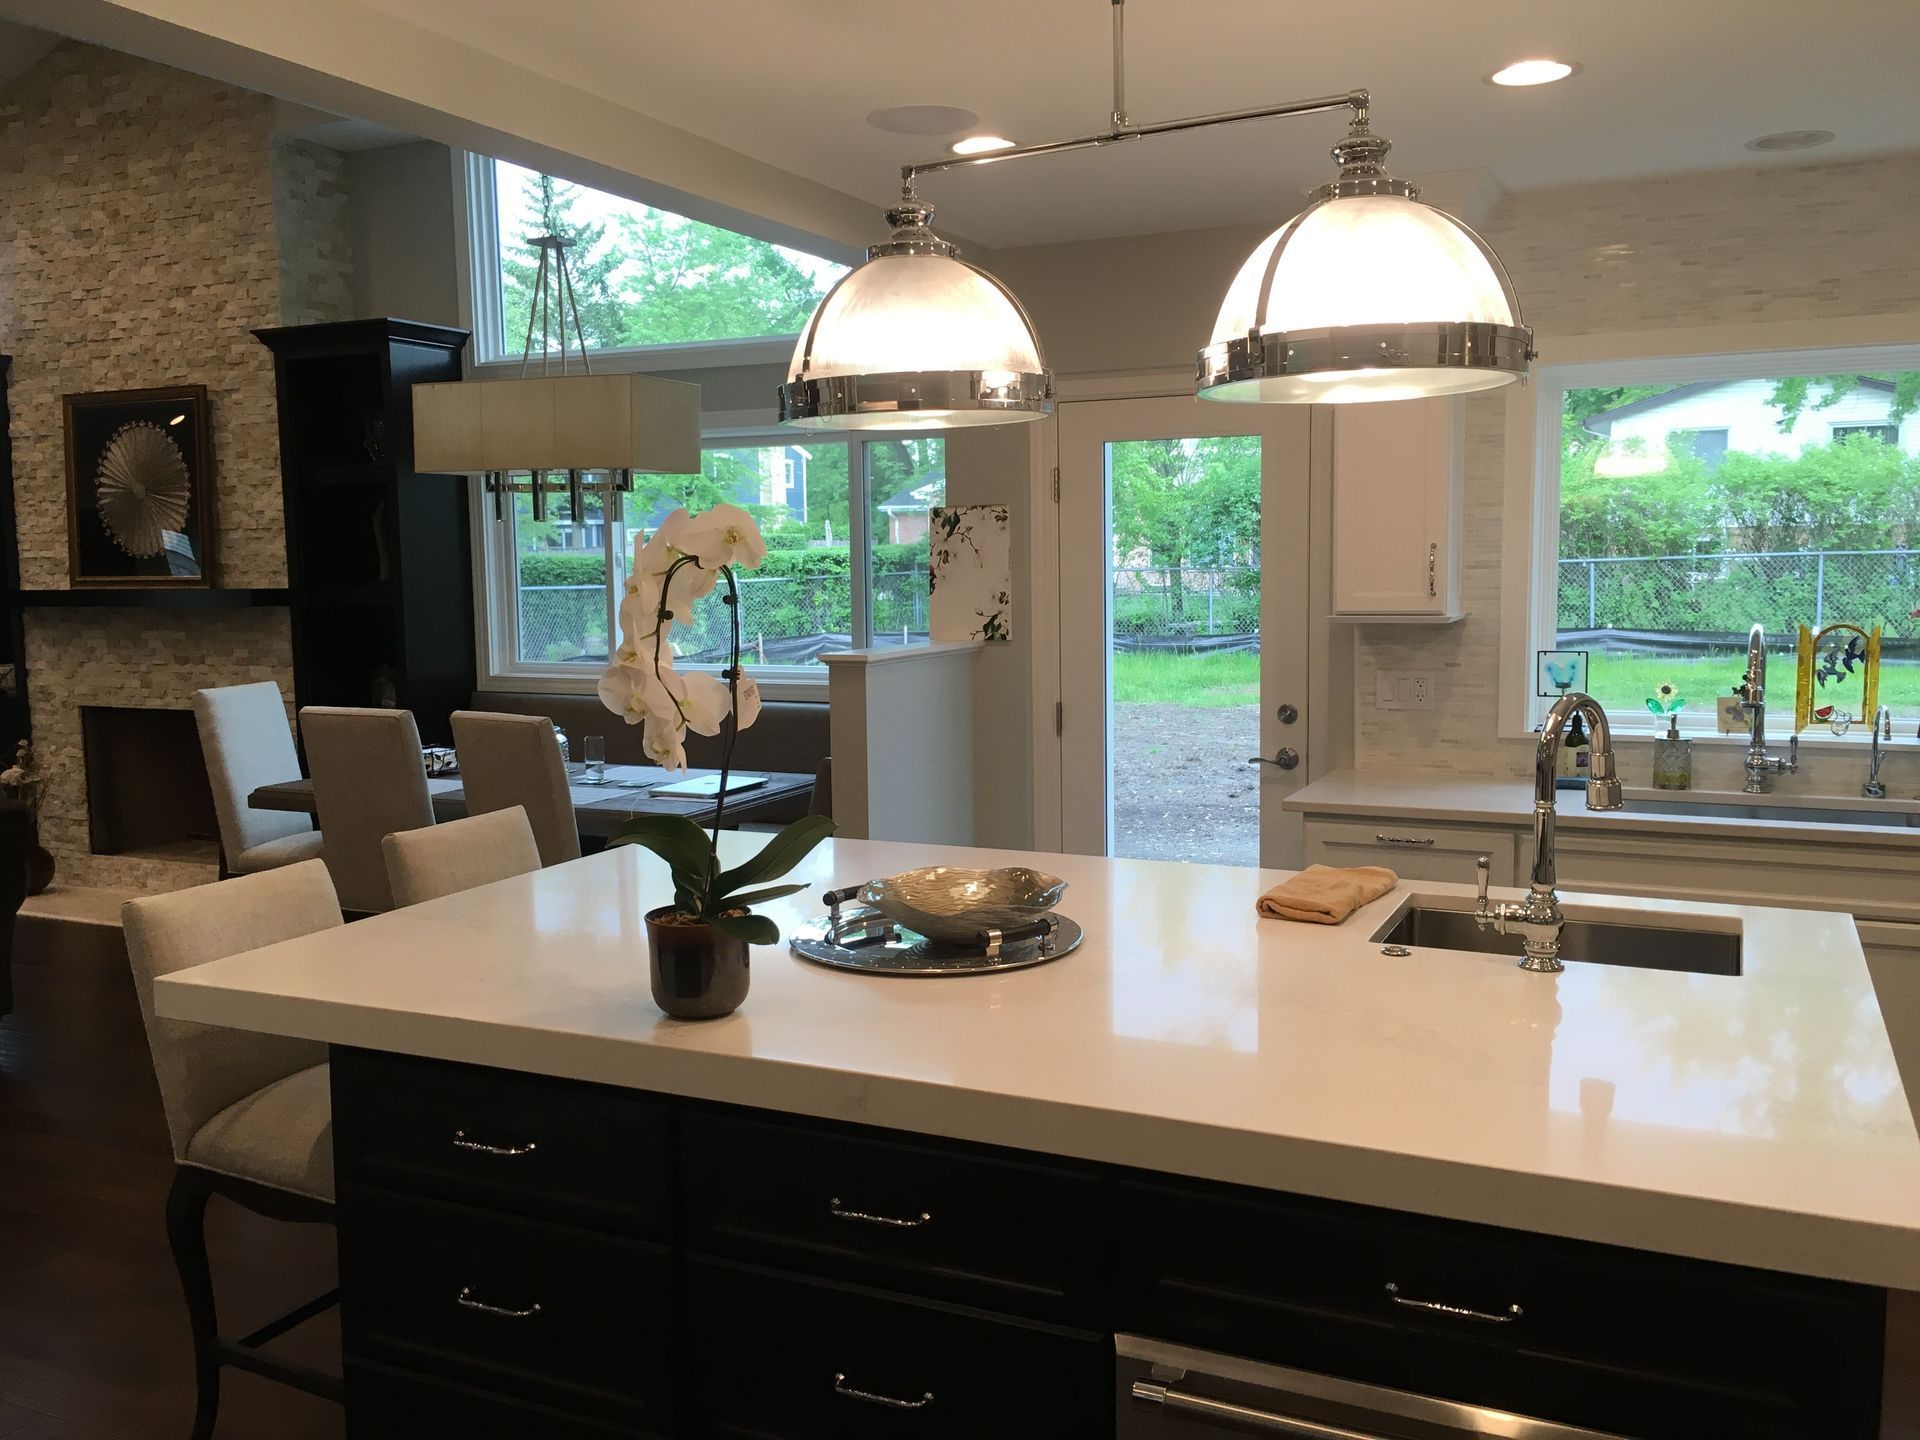
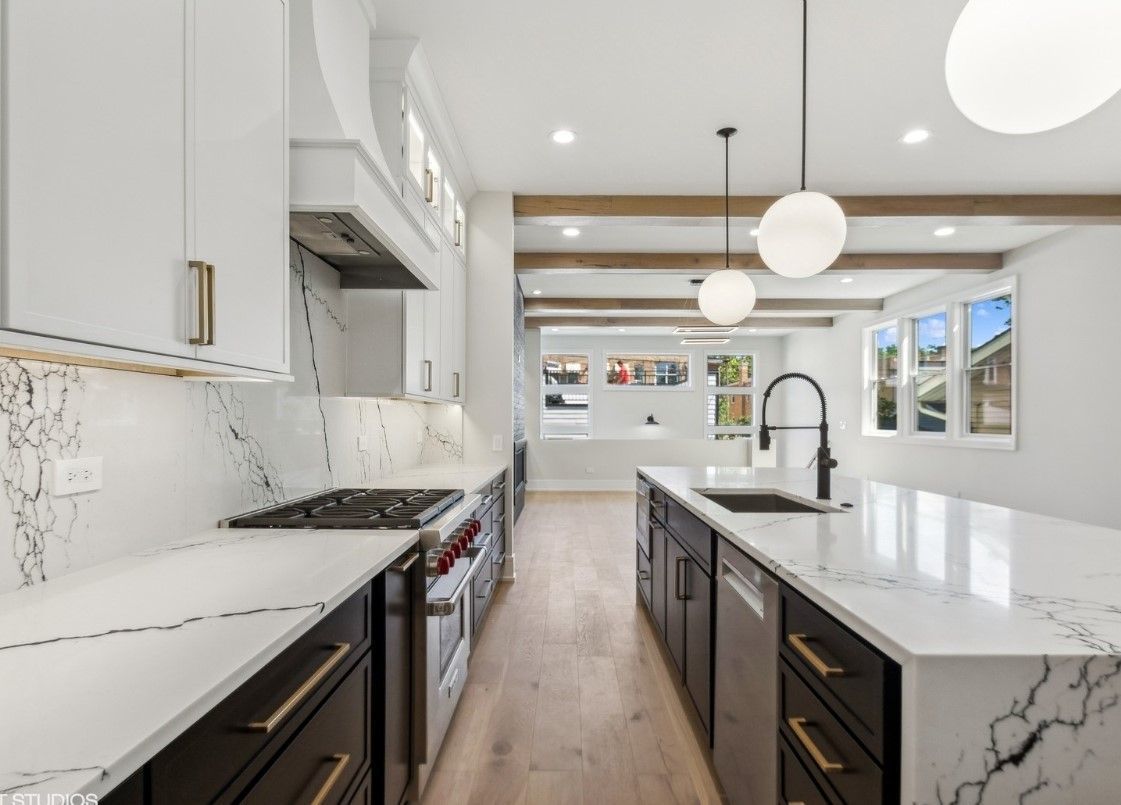
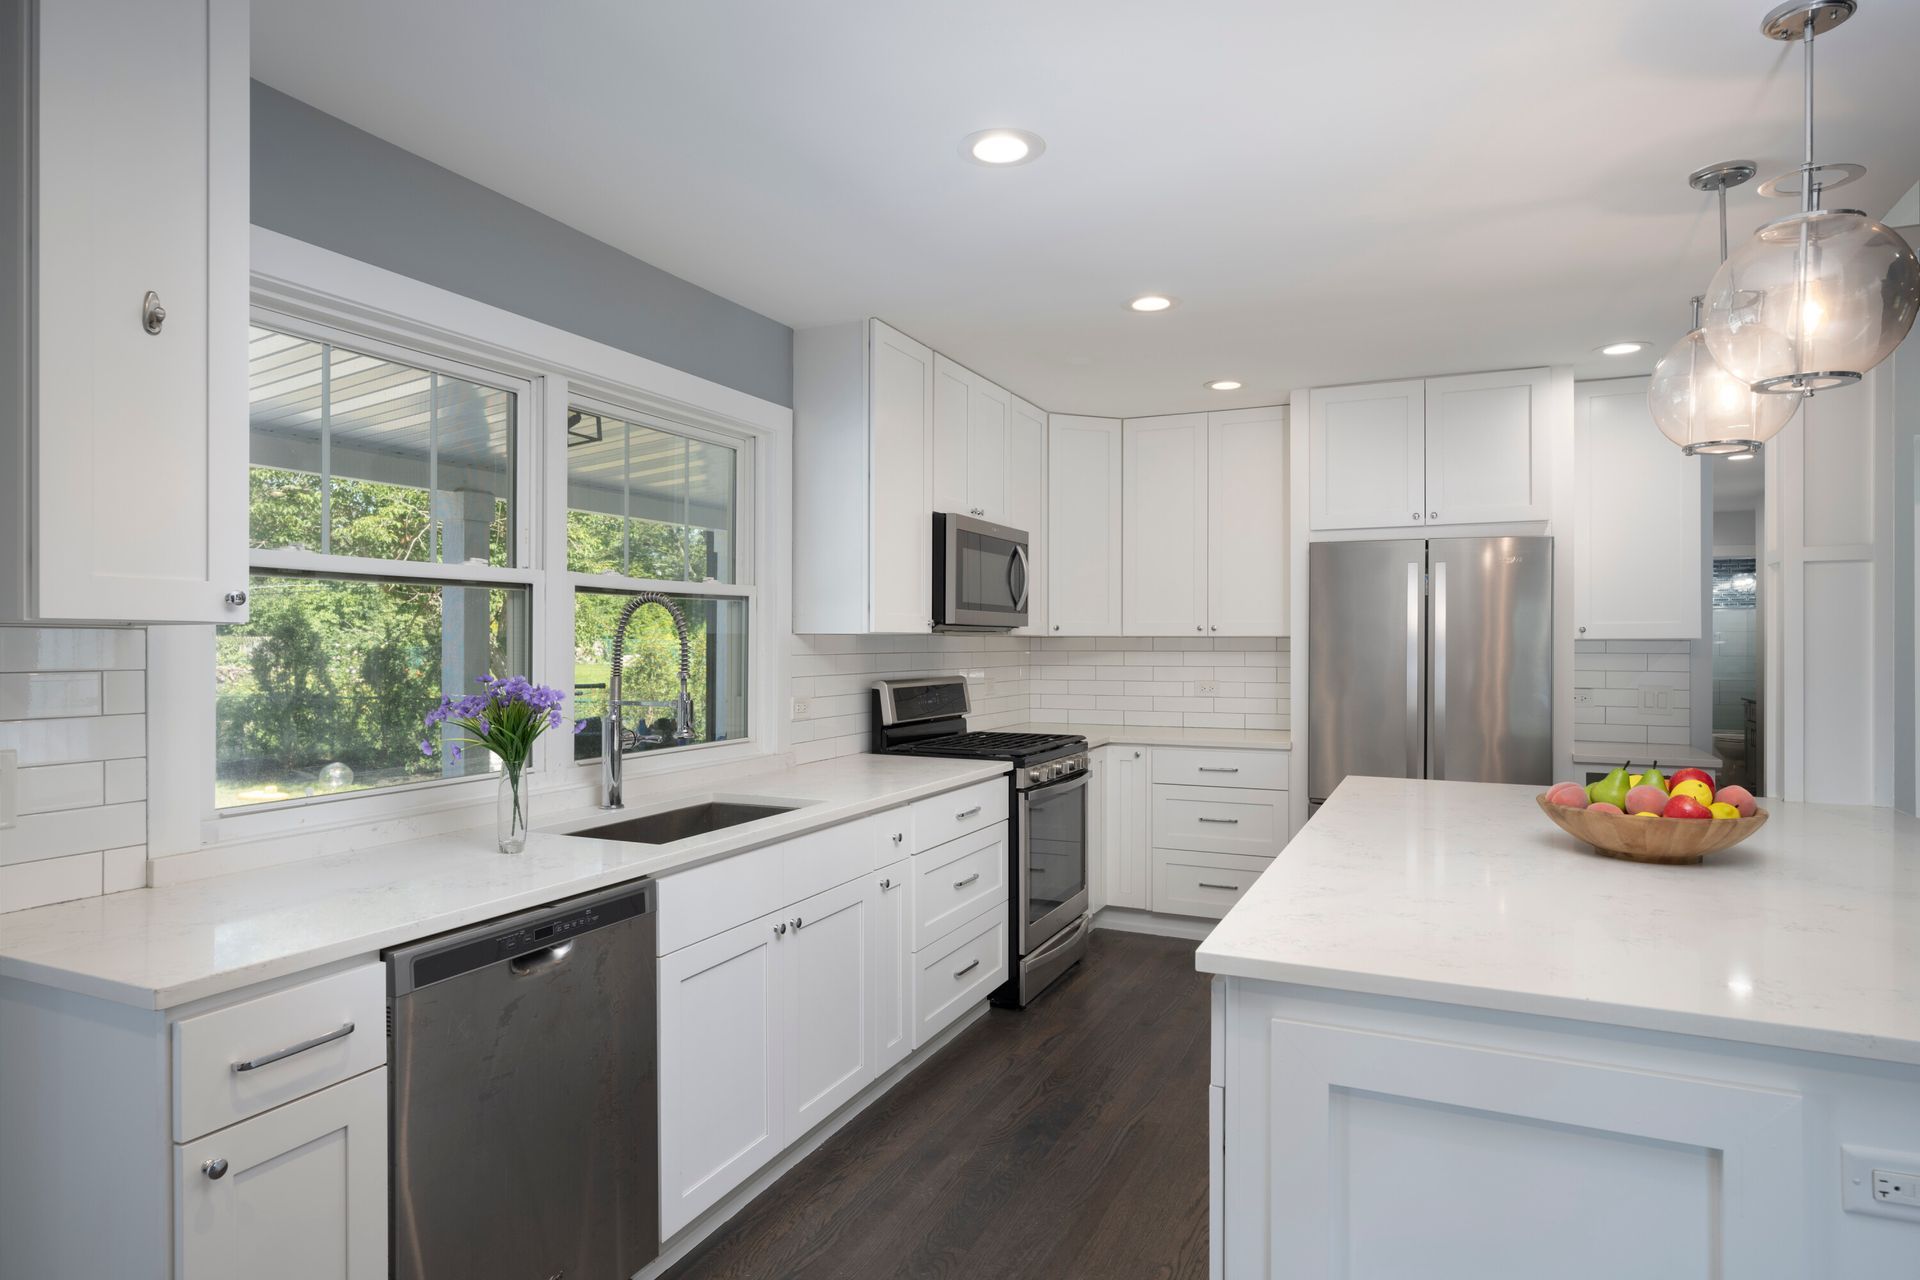
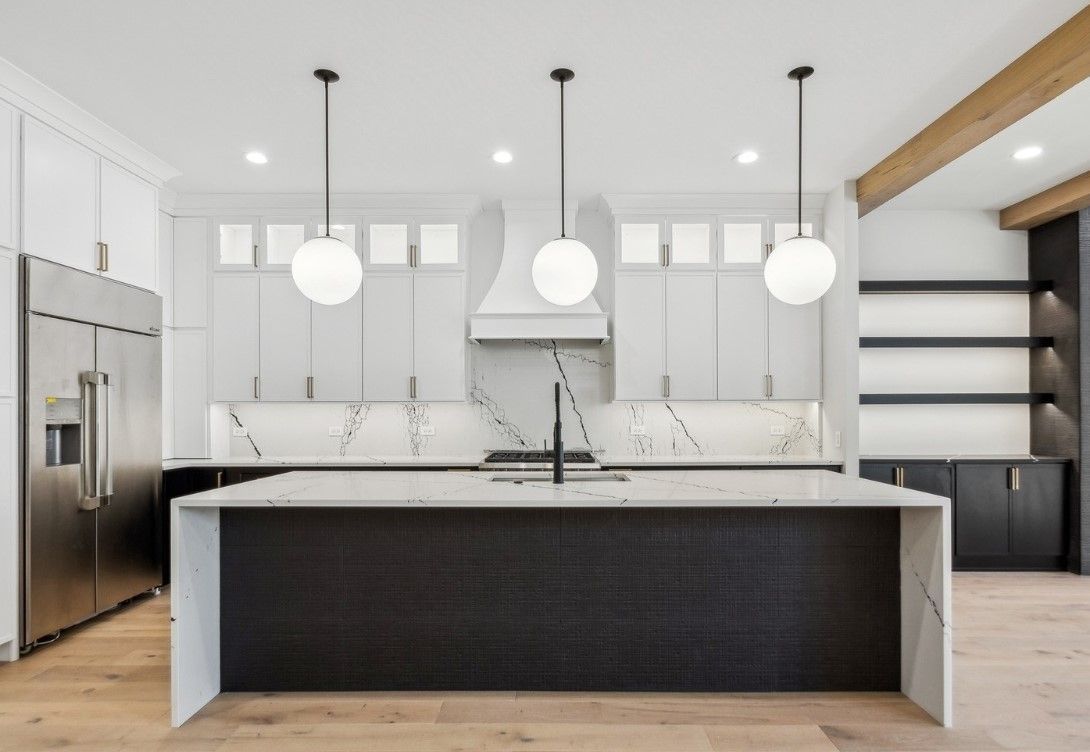
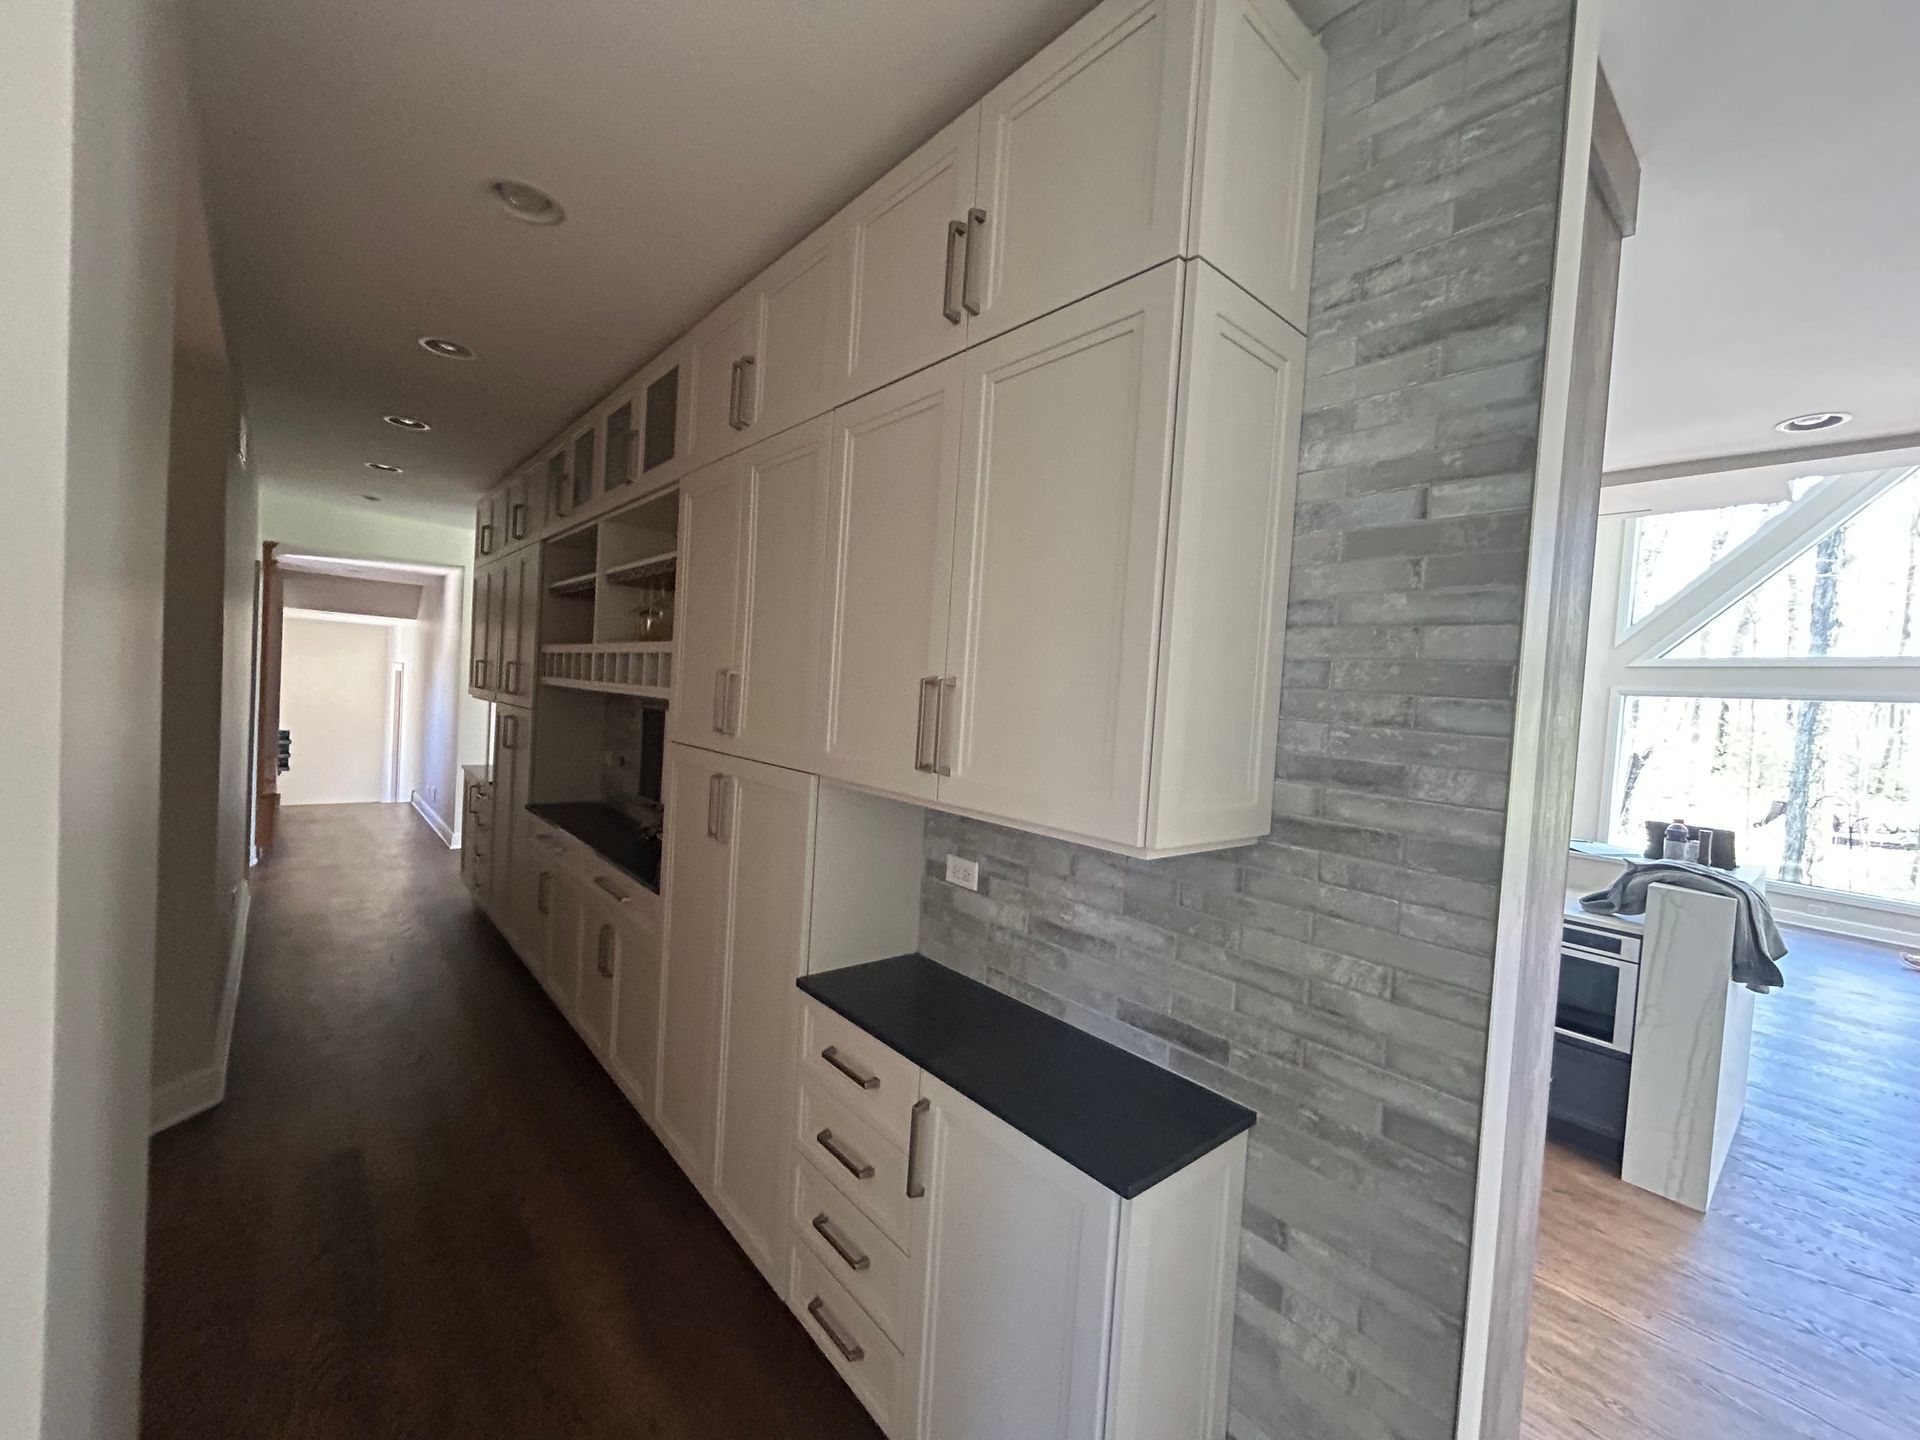
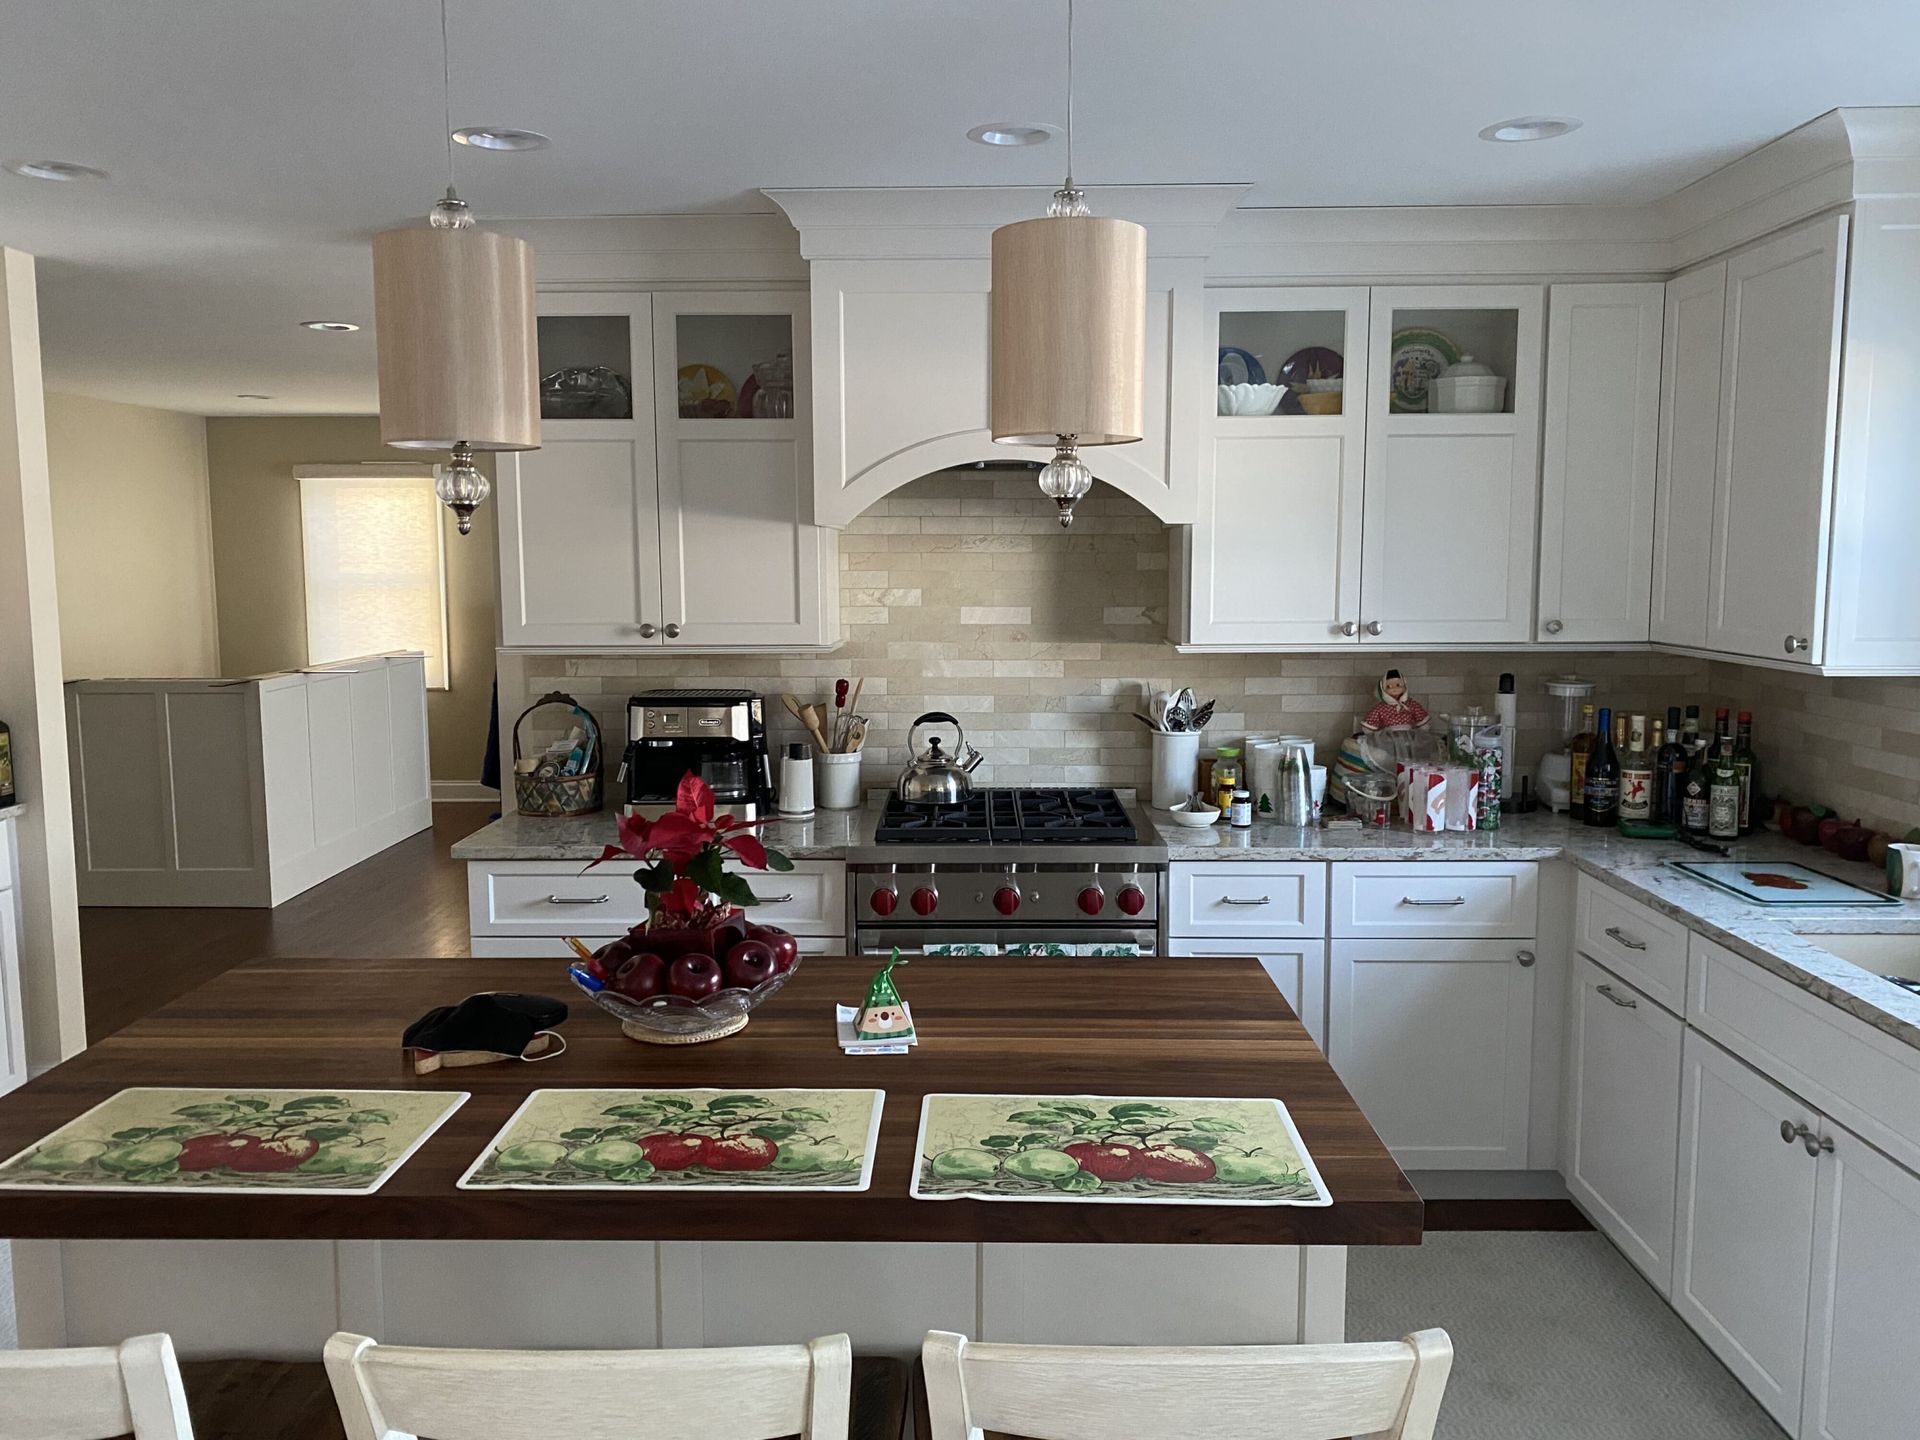
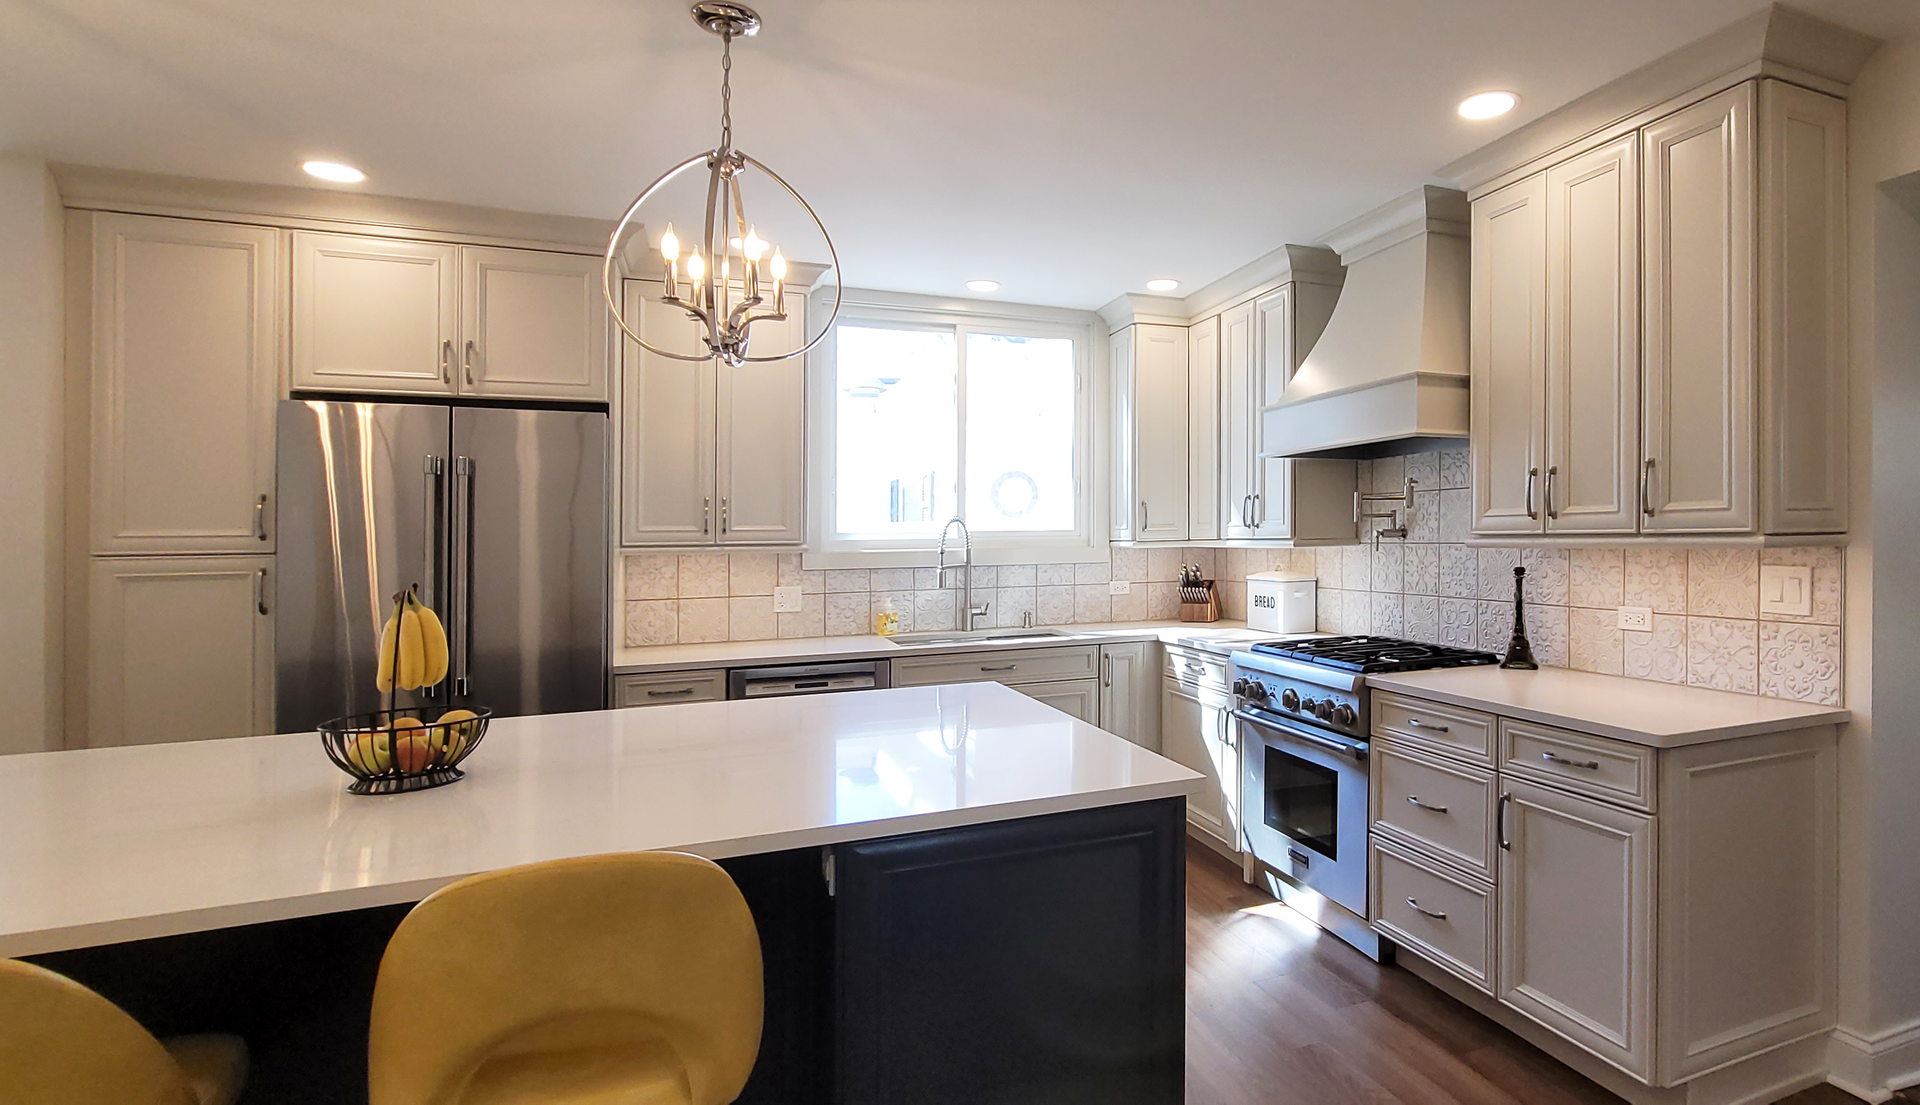
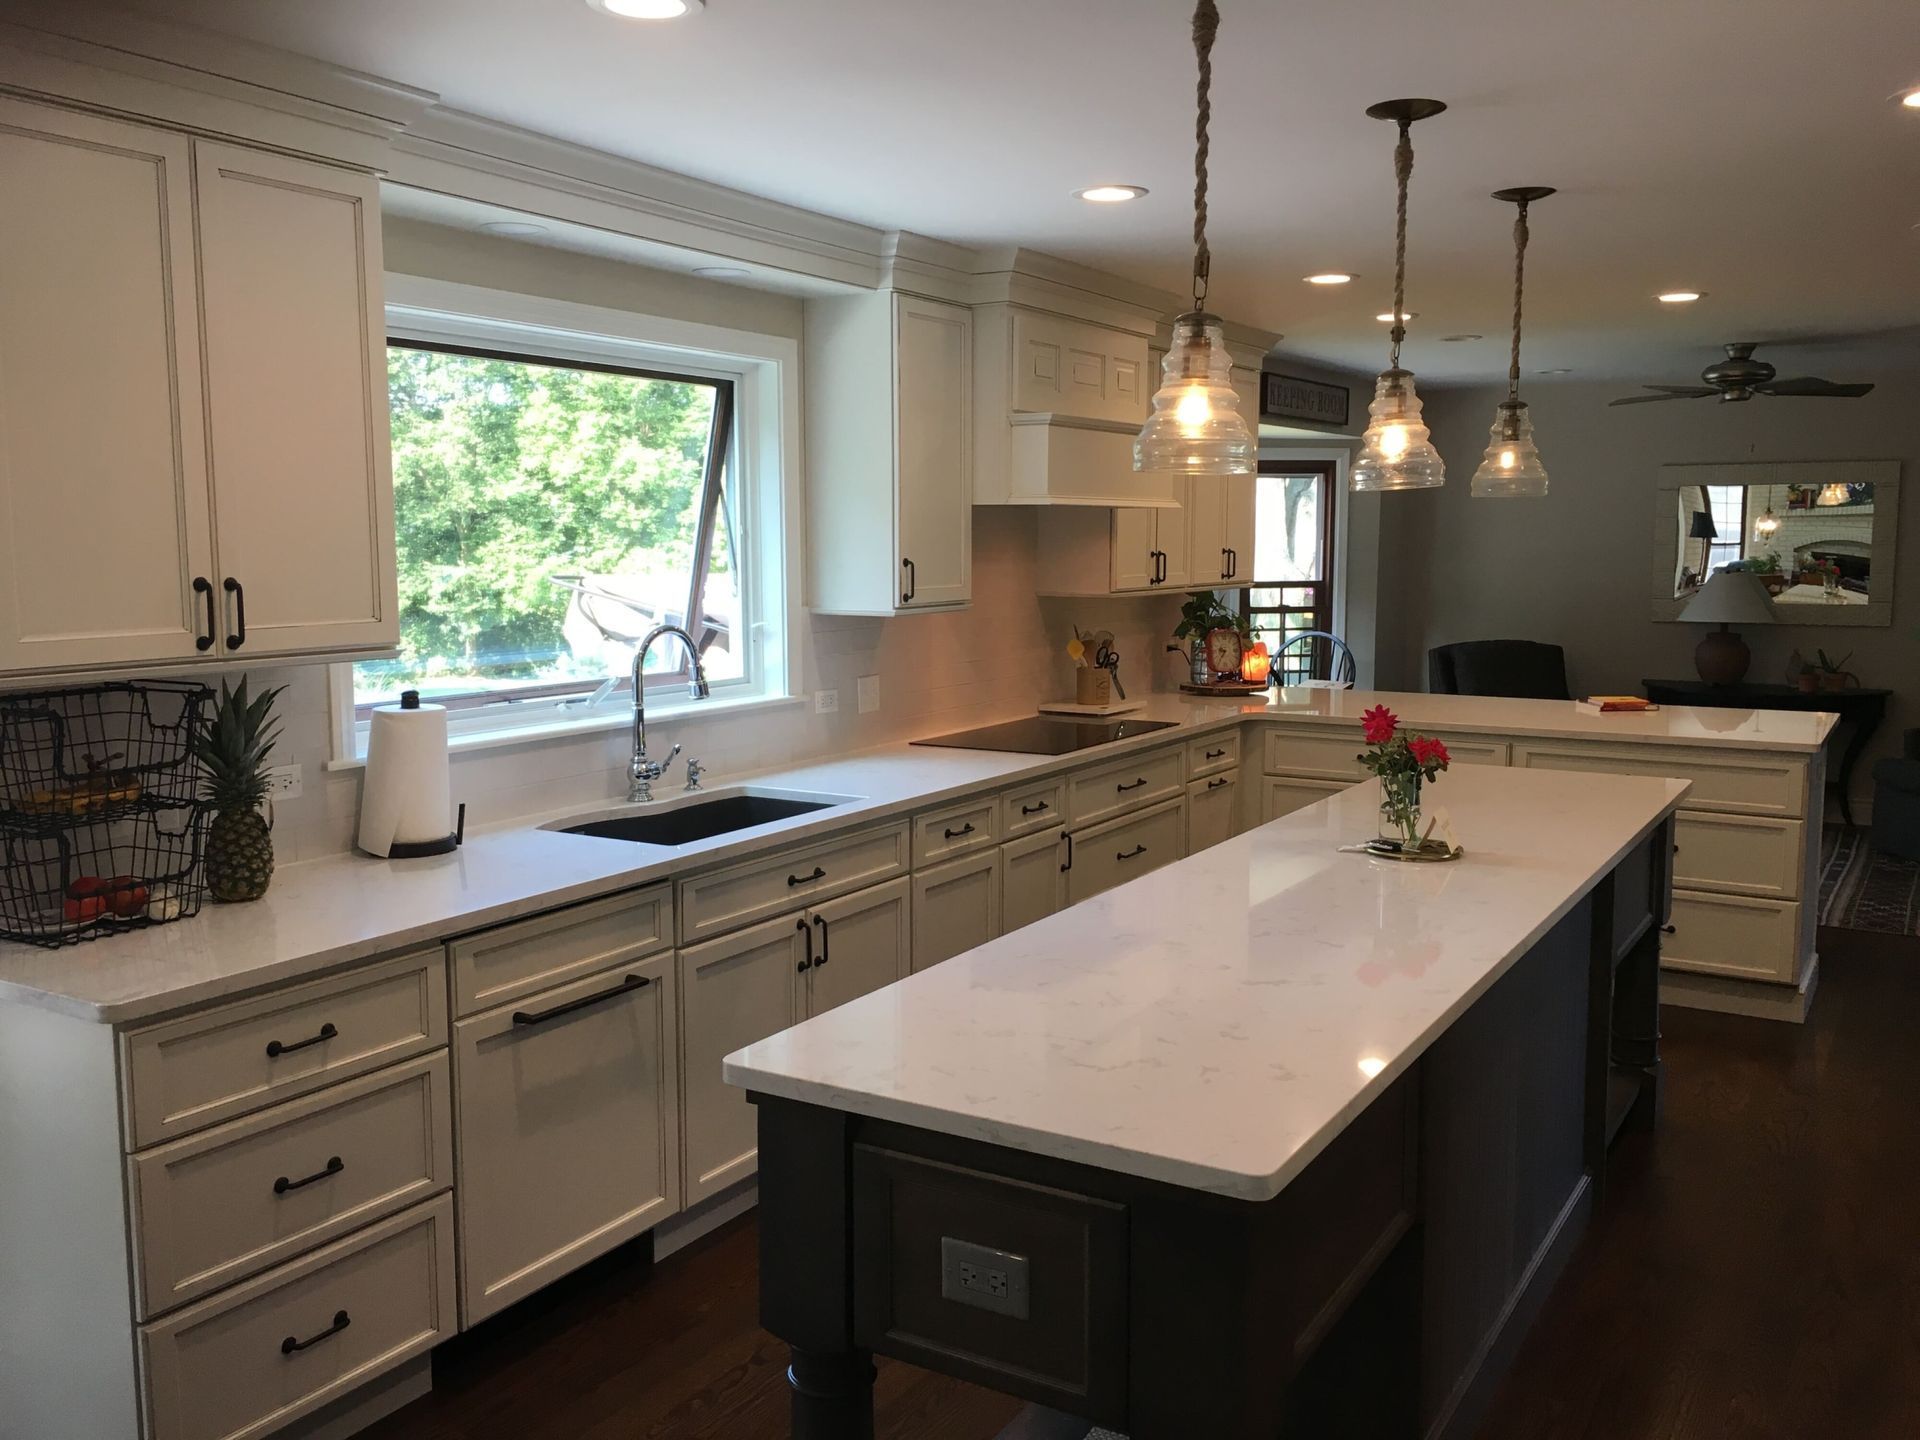
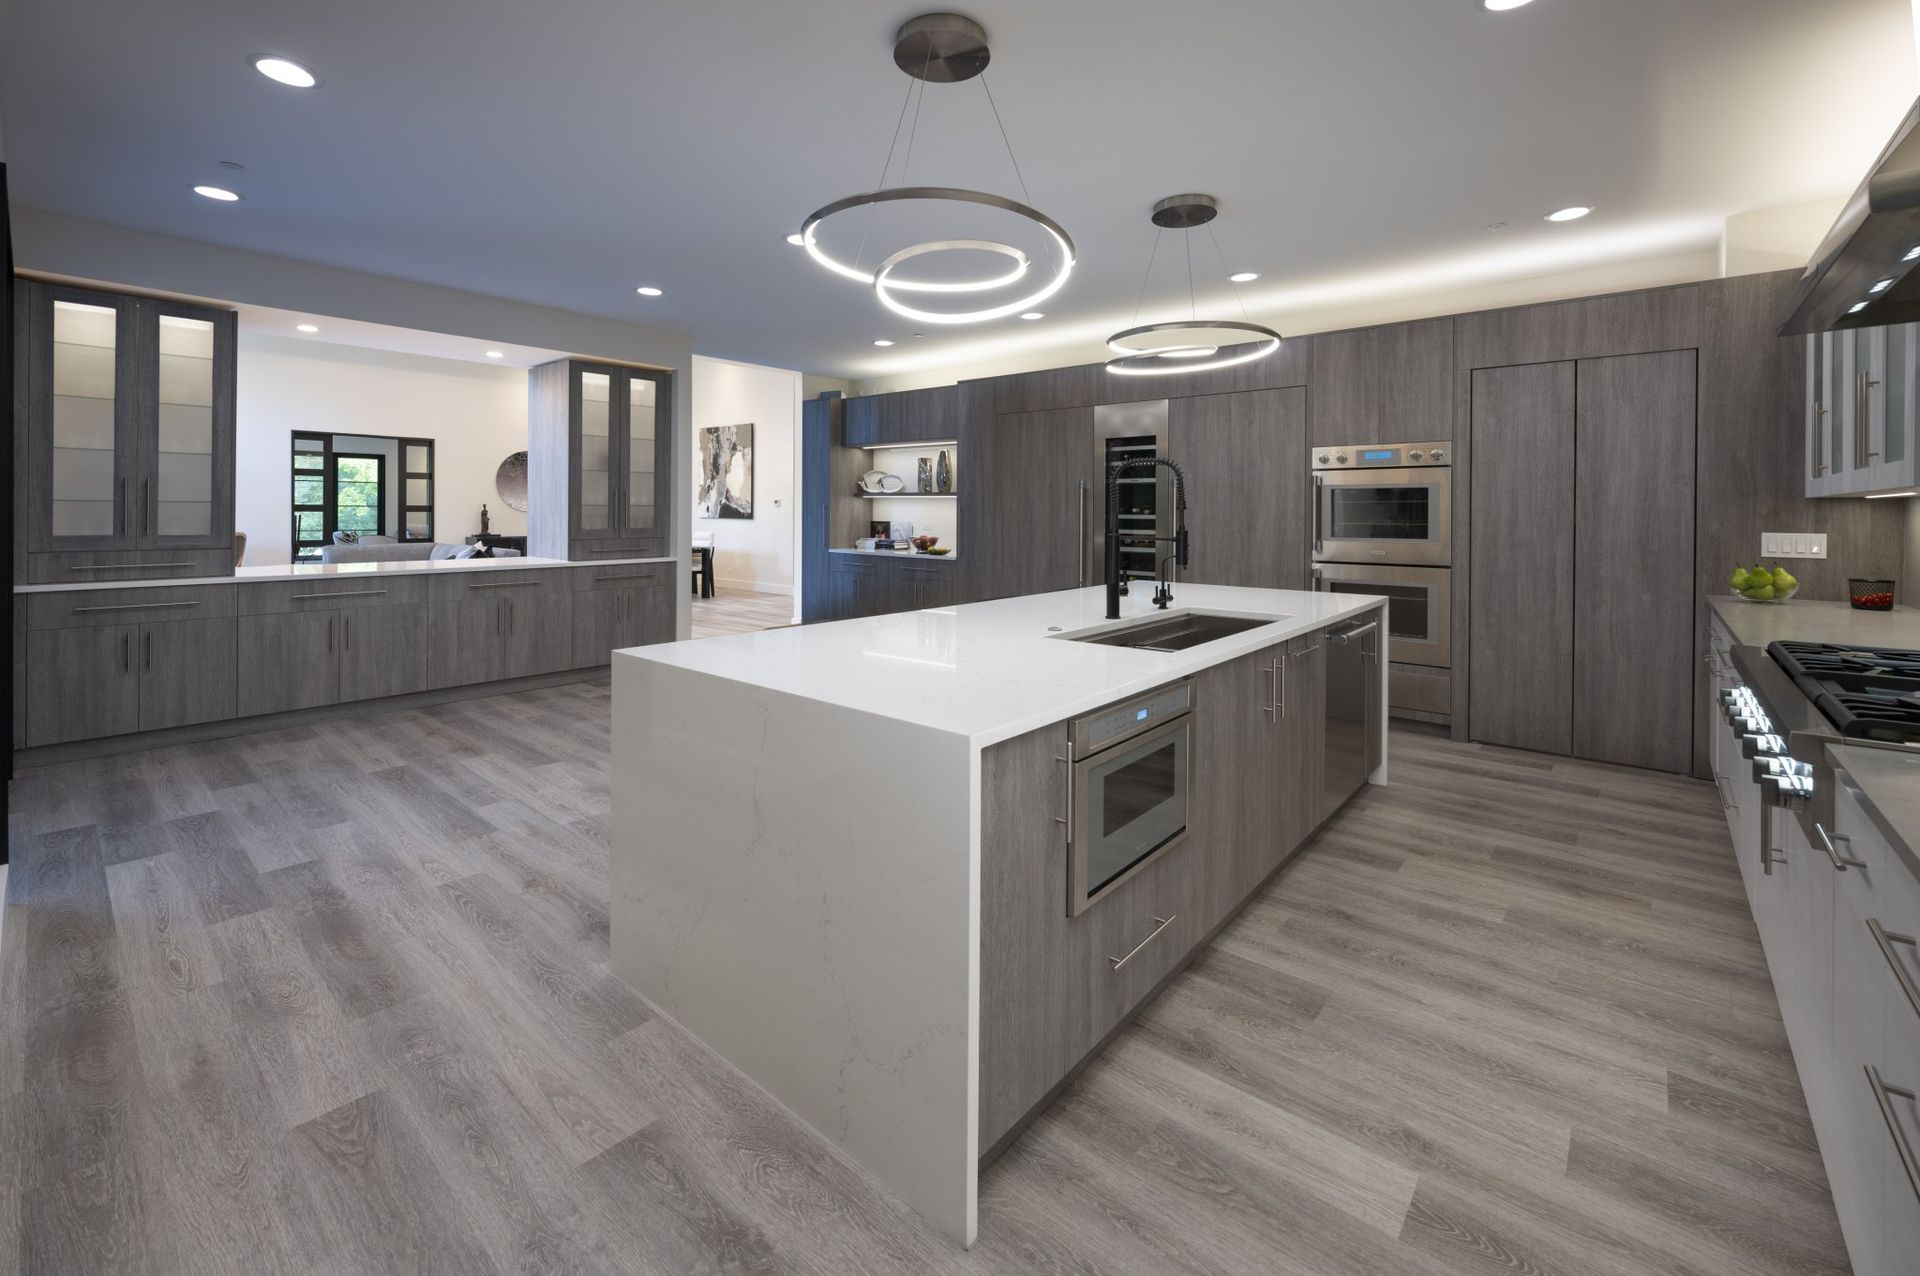
Crimson Kitchen Remodeling


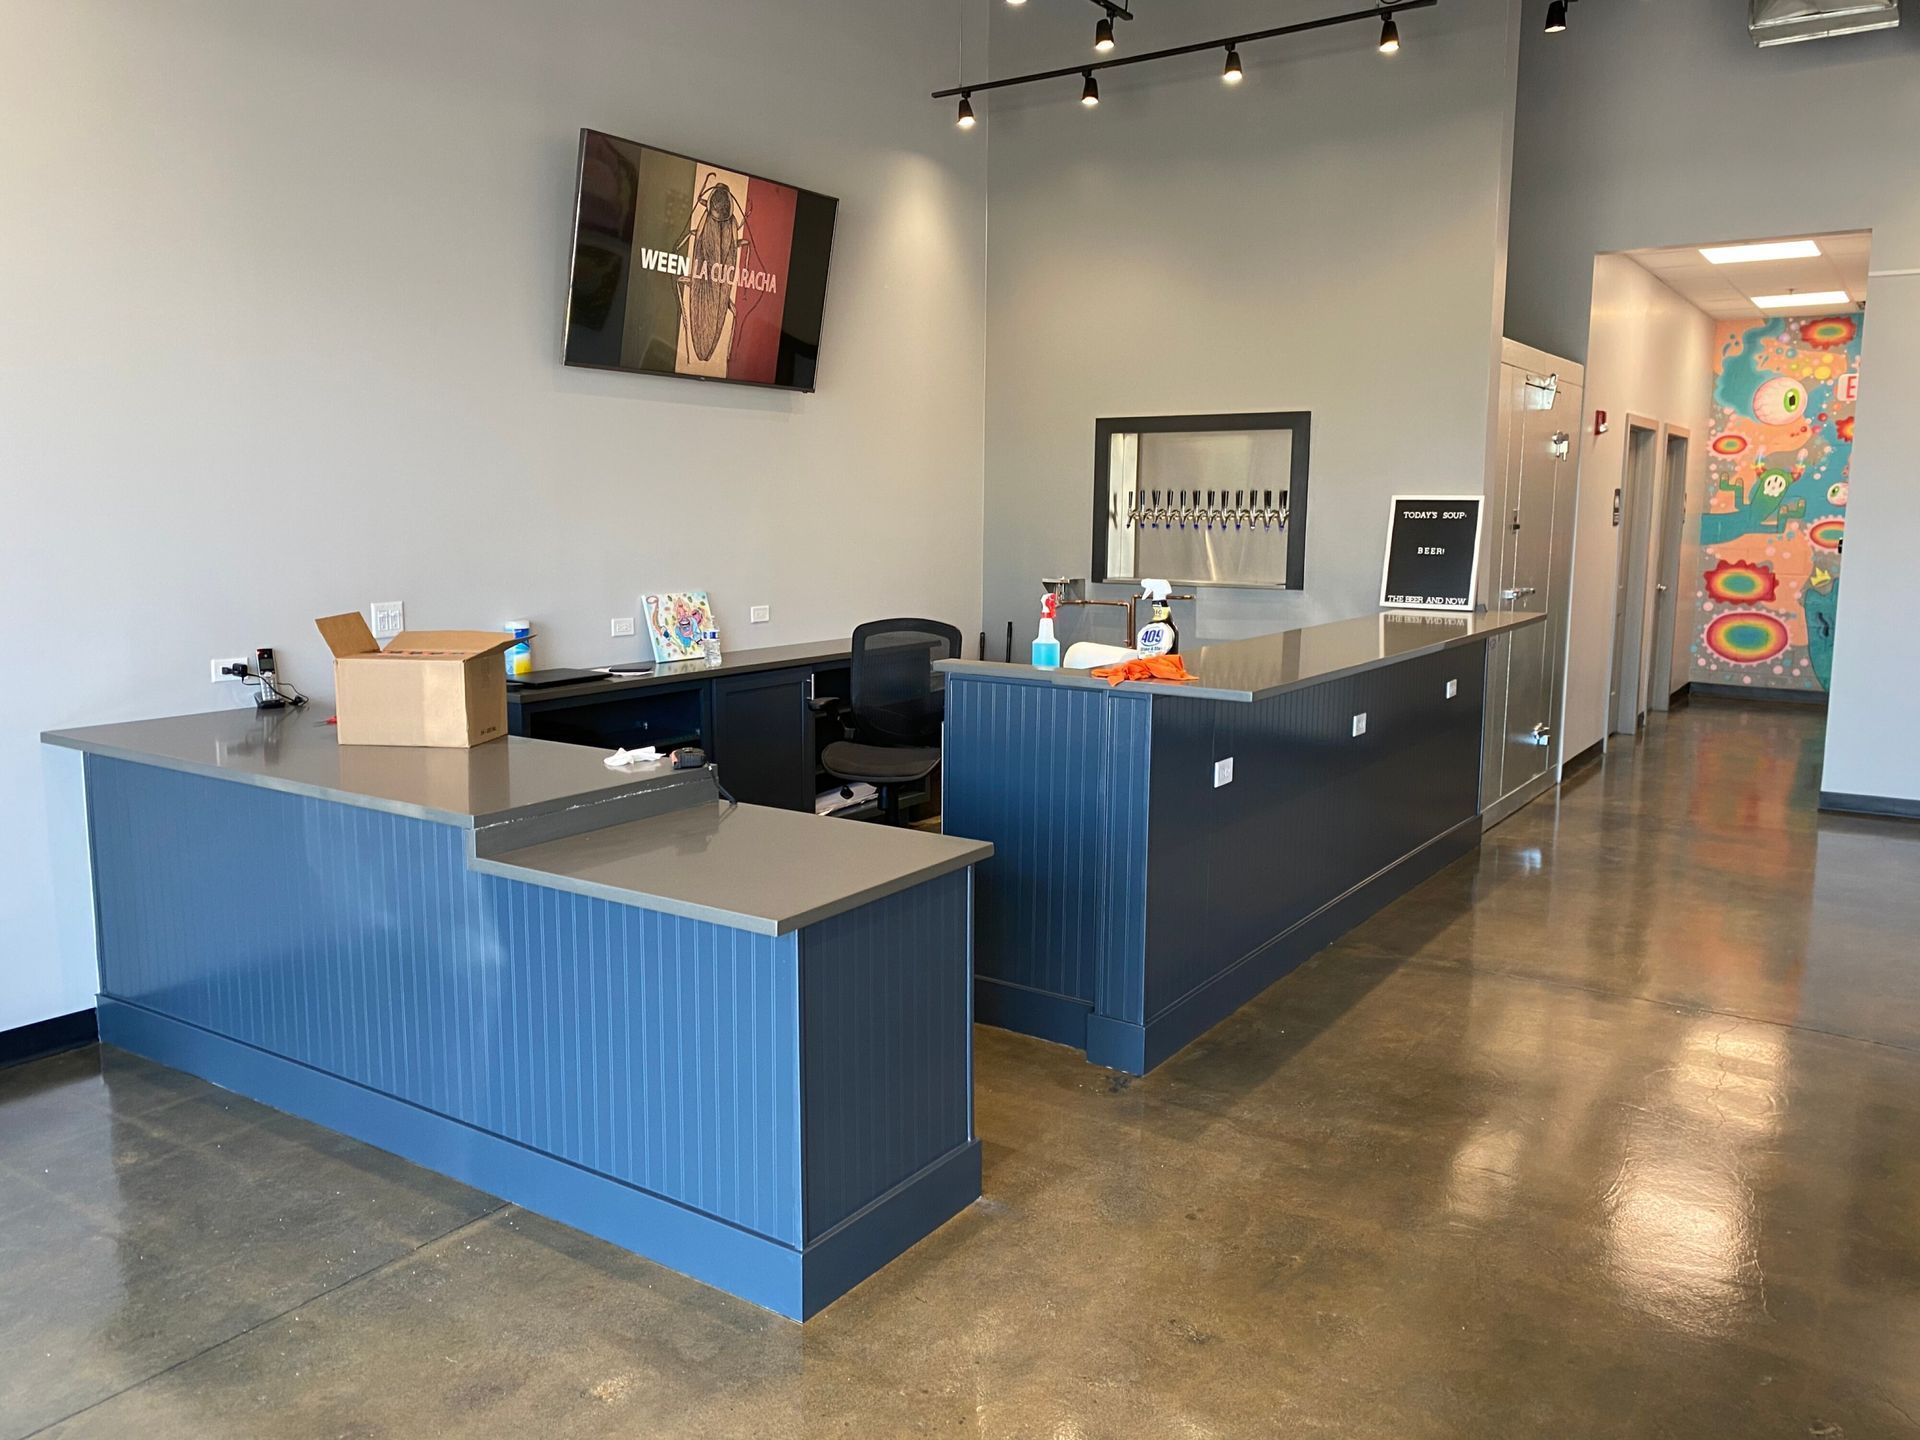
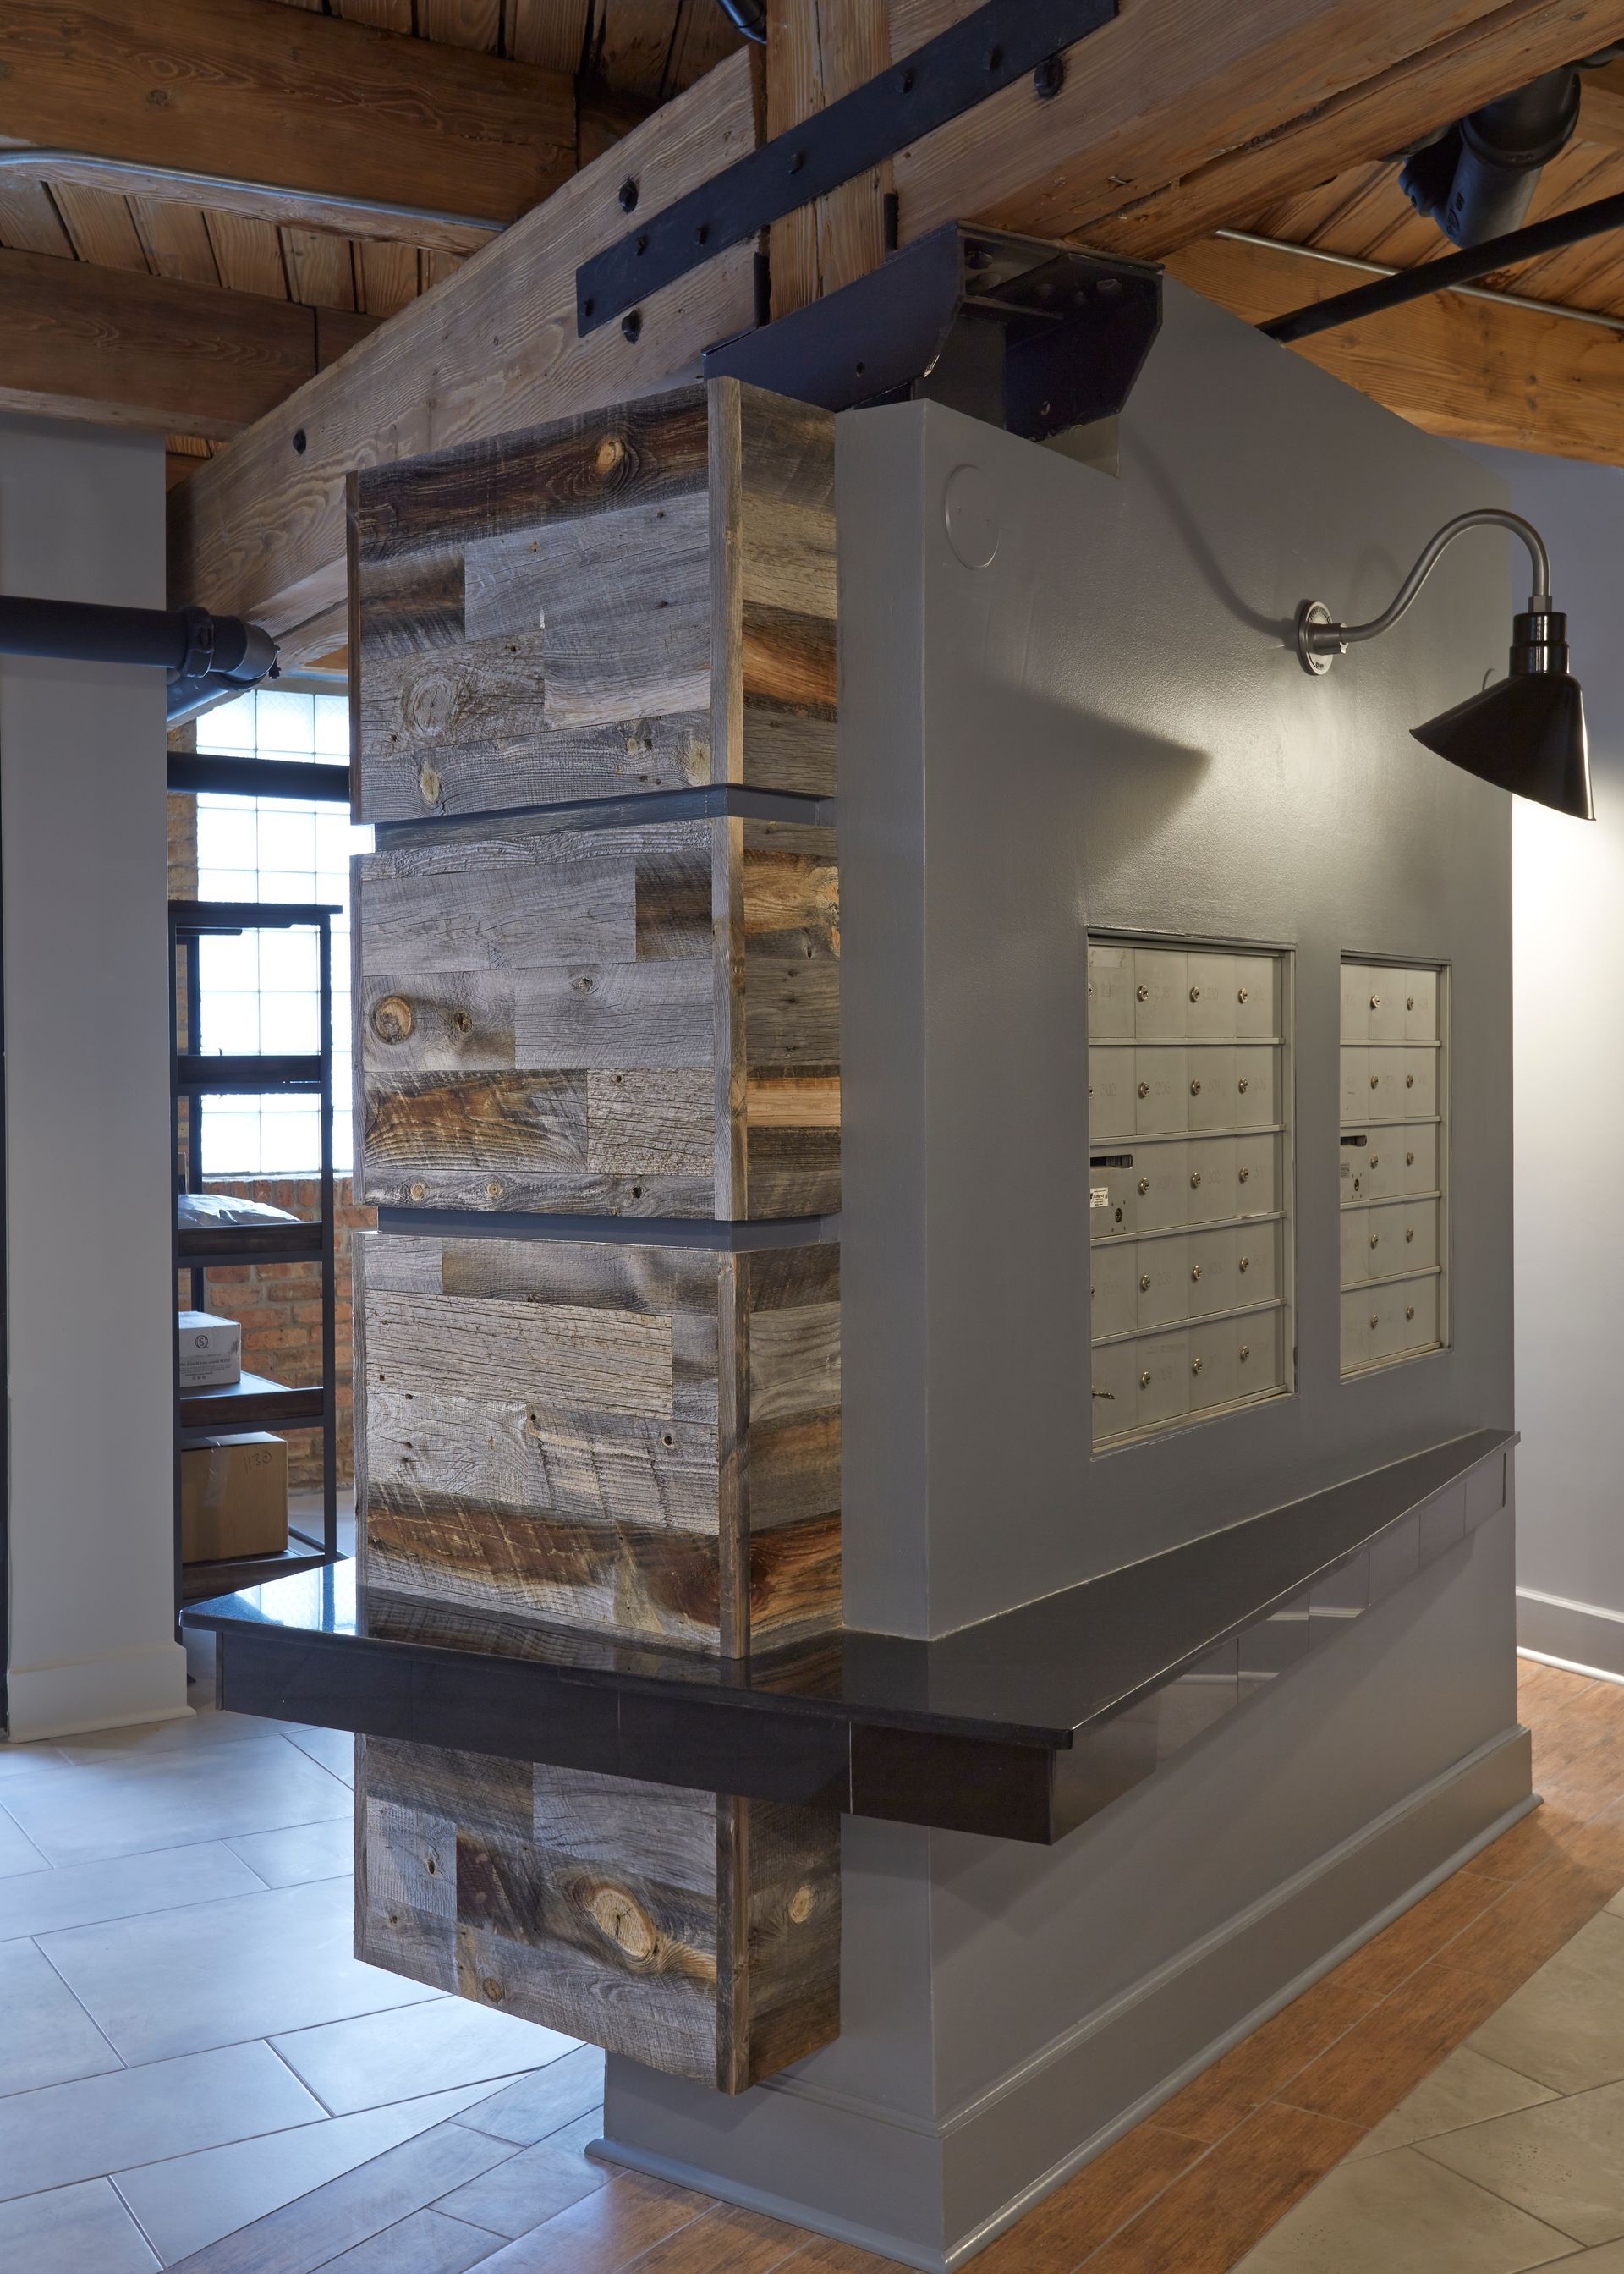
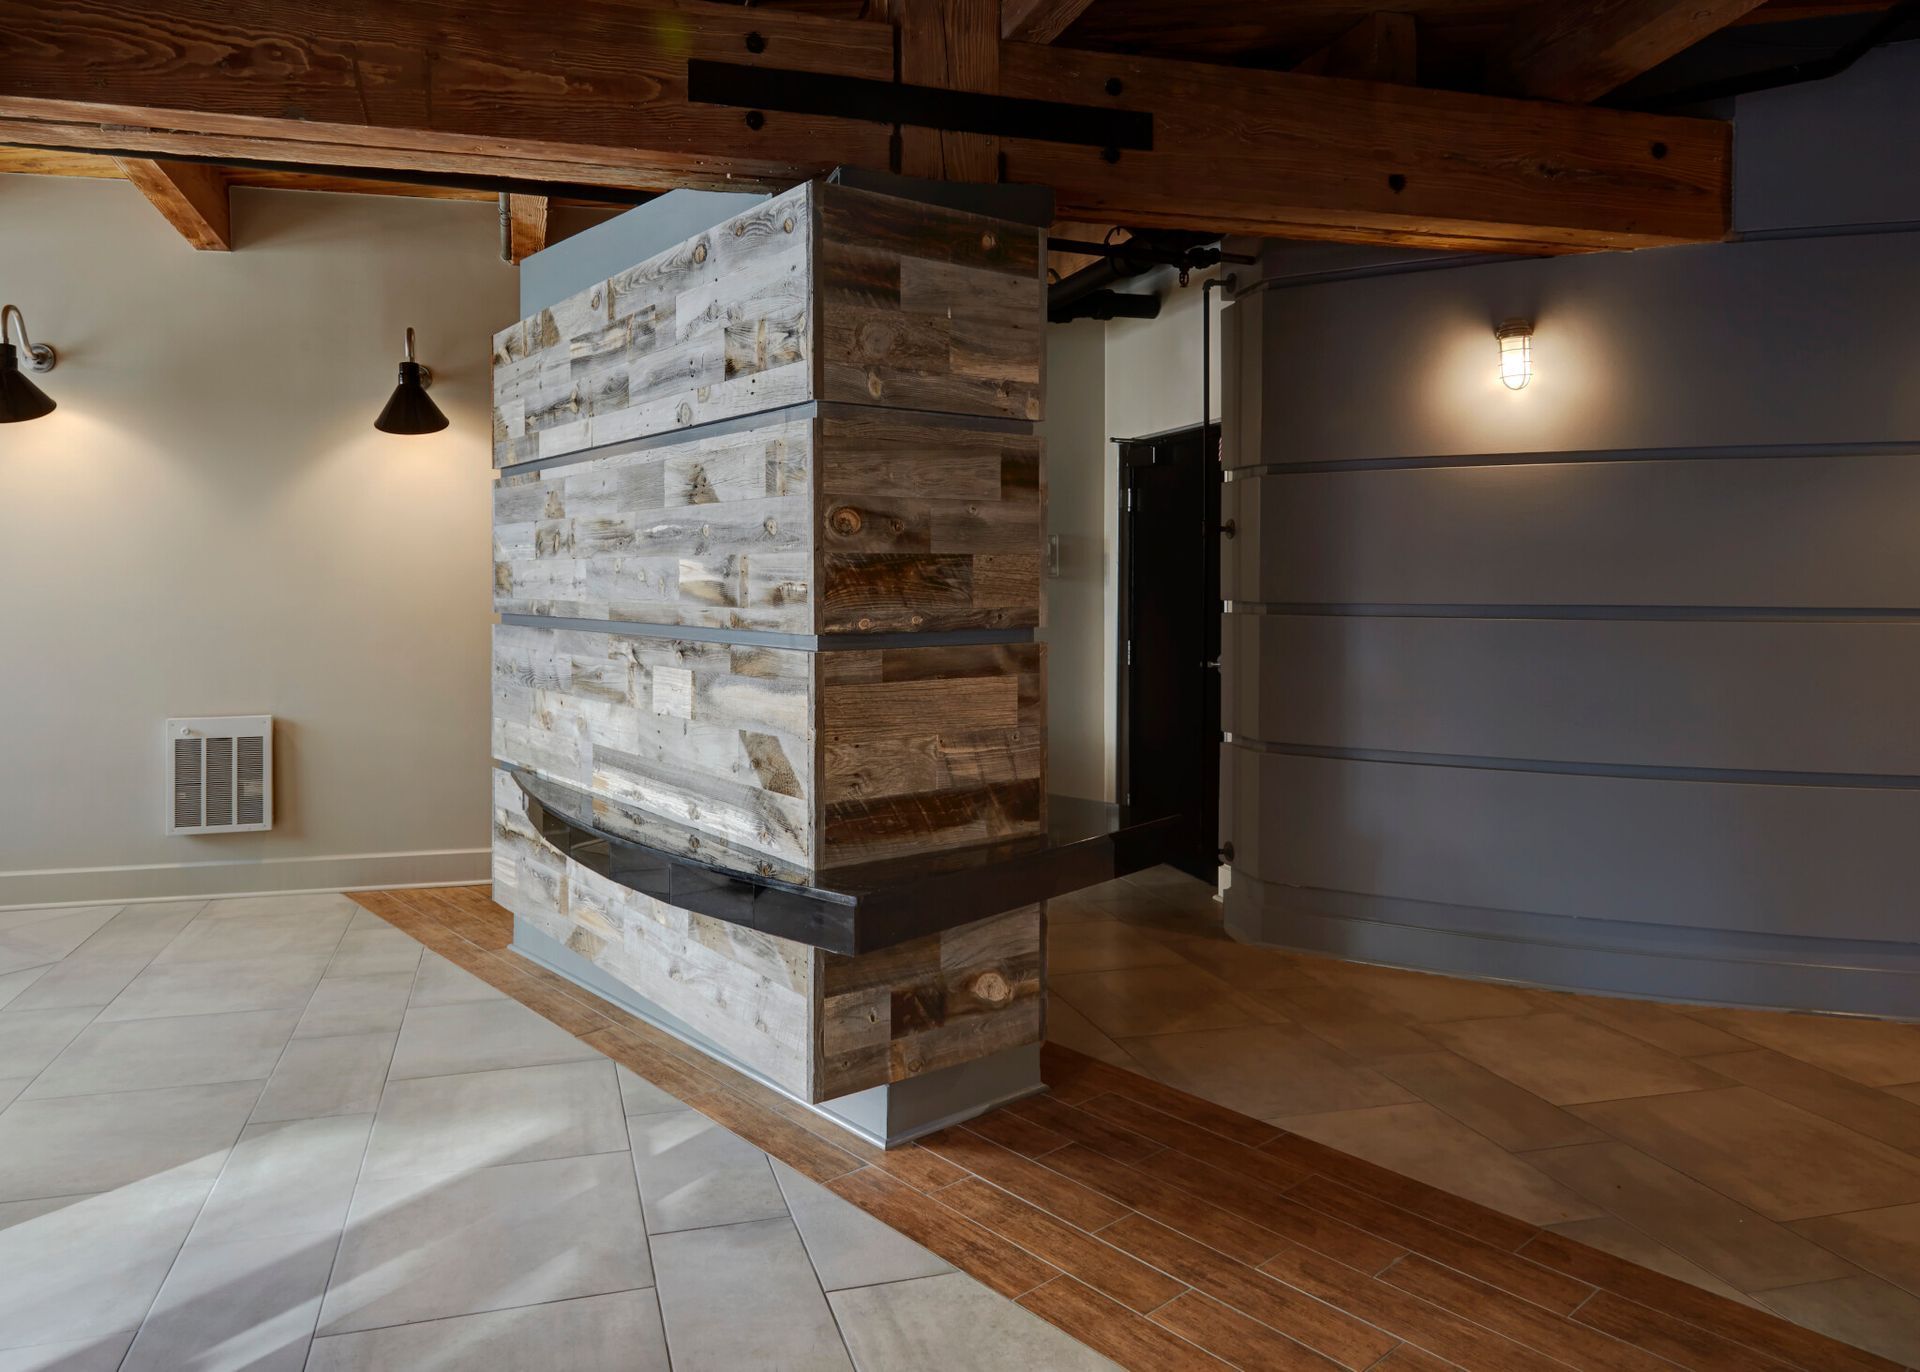
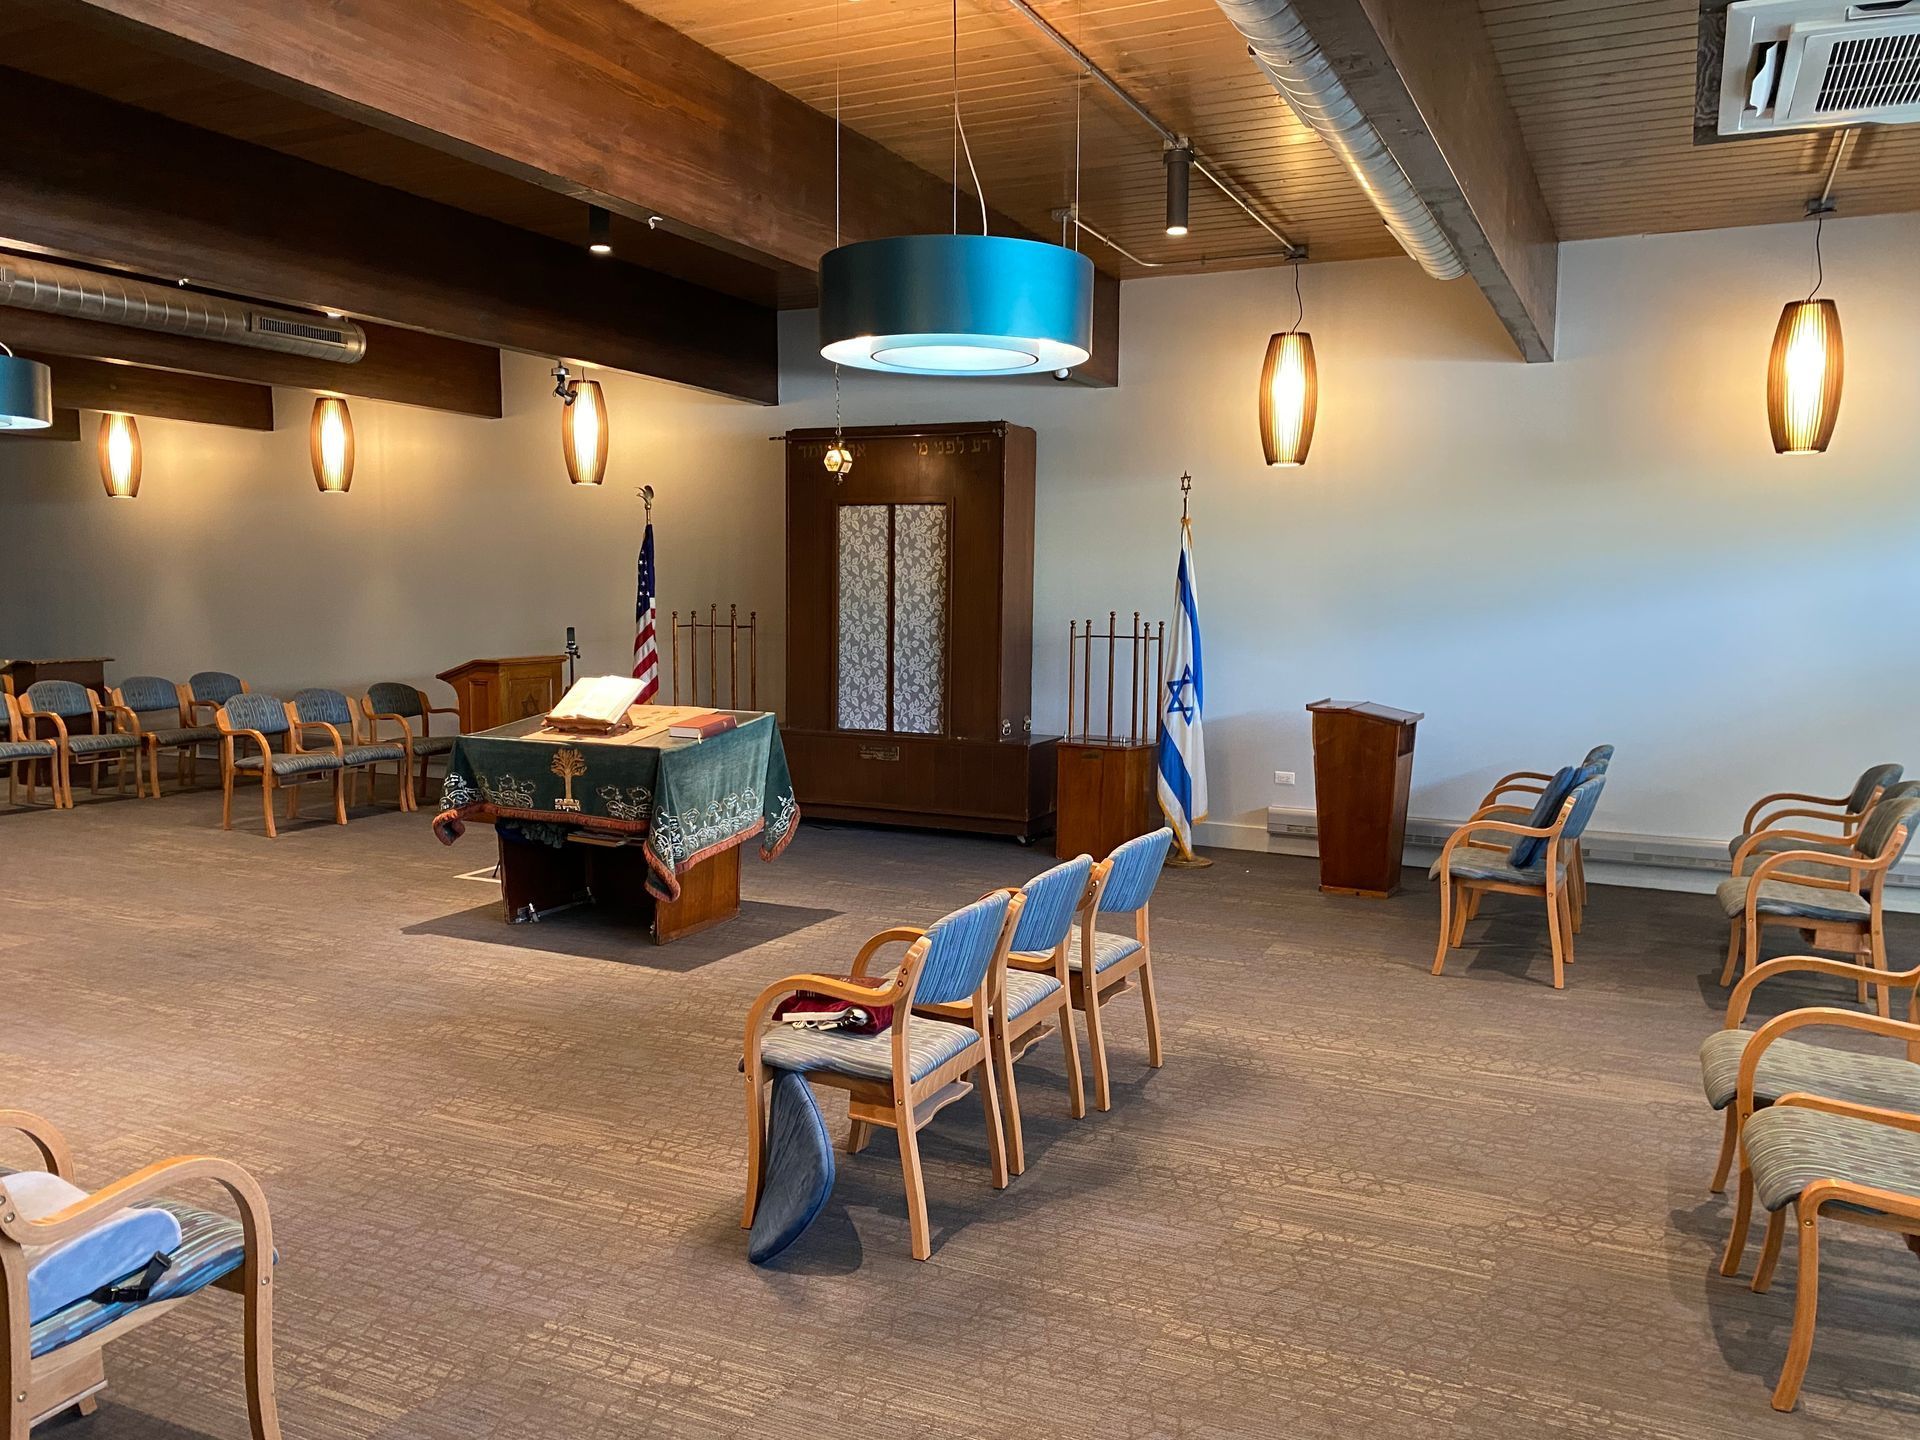
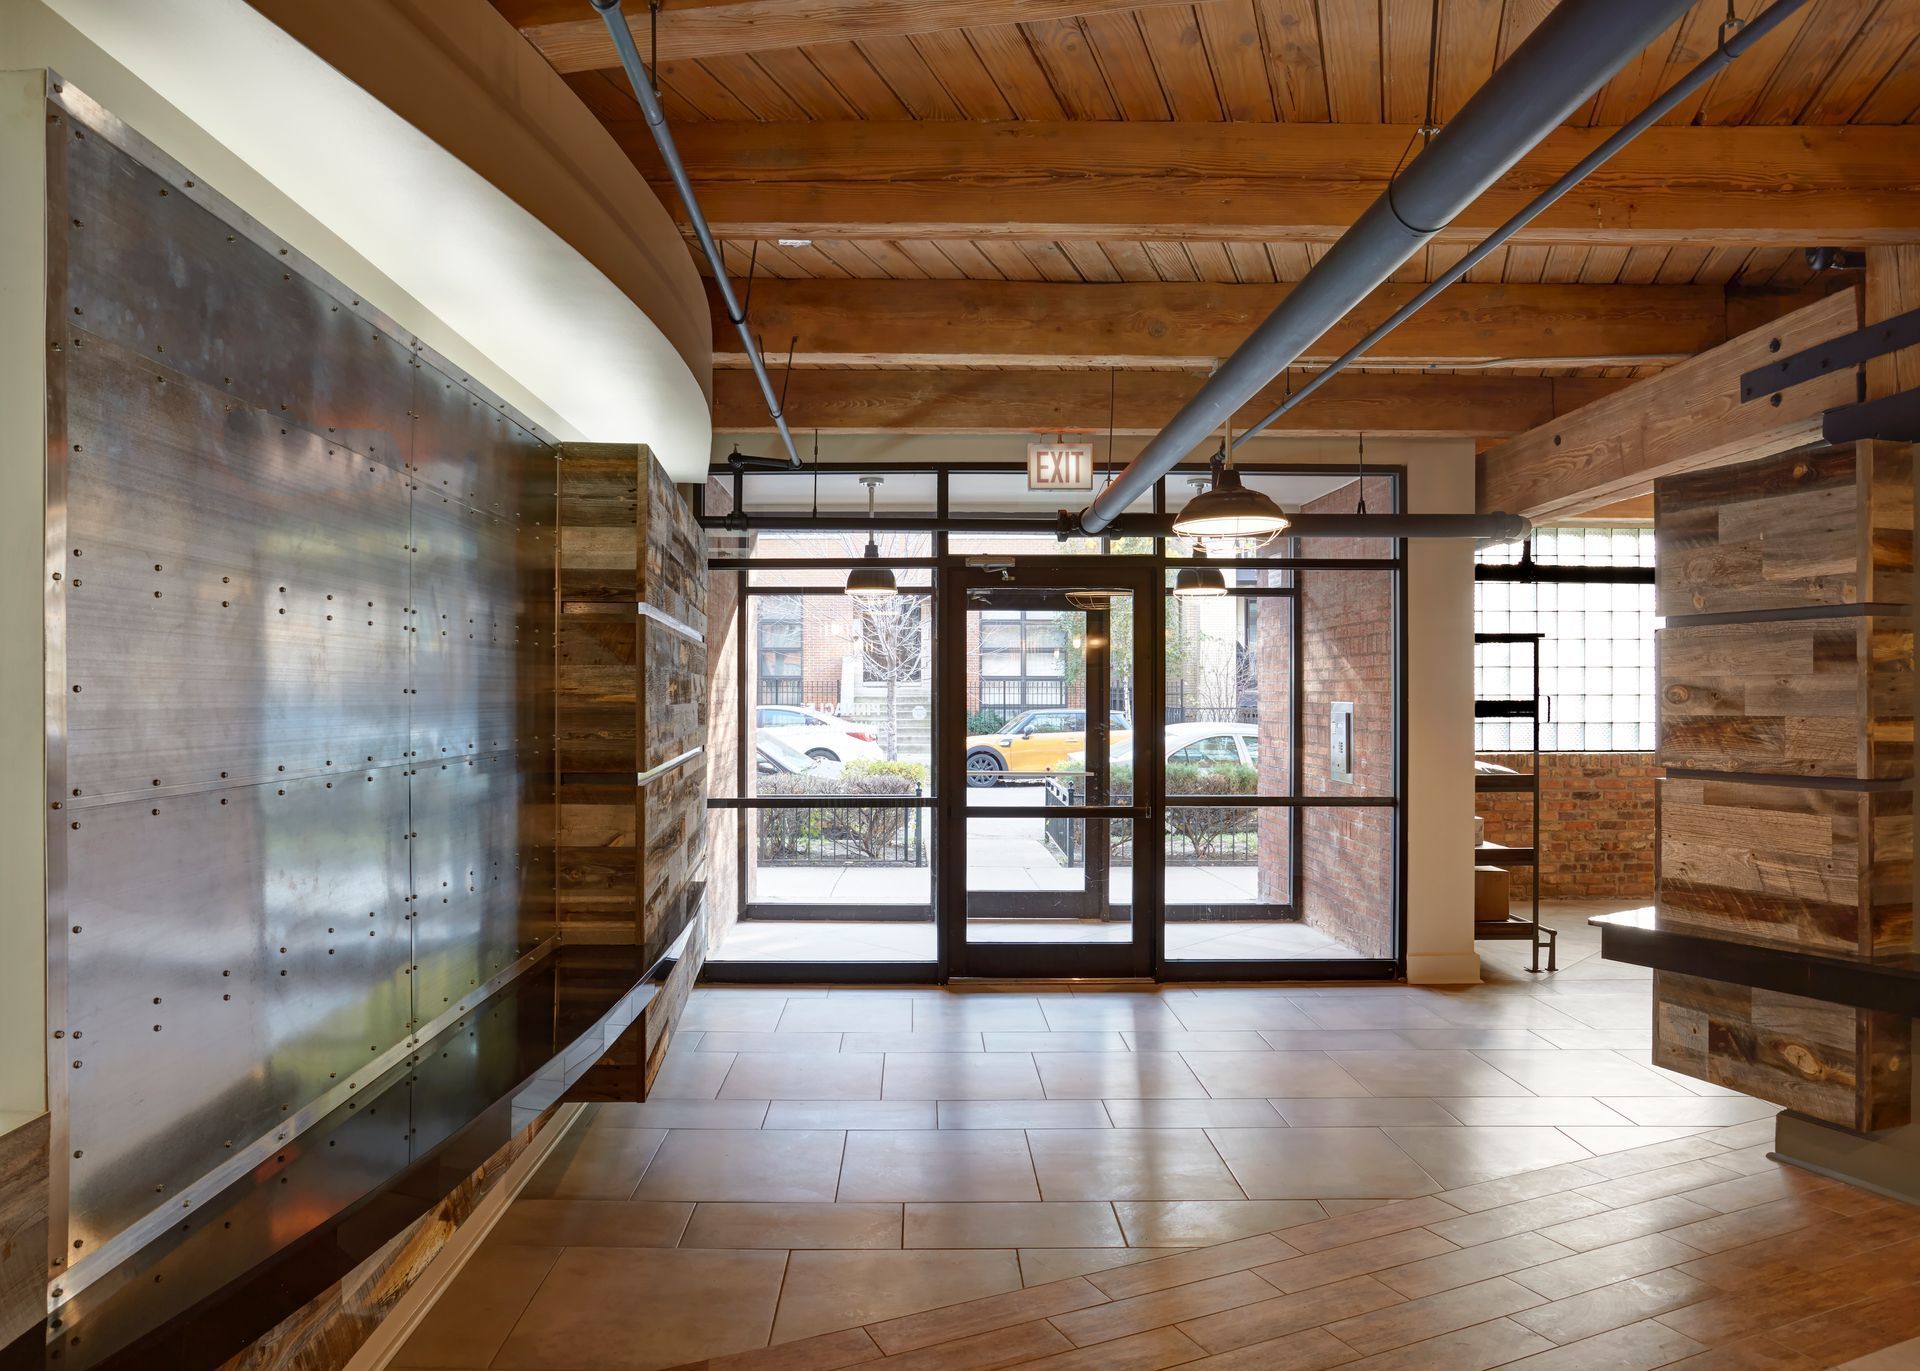
Crimson Commercial Projects